Manual Version e1-4.3.0.ae-R3. Page
6.10 Showerhead Replacement
During normal usage, the showerhead will become cloudy and can’t be cleaned. To maintain optical
clarity, it will be necessary to replace the showerhead. To do so, perform a successful unload
procedure to open the chamber (see section 5.2.1 which will perform pump purges and vents).
Remove the four screws identified in Figure 42 using a 2 mm Allen wrench. Remove and replace the
showerhead (part number VAB0037) and reinstall the screws. The showerhead is ready for use.
Figure 42. Screws to be removed for showerhead replacement.
6.11 Showerhead hole plugs
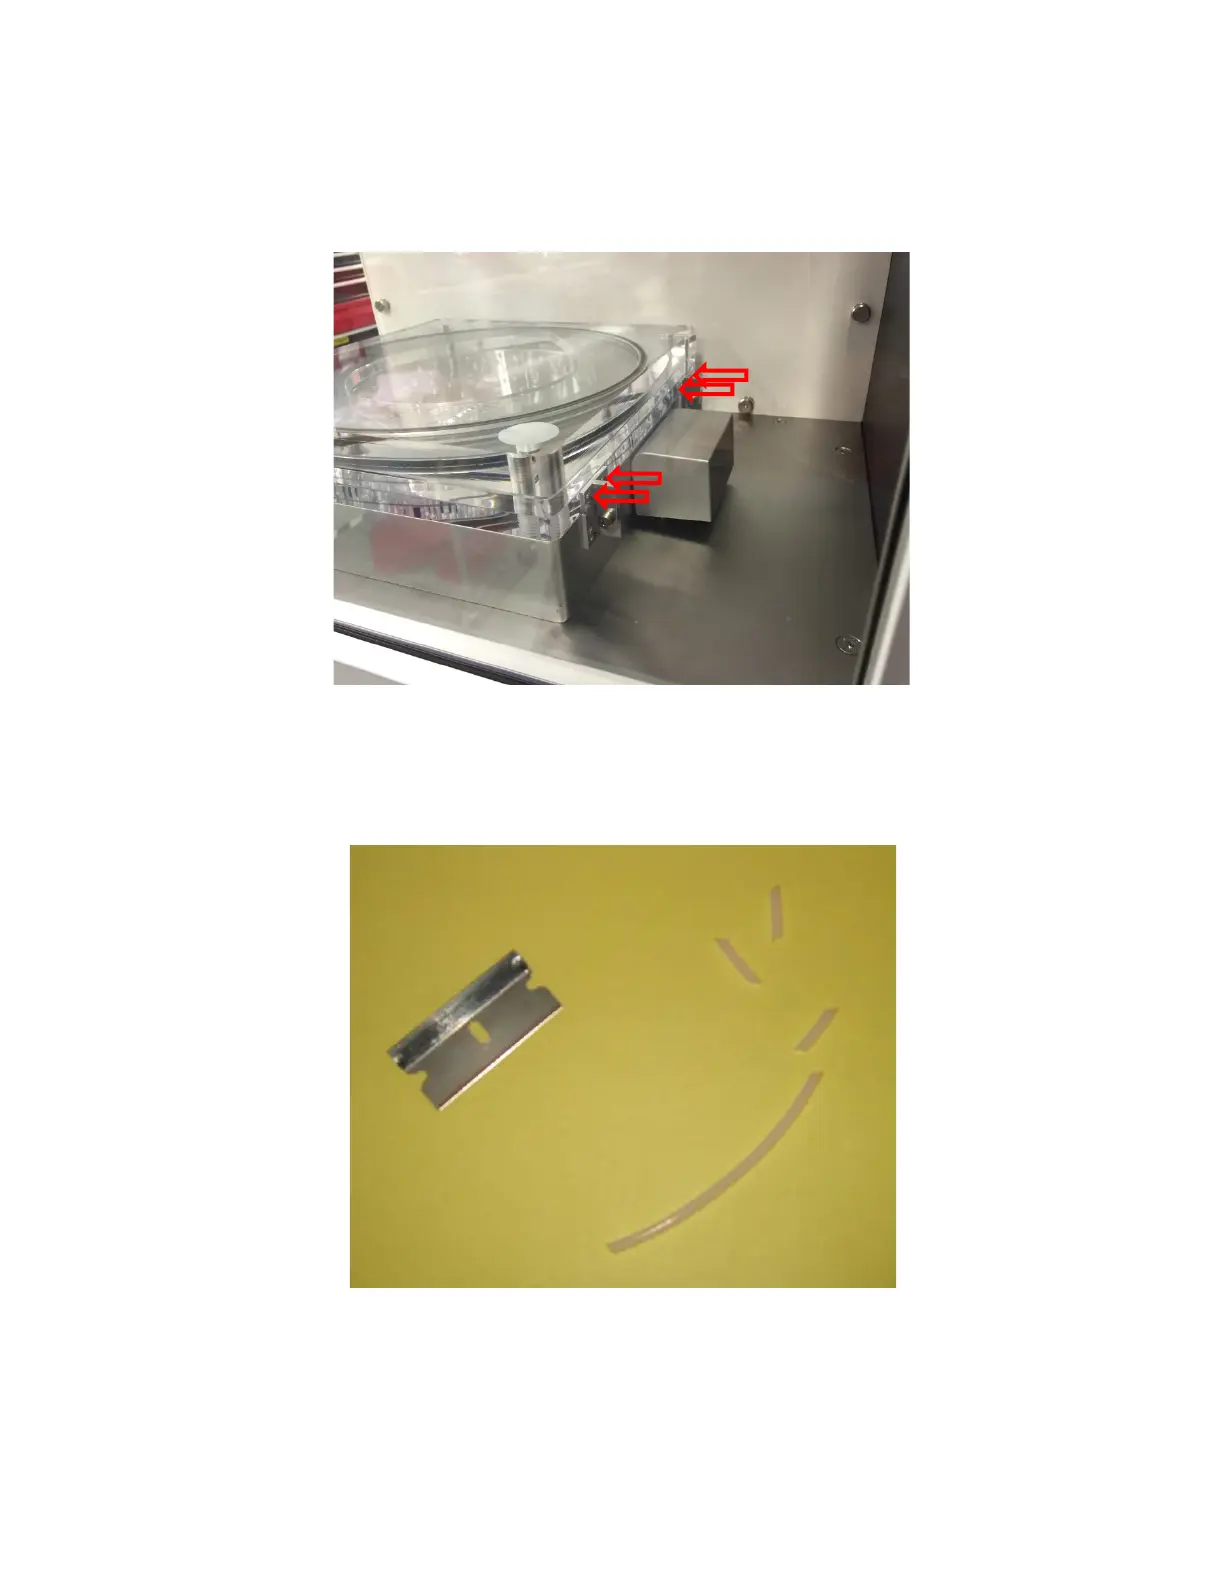
For maximum uniformity, the showerhead can be plugged with Teflon plugs. A length of Teflon beading
is supplied with the tool and small pieces, approximately 1 cm long should be cut as needed as shown
in Figure 43. The cuts should be on a 45 degree angle to aid in the insertion of the plug into the
showerhead.
Figure 43. Teflon beading and pieces that have been cut from it using a razor blade.
Perform a successful unload procedure to open the chamber (see section 5.2.1 which will perform
pump purges and vents) to access the showerhead. Insert the plug into the showerhead with pliers as
shown in Figure 44. Be very careful not to scratch the showerhead. The plug should only be