590 Series DC Digital Drive Installing the Drive
3-5
Mounting the Drive
NOTE General installation details are given below for mounting the Drive, however, if you are installing the unit with an EMC filter refer to
“External AC Supply EMC Filter Installation, page 3-37.
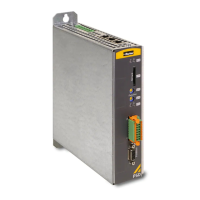
Mount the
unit vertically on a solid, flat, vertical surface. It is mounted using bolts or screws into four fixing points (keyhole slots). The design allows
the use of 100mm grid fixing.
It must be mounted inside a suitable cubicle. To comply with the European safety standards VDE 0160 (1994)/EN50178 (1998), the cubicle must
require a tool for opening.
NOTE Holes for the mounting bolts or screws must be placed accurately.
Cover any units all ready mounted to the panel to protect them from stray metal filings while drilling mounting holes.
General Mounting Hints
Insert the mounting studs from the rear of the panel. Attach lock washers and nuts part way on to the lower mounting studs; these will help to keep the
drive in place when mounting.
Caution
Use proper lifting techniques when lifting and moving.
Lift the drive and engage the bottom slots safely on to the studs between the panel and lock washers/nuts you have just fitted. Engage the top slots with
the remaining mounting studs and finger tighten the drive to the panel with lock washers and nuts. Finally, use the socket wrench to tighten all nuts
securely.
Check the drive and its housing for packing material, mounting debris, or any other material that could damage and/or restrict the operation of the
equipment.
Recommended Tools
Socket wrench With a 6 Inch extension
Deep sockets M6, M8
Screwdrivers Phillips No.2, flat blade - 0.5 x 3.0mm, 0.8 x 4.0mm
Wire cutters Small
 Loading...
