219
Polyend Tracker Manual
218
Polyend Tracker Manual
NOTESNOTES
Song Mode
9
Song Mode
9
Creating a basic song is a starting point, but a number of additional editing
features are also available within Song Mode. Individual tracks can also be
re-positioned. Be careful when editing patterns as the song structure and
patterns are directly linked and edits can affect each other.
▌ BASIC EDITING OF AN EXISTING SONG
1. Press [Song] to select song mode. The slot and pattern selection
bounding box may be displayed green. Also only 1
st
and 2
nd
Screen
buttons to control play are available in ‘green’ mode - [Rec] off.
2. Press [Rec] to toggle to editing in ‘red’ mode. The slot and pattern
bounding box will be displayed red. Also all of the screen button options
are shown as available in ‘red’ mode - [Rec] on.
3. Navigate to the slot location desired, Turn (Jog). The location selected
is shown with the red bounding box over the slot number and pattern
number when editing. Alternatively Press [Up] and [Down] to also
navigate through the slots.
4. To delete the currently selected song slot, Press [Delete Slot], 5
th
Screen button. The selected song slot is deleted and the other slots will
move up the order.
5. Press [Add Slot], 4
th
Screen button to add a new song slot row.
6. The undo command does not restore deleted slots so be careful when
editing songs.
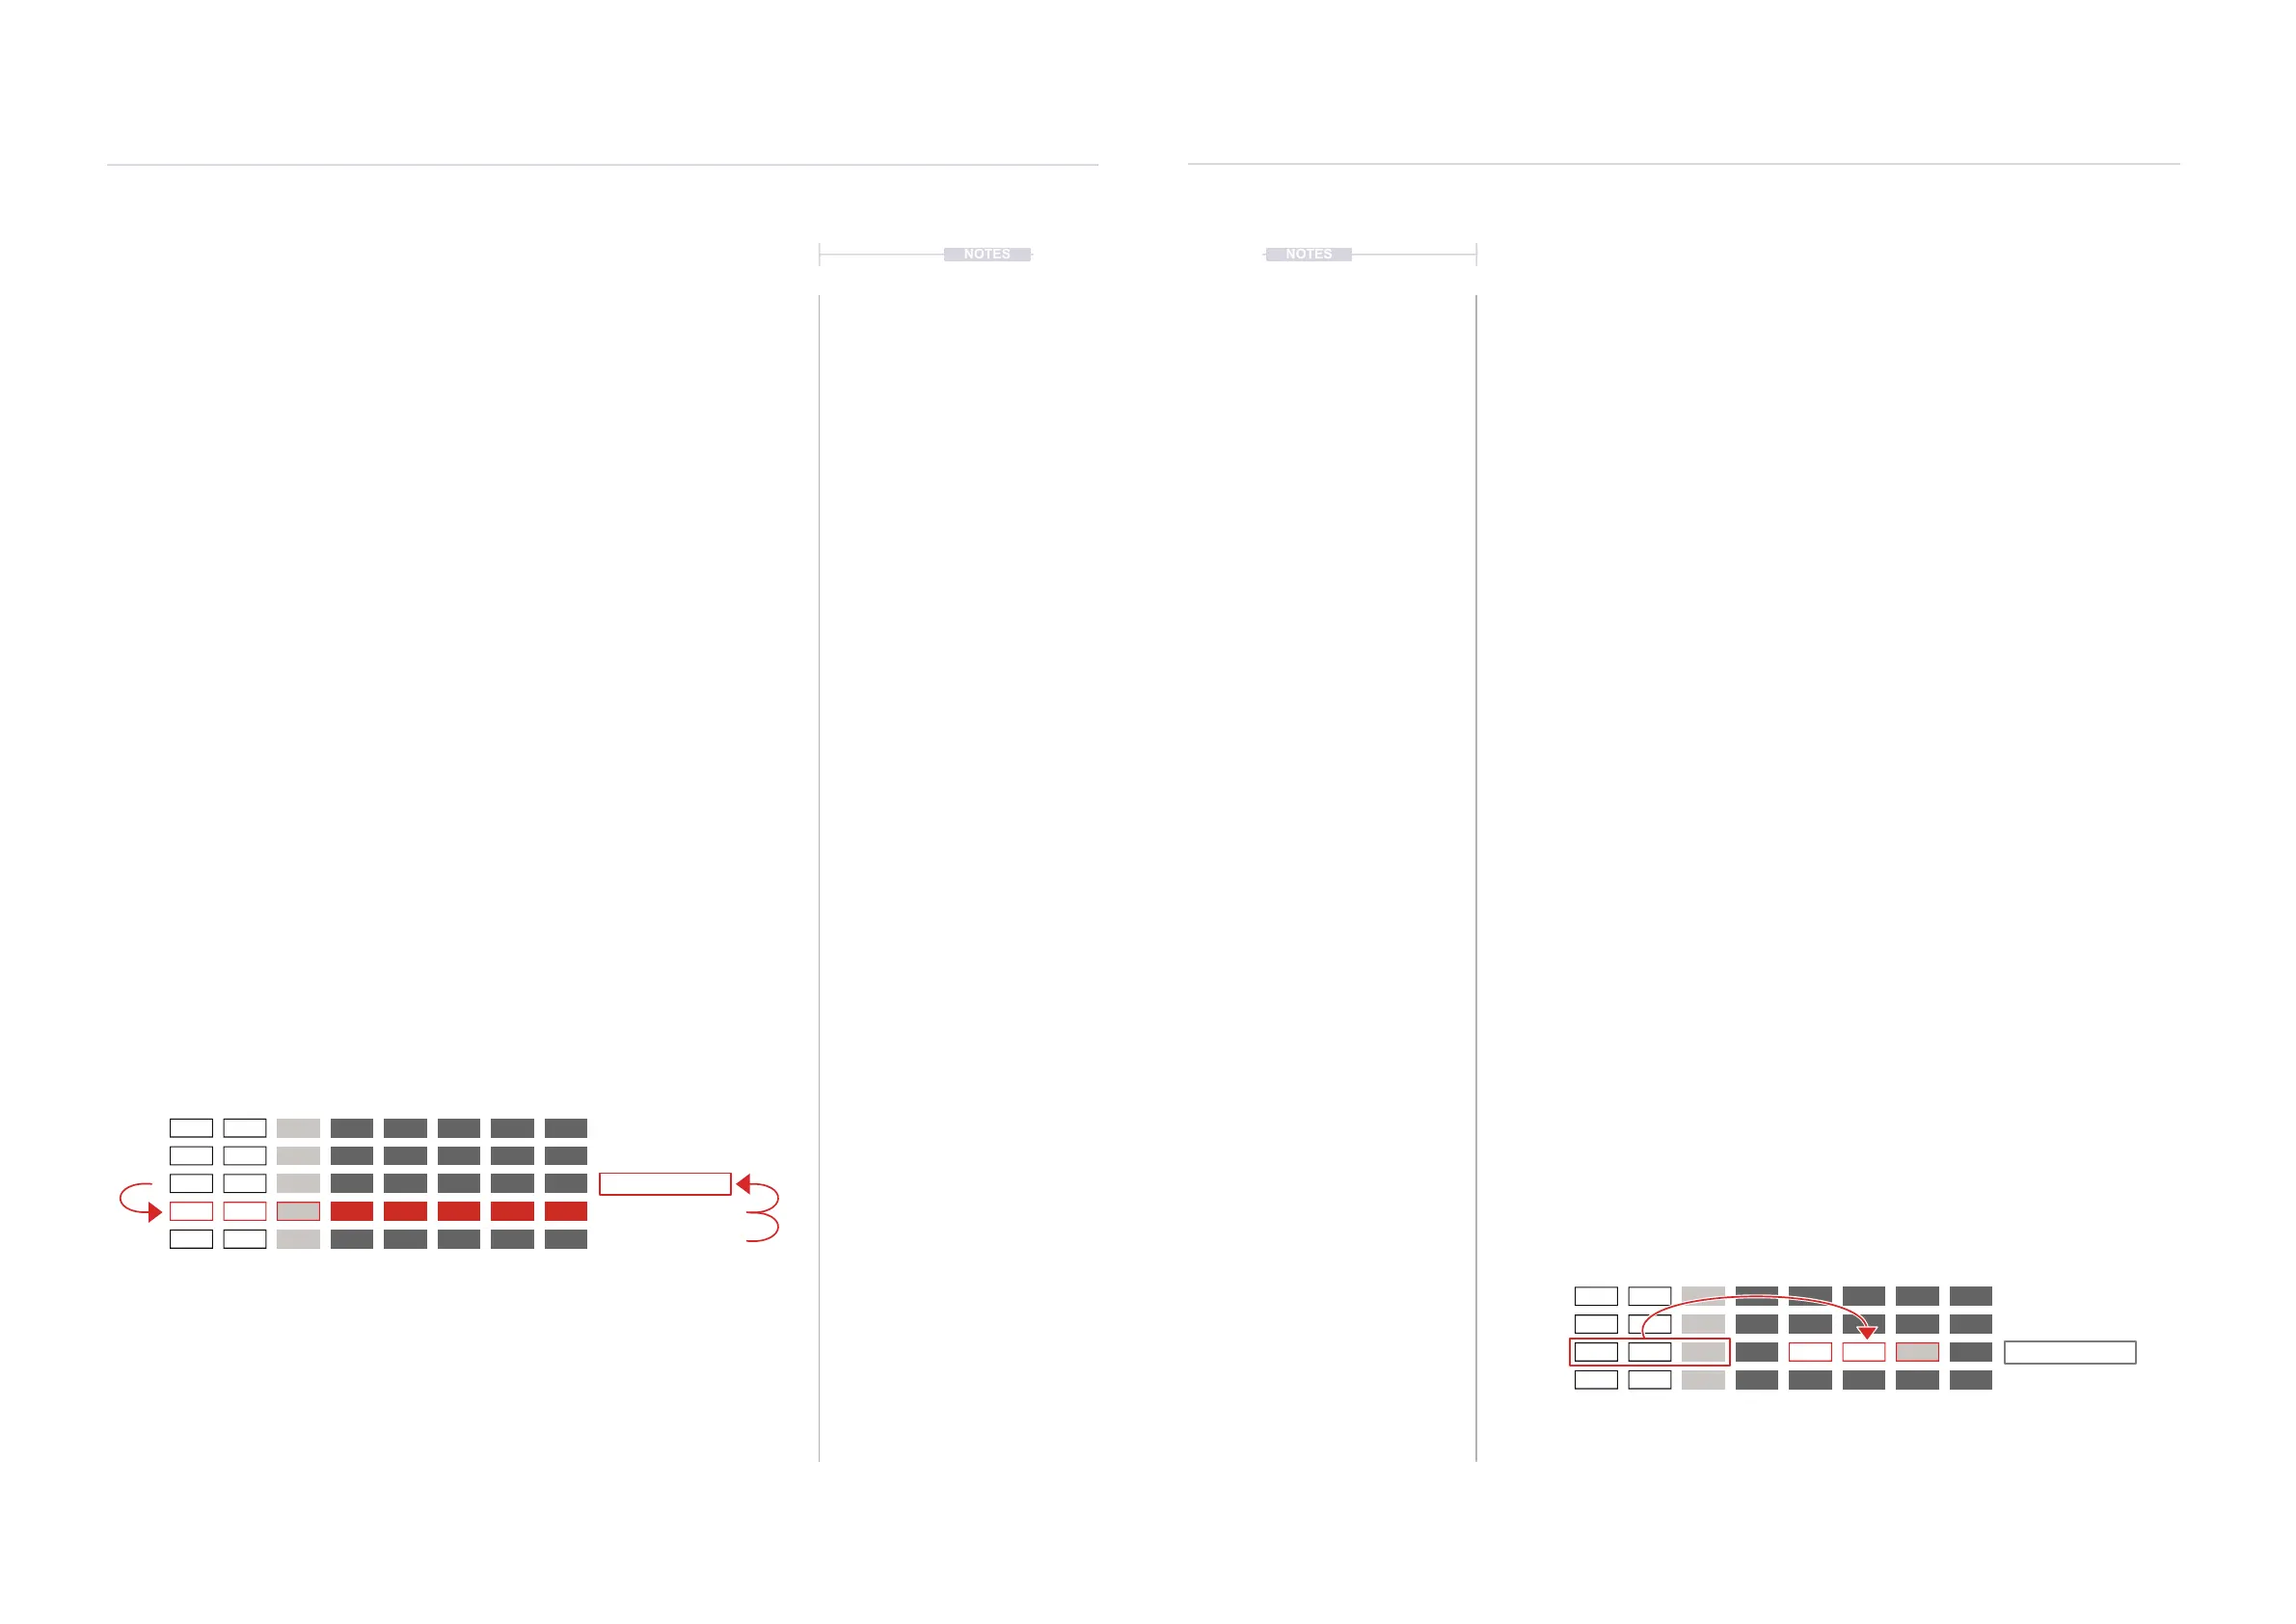
Track 1
Adding a slot replicates the current
slot on a row below. Also selects
the new slot.
Deleting a slot removes the current
slot and moves the below slots up
in the order.
Track 4Track 2 Track 5 Track 7Track 3 Track 6 Track 8 Step Pattern
1 3
2 4
3 8
4 8
5 2
▌ EDITING TRACK CLIPS IN A SONG
1. Press [Song] to select song mode. The step and pattern cursor will be
displayed by a green bounding box. Also, only 1
st
and 2
nd
screen buttons
to control play are available in ‘green’ mode - [Rec] off.
2. Press [Rec] to toggle editing to ‘red’ mode. The step and pattern cursor
will be displayed by a red bounding box. Also, all of the screen button
options are shown as available in ‘red’ mode - [Rec] on.
3. Navigate to the desired track clip. Turn (Jog) to navigate through the
slots or Press [Up] or [Down]. Navigate to the Track by pressing [Left] or
[Right]. The selection is shown with the red bounding box over the
pattern for the track.
4. To select multiple track clips, Press [Shift] + [Left], [Right], [Up] or
[Down]. The red bounding box will encompass all of the selected tracks
5. To delete selected track clip(s), Press [Delete/Backspace].
6. Press [Copy/Paste] to copy the highlighted and selected track(s).
7. Navigate to the target track clip location. Turn (Jog) to navigate through
the slots or Press [Up] or [Down]. Navigate to the Track by pressing
[Left] or [Right]. The selection is shown with the red bounding box over
the pattern for the track.
8. Press [Shift] + [Copy/Paste] to paste the previously copied selection into
the location selected. When pasting multiple tracks the highlighted track
location will represent the top left corner of the copied selection of
tracks and as such will paste into the adjacent track locations.
9. The copy / paste edits in song mode will also be performed
automatically in the pattern itself and reected back into the same
pattern in other slots. Switching to pattern mode will view any edits
made. Care must be taken to remember that the song mode and pattern
mode are directly linked. Previous edits can be restored by pressing
[Undo], 3
rd
Screen button.
Track 1
Copy one or more slot tracks
Paste the previously copied
tracks to another location.
Track 4Track 2 Track 5 Track 7Track 3 Track 6 Track 8 Step Pattern
1 3
2 4
3 8
4 8