73
Polyend Tracker Manual
72
Polyend Tracker Manual
NOTESNOTES
Sequencing Steps
5
Sequencing Steps
5
▌ COPYING AND PASTING STEPS AND STEP RANGES
1. Press [Pattern] to select the Pattern Mode page.
2. Navigate to select a Step. Also Press [Shift] + [Left] or [Right] and
[Shift] + [Up] or [Down] to select tracks and rows.
3. Press [Rec] to switch to recording mode. The step bounding box will
turn red and allow copying of the step or collective step range.
4. Press [Copy/Paste] button. The selected step or step range will be
copied to the clipboard.
5. Relocate the cursor to the rst step in which to paste by using [Up],
[Down], Left] or [Right].
6. Press [Shift] + [Copy/Paste] button. The copied step or step range will
be pasted into the selected step and the relative range. Undo and Redo
can be used if needed.
▌ DELETING STEPS AND STEP RANGES
1. Press [Pattern] to select the Pattern Mode page.
2. Navigate to select a Step. Also Press [Shift] + [Left] or [Right] and
[Shift] + [Up] or [Down] to select tracks and rows.
3. Press [Rec] to switch to recording mode. The step bounding box will
turn red and allow copying of the step or collective step range.
4. Press [Delete/Backspace] button. The selected step, if note or
instrument is selected, will be deleted. If FX1 or FX2 is only selected
then the effect alone is deleted.
5. Note that MIDI values are not be delete when deleting a not, but can be
deleted when the instrument parameter is selected.
▌ COPY / PASTE AN ENTIRE PATTERN
1. Press [Pattern] to select the Pattern Mode page.
2. Hold [Pattern] + [Copy/Paste] to copy the current pattern.
3. Select a new pattern, Press [Pattern] + [Up] or [Down]
4. Hold [Pattern] + [Shift] + [Copy/Paste] to paste into the current pattern.
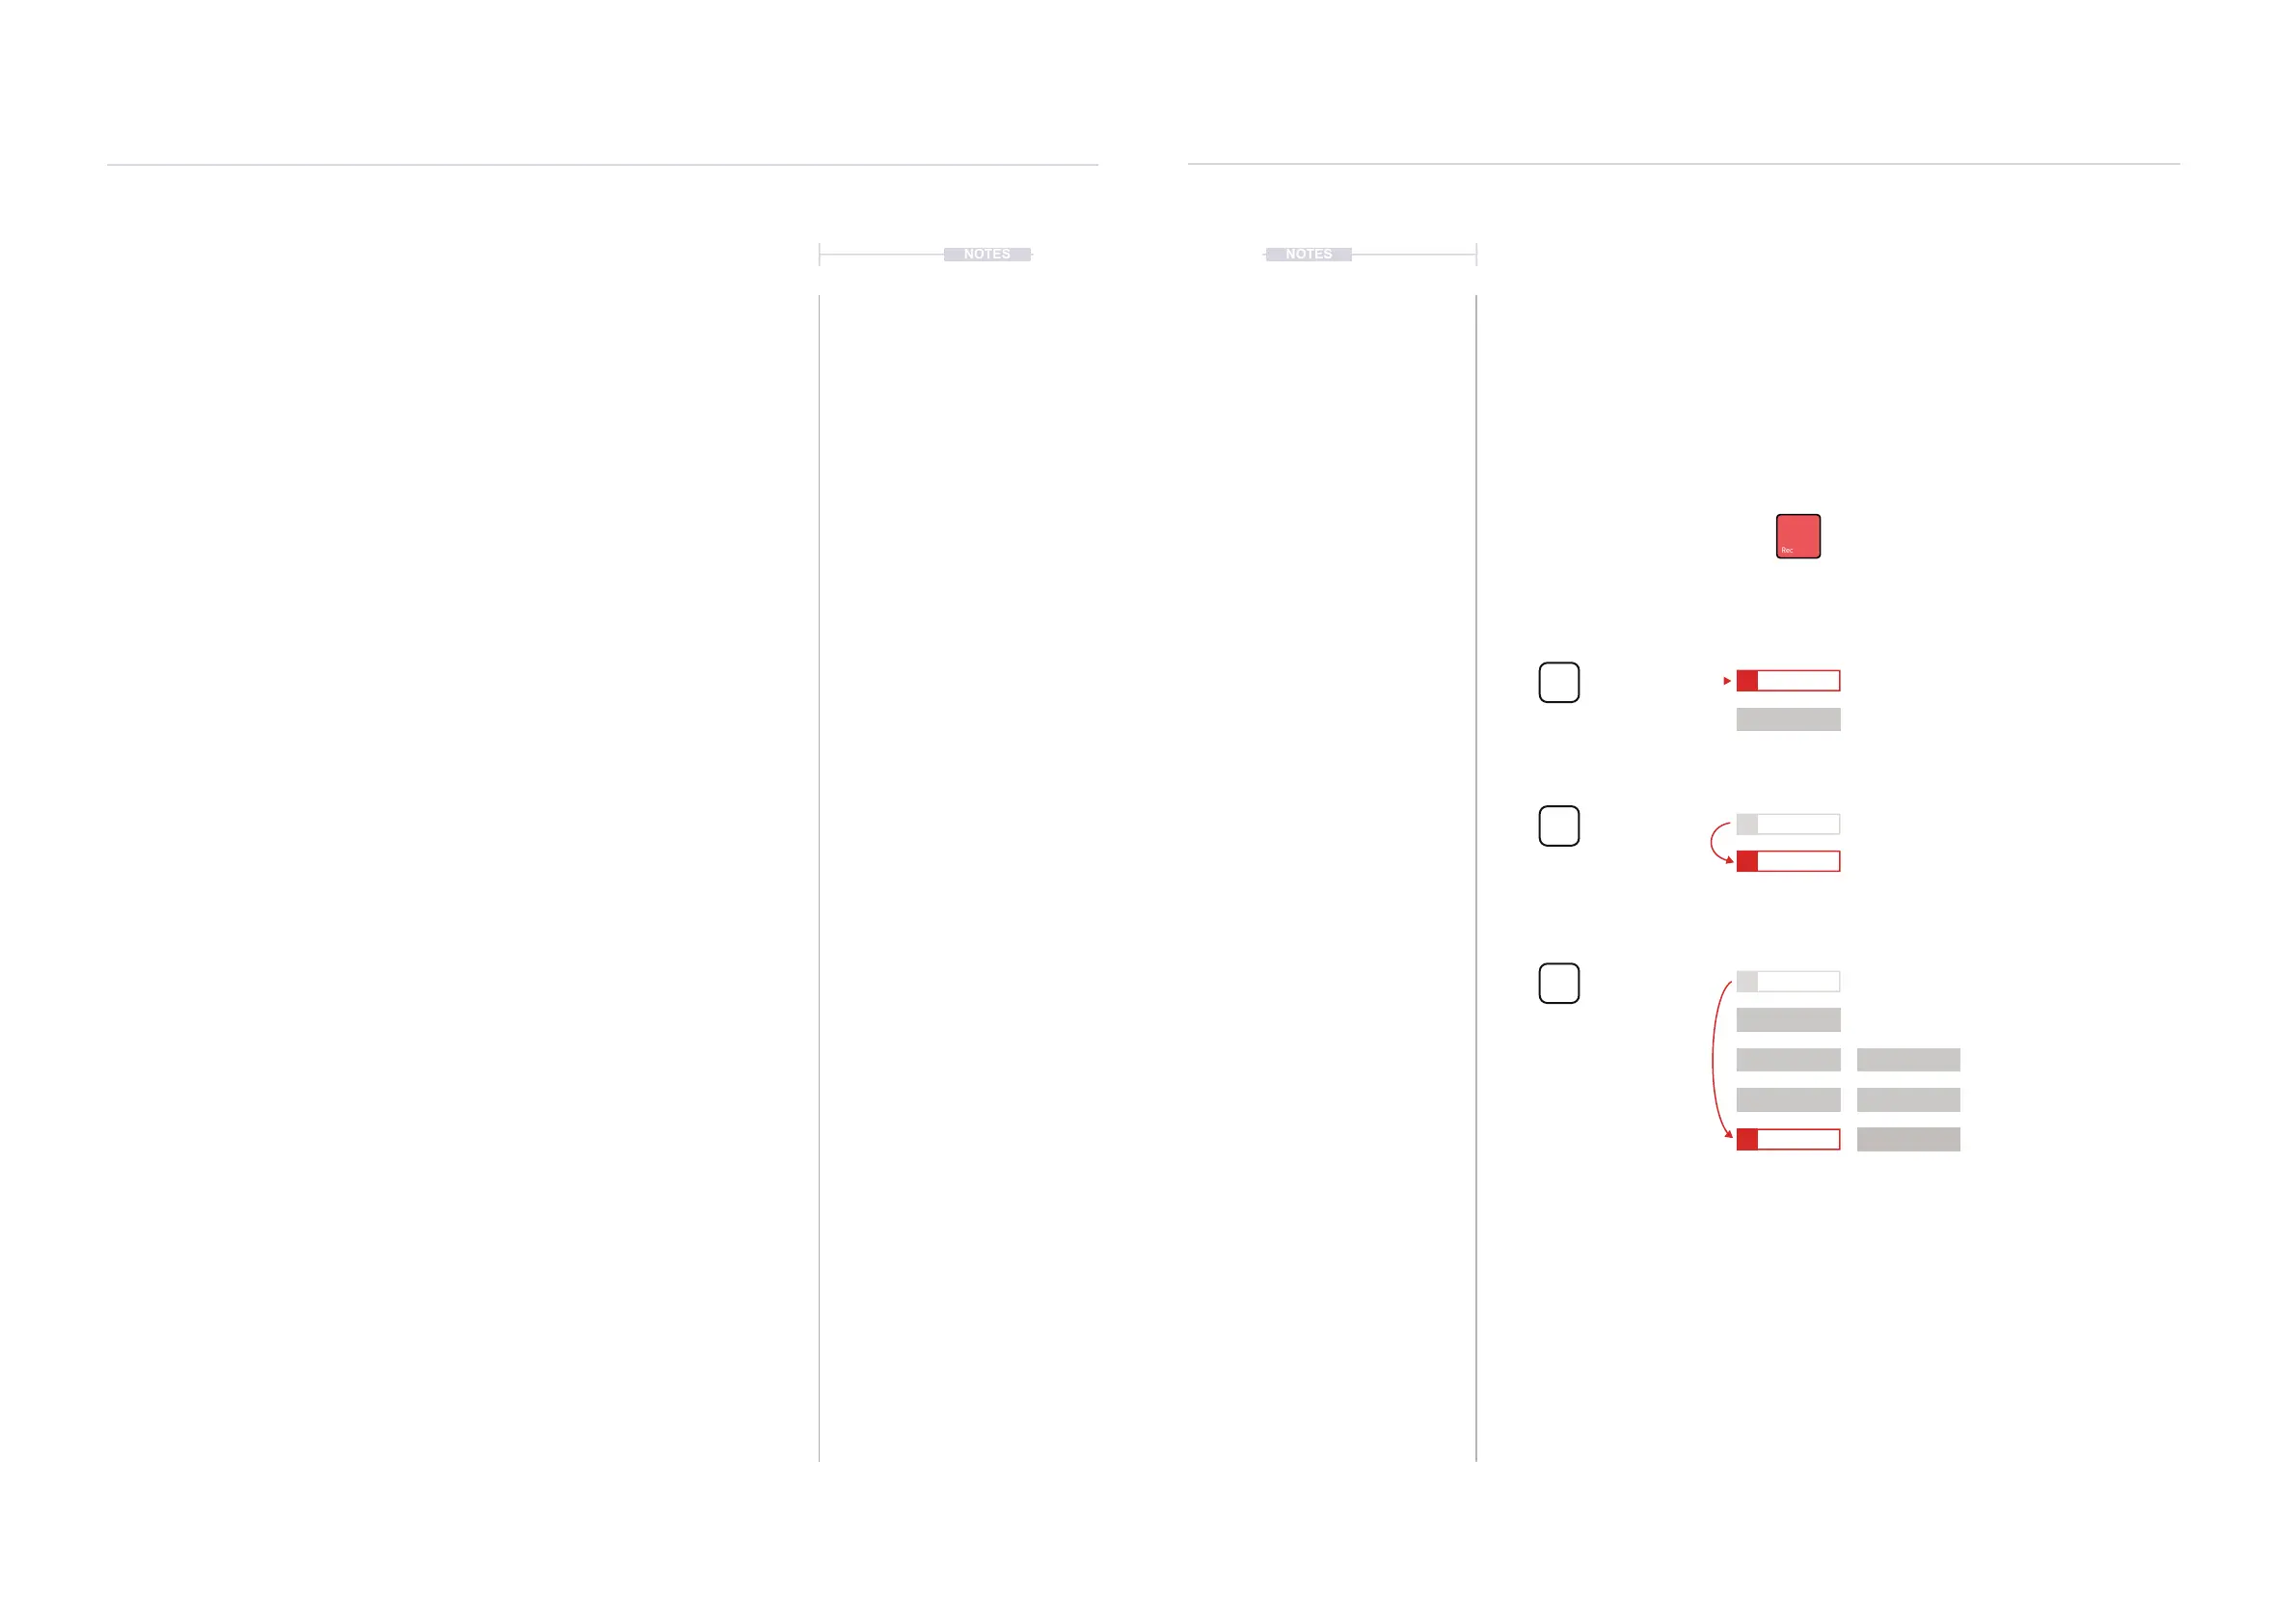
5.5 Step Jump Recording Multiple Steps
When steps are added using a [PAD] the active step is automatically
advanced to the next step when complete. The intervals for this are based
on the ‘Step Jump’ feature. This is useful for creating patterns with dened
intervals and speeding up workow.
Step Jump Examples
Track 1 Track 2
Recording mode on to edit steps in the pattern
Step Jump
0
1
1
1
3
5
2
2
2
4
6
Step Jump
1
Step Jump
4
[PAD]
[PAD]
[PAD]
The selected step will not
advance and will remain at the
same step position
The selected step will
advance automatically to
select the next step position
The selected step will
advance four steps forward. In
this example selecting the
next ‘on beat’ position.
The Step Jump setting is useful when populating specic intervals, for example each on beat step or
each off beat step or alternate steps for percussion. This speeds up the workow and helps in
creating interesting sequences.
=
C5 40
----
P 25
C5 40
----
P 25
C5 40
----
P 25
C5 40
----
P 25
C5 40
----
P 25
D5 40
----
P 25
D5 40
----
P 25
D5 40
----
P 25
D5 40
----
P 45
D5 40
----
P 45
D5 40
----
P 45