XLi EDGE Pinspotter
Section 4-2 4.2-4 Rev. Date: 10/2016
1. Run the Table to its low point on a respot cycle.
2. Unplug both the Table and Sweep Motors.
3. Loosen the Jam Nuts on both Table Leg adjustment screws (Figure 4.2-4).
4. Grasp the #1 Spotting Cup and push rearward and upward until it stops.
5. While holding the #1 Cup in this position, obtain a 3/16” gap under the square head of the
Table Leg adjustment screw on the 7-pin side (nearest the Yoke Link).
6. Release the #1 Spotting Cup and allow the cups to return to a resting state. The square head
of the 7-pin side adjustment screw should rest on the leg bracket. If it does not, back off the
10-pin side adjustment screw until it does.
7. Without losing the adjustment, tighten the 7-pin side jam nut.
8. Turn the 10-pin side adjustment screw until the head of the screw touches the Table Leg
Bracket. Continue turning the screw until it is finger tight. Do not use a wrench.
9. Tighten the jam nut for the adjustment screw on the 10-pin side.
10. Push the #1 cup upward and rearward again to double-check the 3/16” gap.
4.2.2.3 Table Level and Height Adjustments
1. Run the Table to near Bottom Dead Center.
2. Unplug the Table Motor.
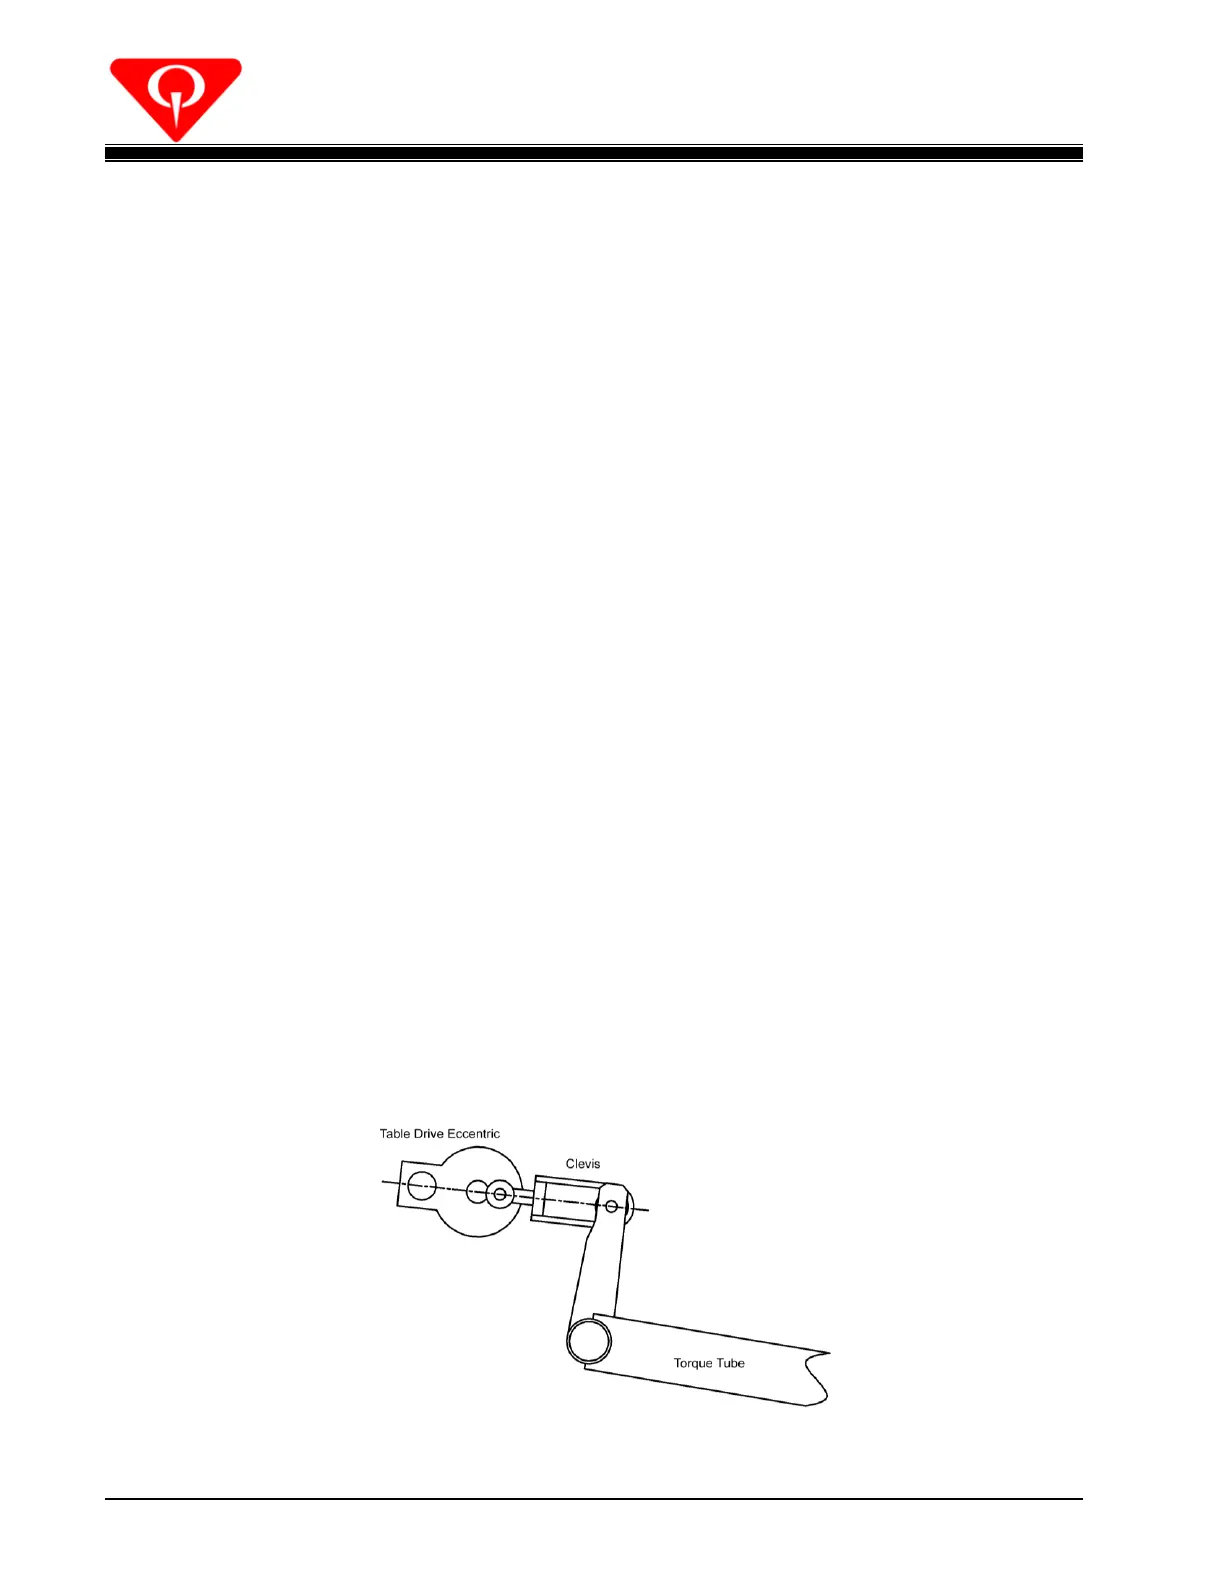
3. Use the Hand crank to align the Table Drive Shaft, Eccentric Stud, and Clevis Bolt to get the Table
exactly at Bottom Dead Center (see Figure 4.2-5).
Figure 4.2-5
 Loading...