XLi EDGE Pinspotter
Section 4-2 4.2-20 Rev. Date: 10/2016
6. Open cell #7 fully.
7. While keeping cell #7 fully open, adjust the slot in the #8 cell connecting link so that the #8 cell
is fully open. Keeping the #8 cell fully open, tighten the bolt in the #8 connecting link slot.
8. Repeat Step 7 for the #9 and #10 cells.
9. With the rear cells (#7, #8, #9, & #10) fully open, turn the open position actuator stop screw
until it is against the actuator lever. Turn the screw an additional 1/2 turn. Tighten the jam
nut on the stop screw.
10. With all cells fully open, adjust and connect the respot cell body links for the remaining 6 cells
so that when connected, the cells are fully open. Set the length of the body links so that the
excess movement (play) in cells 1 through 6 matches the excess movement in cells 7 through
10.
NOTE: When all of the respot cells have been adjusted, and with the front actuator lever in the
open position against the stop, there should be approximately 1/4-inch of play in each
cell’s fingers.
11. Loosen the jam nuts on the short rod (see Figure 4.2-21).
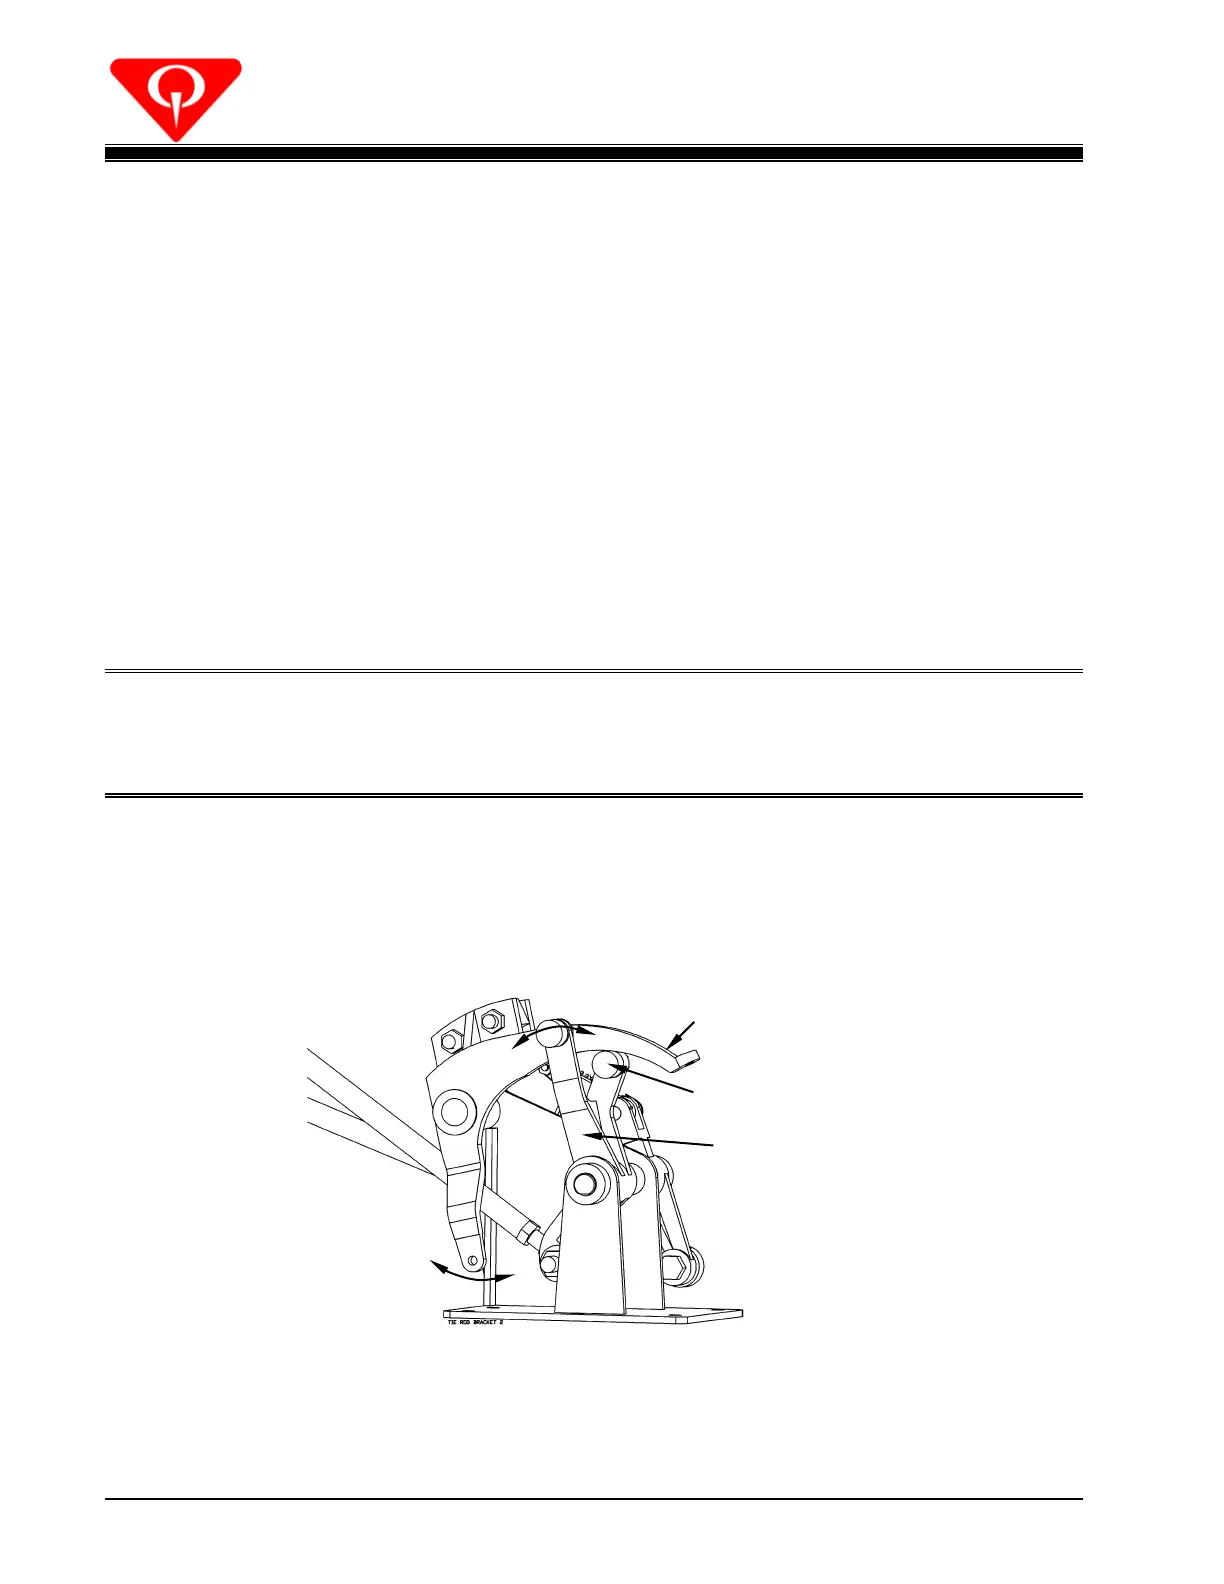
12. Move the spotting lever to the spotting position, which is done by placing the spotting lever in
a "fingers open" position (see Figure 4.2-22).
Figure 4.2-22
13. Open the respot cells fully (actuator lever against the open position stop screw).
 Loading...