19. Original and scanning settings
Allows you to specify scan settings and original feed types.
20. [Reset]
Press to clear the current settings.
21. [ ] [Enter]
Press to confirm values entered or items specified.
22. [Clear]
Press to delete a number entered.
23. [Start]
Press to start sending.
24. Number keys
Use to enter the fax numbers and data for the selected function.
25. [Simplfied Scrn.]
Press to switch to the simple screen.
26. [Recall/Program/Change Program]
Press to register frequently used settings, or to recall registered settings.
See "Registering Frequently Used Settings as a Program (Classic Applications)", User Guide.
• The Fax Settings menu includes a user parameter setting (switch 17, bit 3) that enables you to
configure the machine to return to standby mode whenever it finishes scanning an original.
• See "List of Parameter Settings", User Guide.
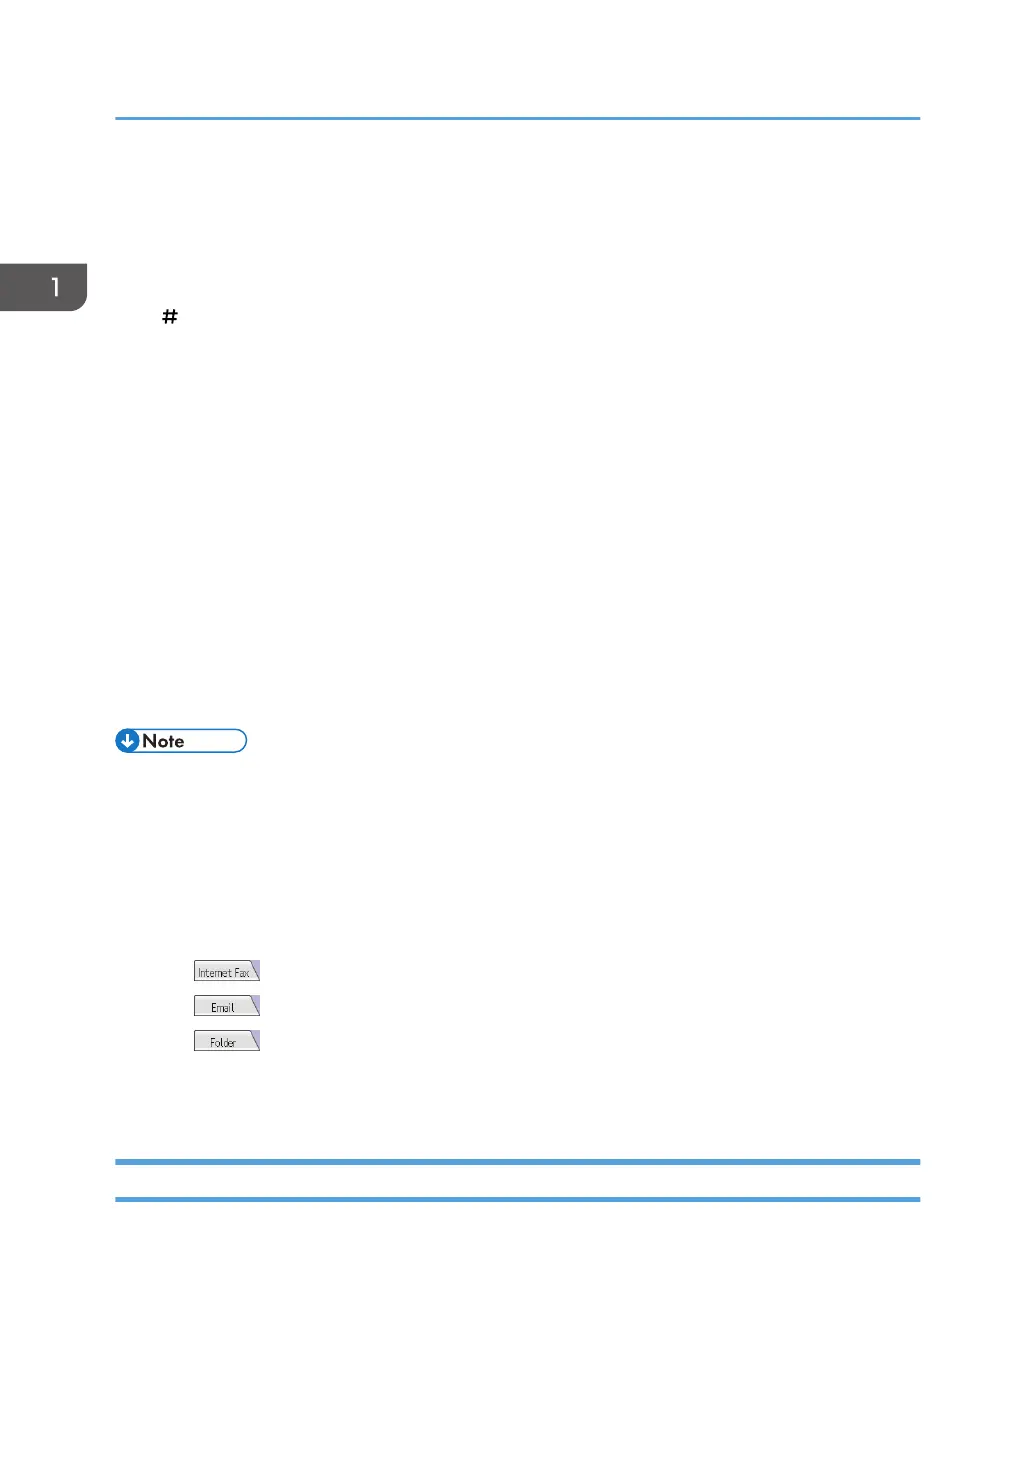
• When the following settings are set to [On] in [Internet Fax/Email/Folder] in [Detailed Initial
Settings], transmission type tabs are displayed.
• See "Detailed Initial Settings", User Guide.
• (Internet Fax): When [Internet Fax Setting] is set to [On].
• (Email): When [Email Setting] is set to [On].
• (Folder): When [Folder Setting] is set to [On].
• Information about documents sent using the facsimile function cannot be checked in the [Job
History] screen. Use [TX/RX Status / Print].
Switching screen patterns
You can switch to the simples screen.
Only the main functions can be used.
Letters and keys are displayed at a larger size, making operations easier.
1. Getting Started
78

 Loading...


