2-32
2 Copy
ComColor Series User’s Guide 09
7
Specify the stamp start page.
Use [S] and [T] to enter a number between 1
and 1000. You cannot enter "0".
• You can also enter the number using the
numeric keys.
• To clear the fields, press the [Clear] key.
To not stamp on the cover, set "Stamp start page"
to "2" (For duplex printing, set this to "3"
depending on the case).
8
Press [OK].
The settings are confirmed and the previous
screen is displayed.
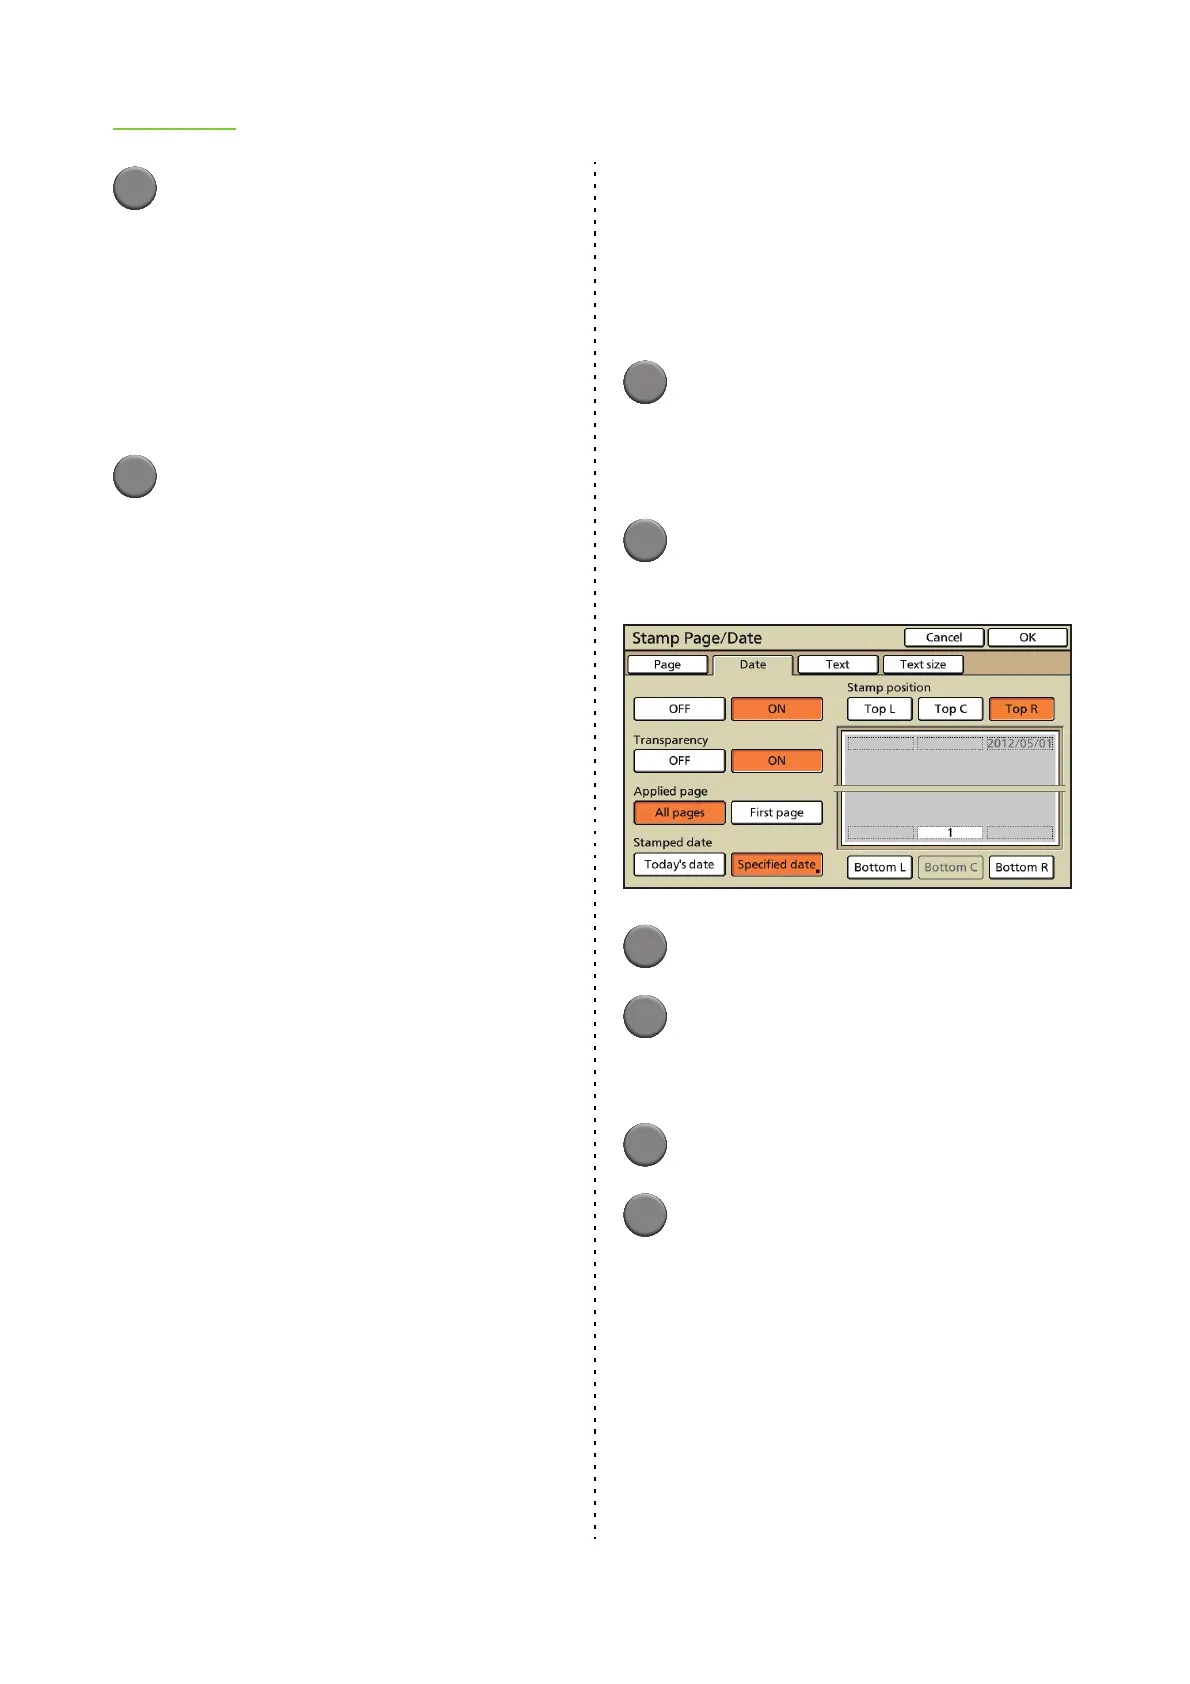
● Stamping the Date
Print the date on the header or footer.
■ Stamp position
[Top L], [Top C], [Top R], [Bottom L], [Bottom C],
[Bottom R]
■ Transparency
[OFF]
Remove images in the stamp area to create a white
space, and stamp the date in that white space.
[ON]
Stamp date on top when the stamp area and images
overlap.
■ Applied page
Select the page(s) to stamp the date.
[All pages], [First page]
■ Stamped date
[Today's date]
Today's date (the date set on the machine) is
stamped.
[Specified date]
Specify the date to be stamped.
1
Display the [Stamp Page/Date]
screen.
Follow Steps 1 to 2 (p. 2-31) in "Stamping the
Page Number".
2
Press [Date].
The [Date] screen is displayed.
3
Press [ON].
4
Select the date stamp position.
• You cannot select the position for stamping the
page number and text.
5
Select the transparency.
6
Select the pages to apply.