2-20
2 Copy
ComColor Series User’s Guide 09
"Color mode" (p. 2-9)
"Scanning level" (p. 2-14)
"Duplex/Simplex" (p. 2-14)
"Copy and pause" (p. 2-23)
"Save to folder" (p. 2-24)
"Save to archive" (p. 2-25)
"ADF scan & pause" (p. 2-26)
"Scanning size" (p. 2-27)
"Mixed size original" (p. 2-28)
"Book shadow erase" (p. 2-28)
"Multi-up" (p. 2-29)
"Stamp Page/Date" (p. 2-31)
"Image quality" (p. 2-35)
"Gamma control" (p. 2-35)
"Image control" (p. 2-36)
"Base color level" (p. 2-36)
"Print density" (p. 2-37)
"Program" (p. 2-37)
"Collate/slip sheet" (p. 2-43)
"Auto-Rotate" (p. 2-44)
"Add cover" (p. 2-42)
"Staple/Punch" (p. 2-45)
"Paper folding" (p. 2-47)
"Booklet" (p. 2-48)
"Output tray" (p. 2-50)
"Overlay" (p. 2-53)
● Saving Settings
1
Use the copy mode screen to
configure the copy functions you
want to save or retrieve.
2
Press [Functions] on the copy
mode screen.
3
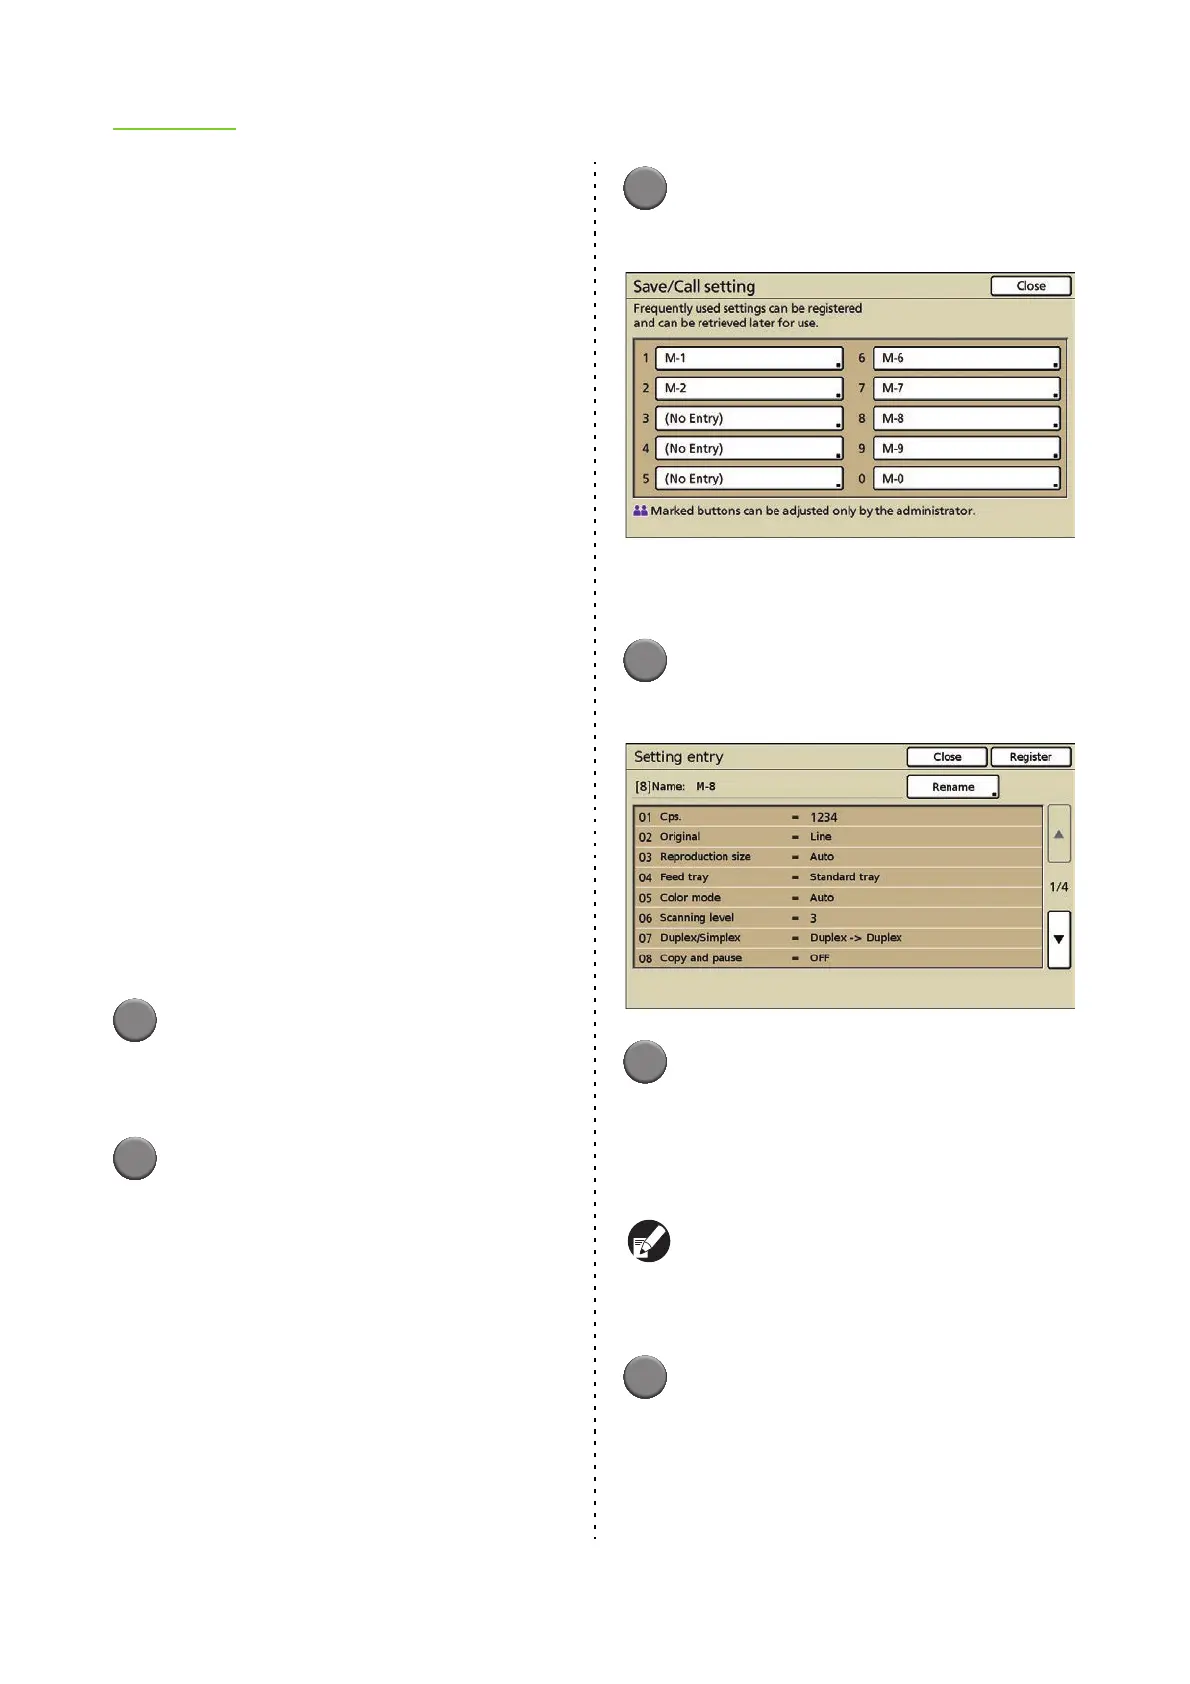
Press [Save/Call setting].
The [Save/Call setting] screen is displayed.
• [No Entry] is displayed for buttons that do not
have registered settings.
4
Press [No Entry].
The [Setting entry] screen is displayed.
5
Confirm the setting.
The current settings are displayed on the [Setting
entry] screen.
To add a name to a button, go to Step 3 in
"Renaming the Settings".
Only administrator can register settings shared by
all users when [Login setting] has been set to
[Required]. During this step, press [Setting is
shared by all users].
6
Press [Register].
The copy mode settings set in Step 1 are registered.
• The registration name is displayed as "M" with
a registration number ([M-1] to [M-9] and [M-
0]).