160
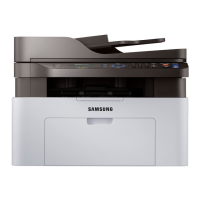
7. Scanning
Scanning and sending to USB /shared folder
You can scan a document and save the scanned image onto USB memory
device/ shared folder. When you scan a document, the machine uses the default
settings, such as for resolution. You can also customize your own scan settings
(see "Changing the scan feature settings" on page 162).
11
Understanding the USB /shared folder screen
Press Scan to USB or Scan to Shared Folder in the display screen.
This option is available when the USB inserted or mass storage device (hard
disk) installed.
Basic tab
• File Name: Makes a file name to store the scan data.
• File Format: Select the file format before you proceed with the scanning
job.
• Resolution: Selects the scanning resolution value.
• Darkness: Adjusts the degree of darkness of scanned output.
Advanced tab
• Duplex: For originals that are scanned on both sides.
• Original Size: Selects the size of originals.
• Original Orientation: Selects the orientation of the originals.
• Build Job: After the scanning is finished, the Scan More Pages window
appears to ask if you want to scan another page. If you select Yes, then you
can scan another page in the current job. If you select No, then the scanning
process is completed and the remainder of the job is performed.
Image tab
You can move to next or previous pages using the up/down arrows located at
the bottom left.
• Original Type: Selects whether the original is text, photo, etc.
• Color Mode: Adjusts the color options of scanned output.
• Adjust Background: Erase the background to some extent by adjusting
density or brightness.
• Erase Backside Image: Prevents scanning the other side’s image shown
through the original paper.
• Scan to Edge: Scans the document all the way to the edge of the paper.
 Loading...