2.9.9 IO
The InSpec IO menu for a Sampler or a Blender consists of 3 sub-menus. Note, this
menu is not available on the remote IO InSpec. This is to ensure all calibration and
configuration of the IO for a remote device is performed via the menus (Web or front panel) on
the master InSpec.
IO
→
Configure – option for configuring the digital types (Inputs, Outputs or Grab
(Sampler only)), setup the control digitals and enter the URL/IP address of any configured
remote devices.
IO
→
Tests – option for testing the Pulse/Frequencies, ADC’s, DAC’s, Digital IN’s and
Digital OUT’s.
IO
→
Calibration – option for calibrat the ADC’s and DAC’s.
For a sampler and a Blender, you will initially be prompted to choose whether you
want to configure the IO options for the local device or one of the remote devices.
Note on a Sampler there is also the useful option to ‘Find Grab’. With the facility for
the master unit to host 10 remote IO units and for the Grab signal to be on any one of the
digitals on these additional cards, it might be common to forget exactly where the digital grab is
configured. This menu option tells you which card and which digital to look at.
2.9.9.1 IO TESTS
Figure 20 - Selecting tests from the IO tests menu
The image above shows the IO test selection menu. The five available test options
are:
Pulse Frequency.
The user will be prompted for which pulse / frequency test channel they wish to test,
and the following test screen will appear:
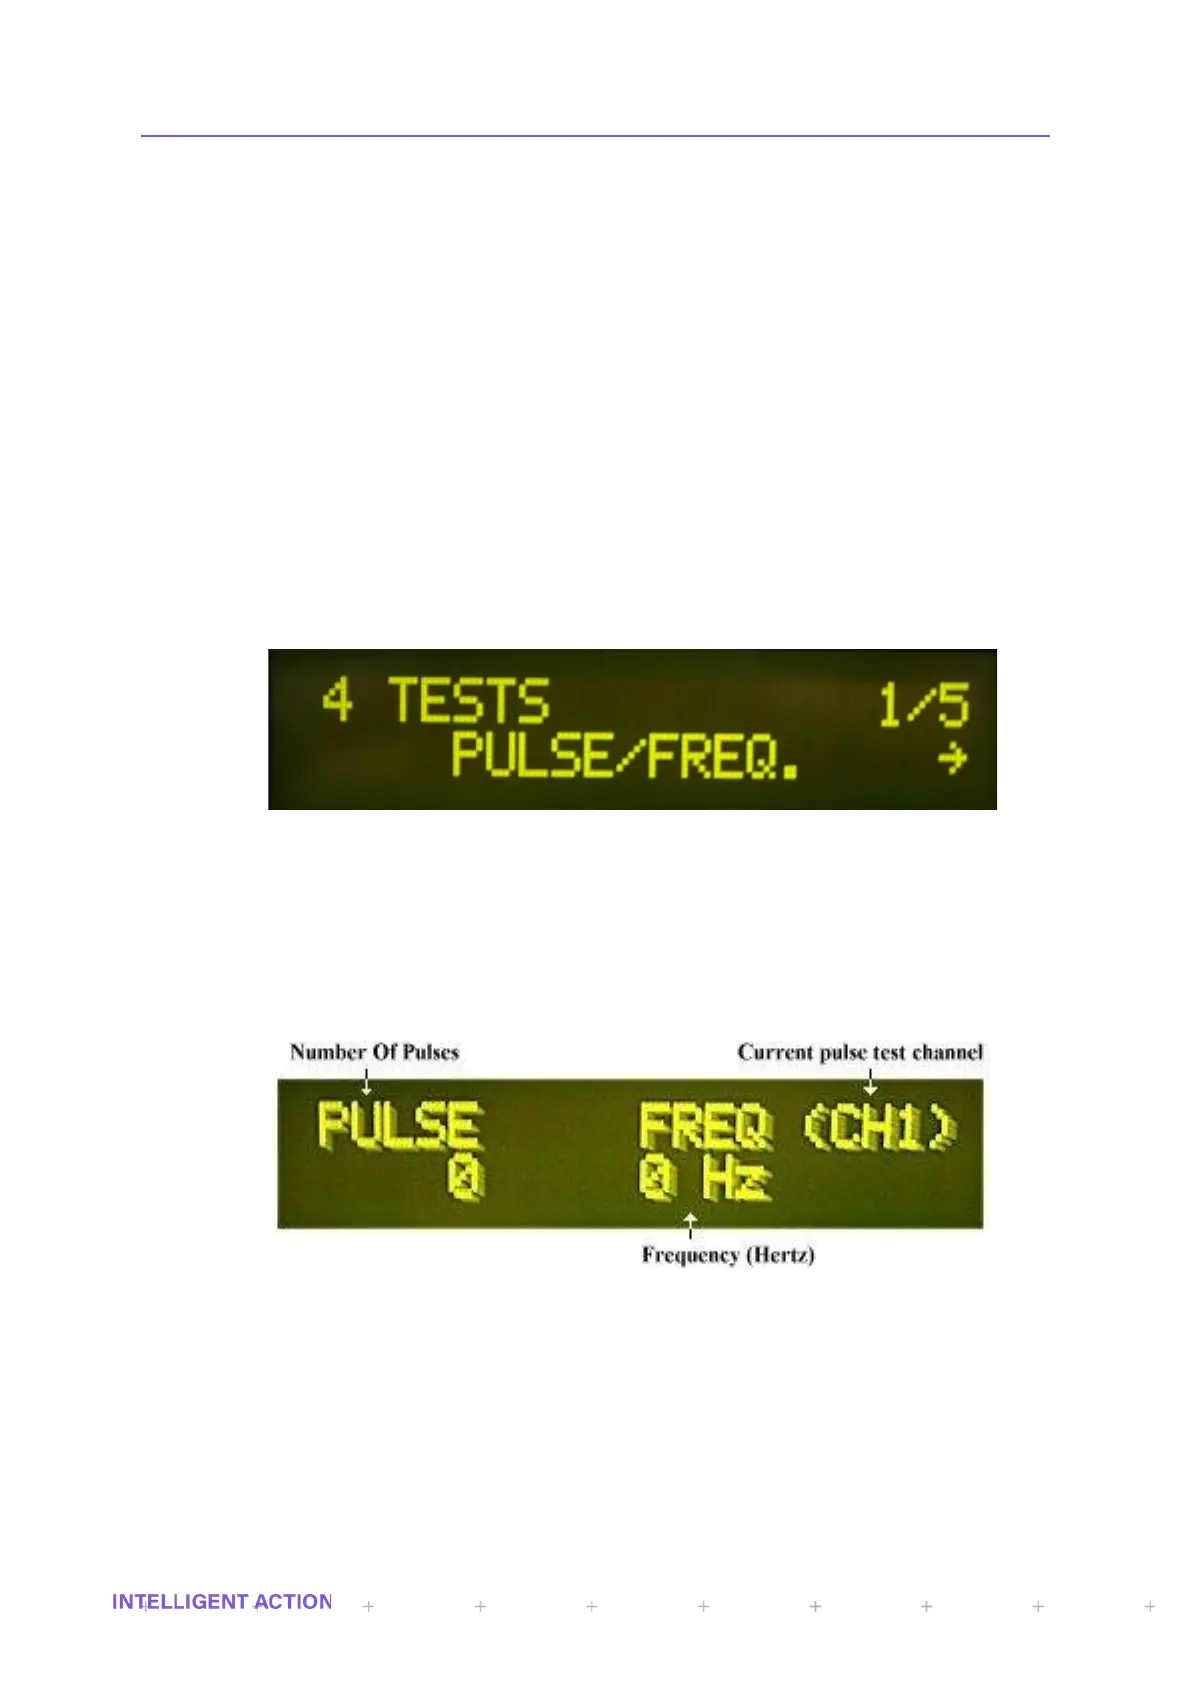
Figure 21 - The Pulse / Frequency test screen from the IO tests menu
This display shows the raw pulse count coming into the pulse input. This value
converted to a frequenc y is displayed on the right. Use the UP and DOWN buttons to switch
between channels 1 and 2. The values for pulse and frequency will naturally deviate on the
display.
ADCS.
Test the three ADC values. Again, the user will be prompted for which pulse/
frequency test channel they wish to test and the following test screen will appear:
 Loading...