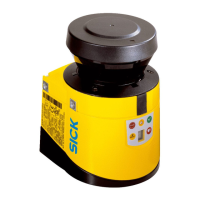
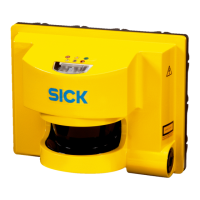
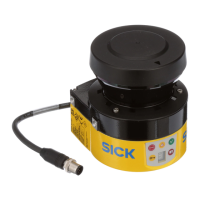
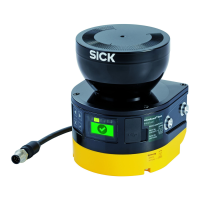
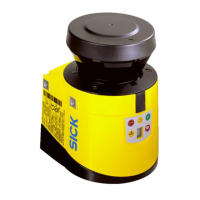
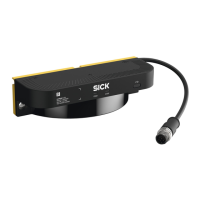
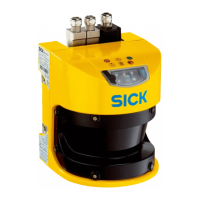
Further topics
•
"Spar
e parts", page 144
•
"Cleaning agent", page 145
•
"Mounting the device", page 56
•
"Optics cover calibration", page 92
10.4 Replacing the safety laser scanner
Important information
DANGER
H
azard due to lack of effectiveness of the protective device
If an unsuitable configuration is saved in the system plug, it may cause the dangerous
state to not end in time.
►
After replacement, make sure the same system plug is used or the configuration is
restored.
►
Make sure that the safety laser scanner is aligned correctly after the replacement.
NOTICE
Enclosure rating IP65 only applies if the optics cover and the system plug are mounted
and the USB connection is closed with the protective cover.
NOTICE
If t
he system plug is mounted with excessive force, the contacts can break or bend.
►
Plug in the system plug carefully.
►
Do not force it.
10.4.1 Replacing the safety laser scanner without system plug
Overview
In many cases, you can reuse the existing bracket and the existing system plug. When
t
he new safety laser scanner is switched on for the first time, it reads the configuration
from the system plug and can be used without having to be reconfigured.
Prerequisites
Tool required:
•
TX10 key
Approach
1.
Make sure that the environment is clean and clear of fog, moisture, and dust.
2. Unscrew the fixing screws and remove the defective safety laser scanner.
3. Unscrew screws in the system plug and remove the system plug from the defective
safety laser scanner.
4. Mount the system plug on the new safety laser scanner.
5. Mount the new safety laser scanner.
MAINTENANCE 10
8027909/2023-02-22 | SICK O P E R A T I N G I N S T R U C T I O N S | nanoScan3 – EtherNet/IP™
105
Subject to change without notice
 Loading...
