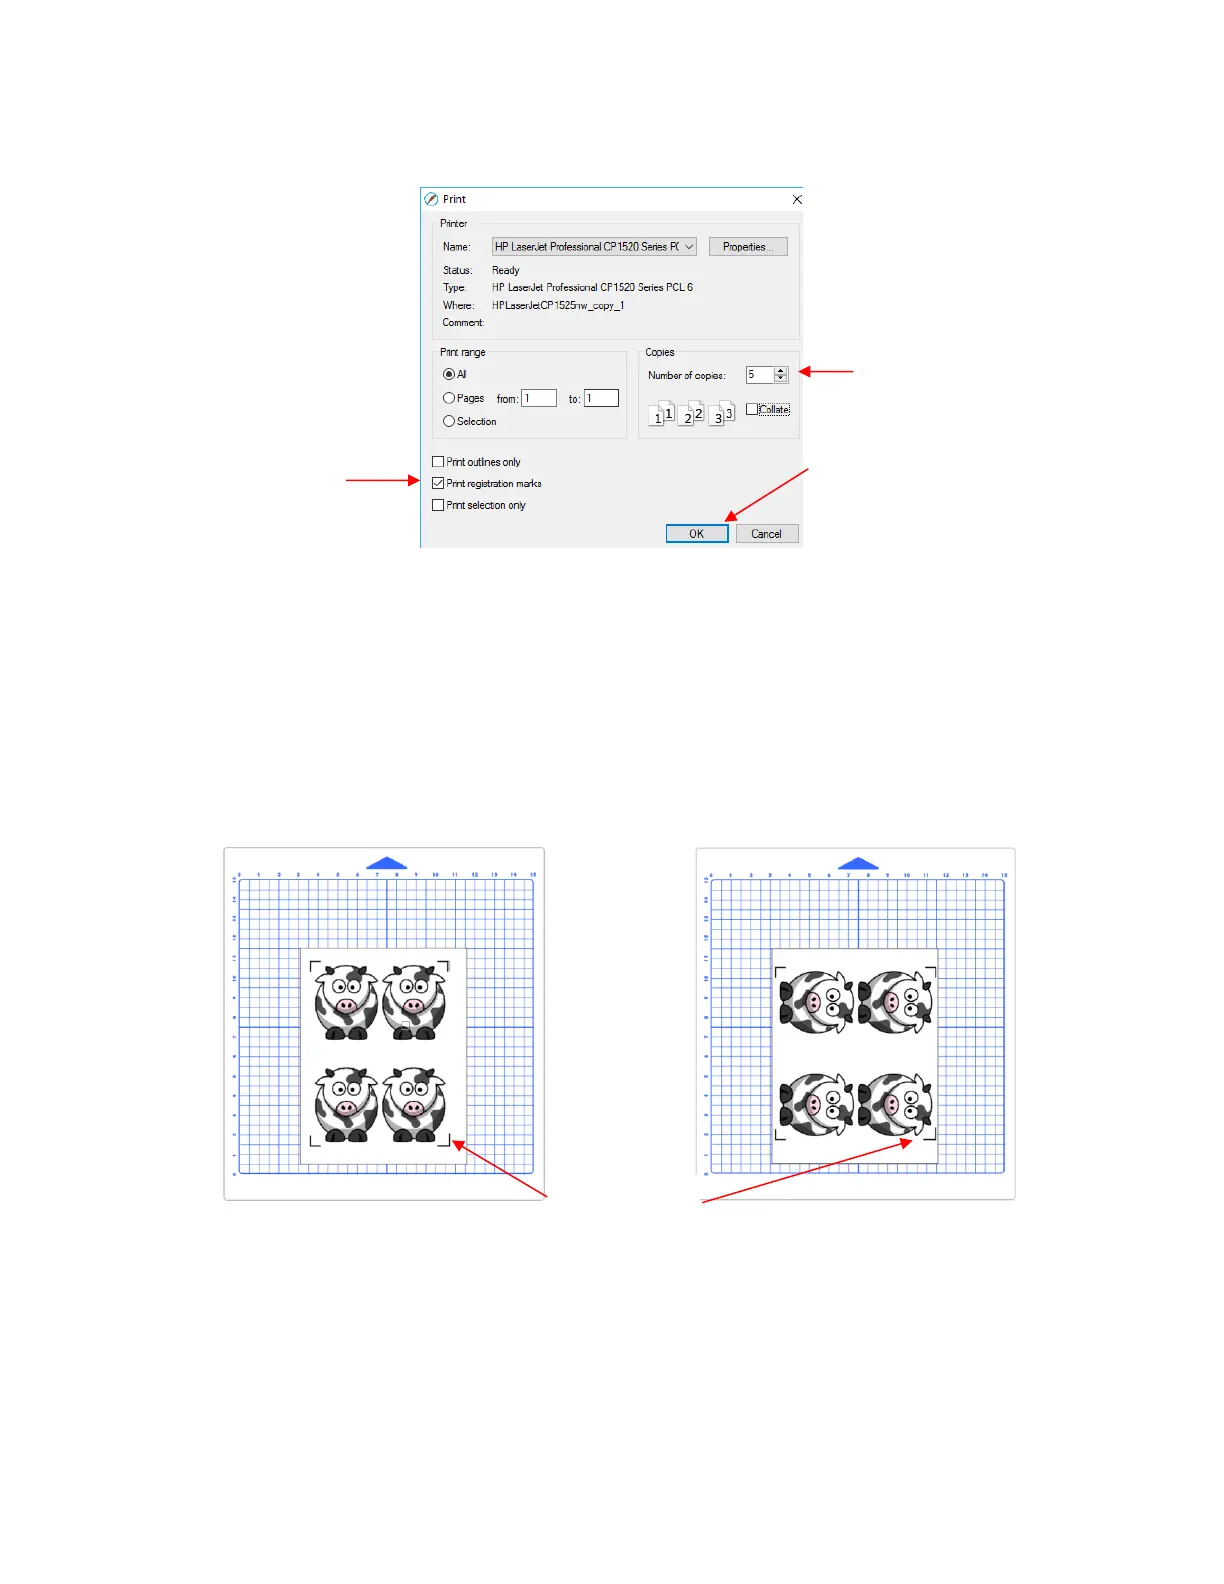
(11) Place the printout onto the cutting mat using the following guidelines:
• If you used Portrait Orientation, the cows should face forward. If you used Landscape
Orientation, the cows should face towards the left. Refer back to the prior screenshots and note the
direction of the triangle on the cutting mat relative to the images of the cows.
• Place the printout towards the center of the mat and align the printout along grid lines so that it’s
approximately straight. If you take note of which grid mark is being used, it will make things faster
with any subsequent repeats.
• Make sure the printout is smoothly pressed to the mat.
(12) Insert the mat into the cutter, aligning one of the grid lines with the ruler or some other horizontal line visible
through the mat. The alignment doesn’t need to be perfect, just close enough that it makes for a faster and,
of course, successful detection by the camera.
(13) Place the blade holder into the Skycut and move the head until the blade holder is over the lower right
printed registration mark as shown in the prior screenshot. Note that you can also set this same origin from
within SCAL’s Print+Cut window, as will be shown later in this tutorial.
(14) In SCAL, open the Cut Settings window and enter the cut settings you use for the paper you are cutting.
Then click on the Print+Cut button:


 To Next Page