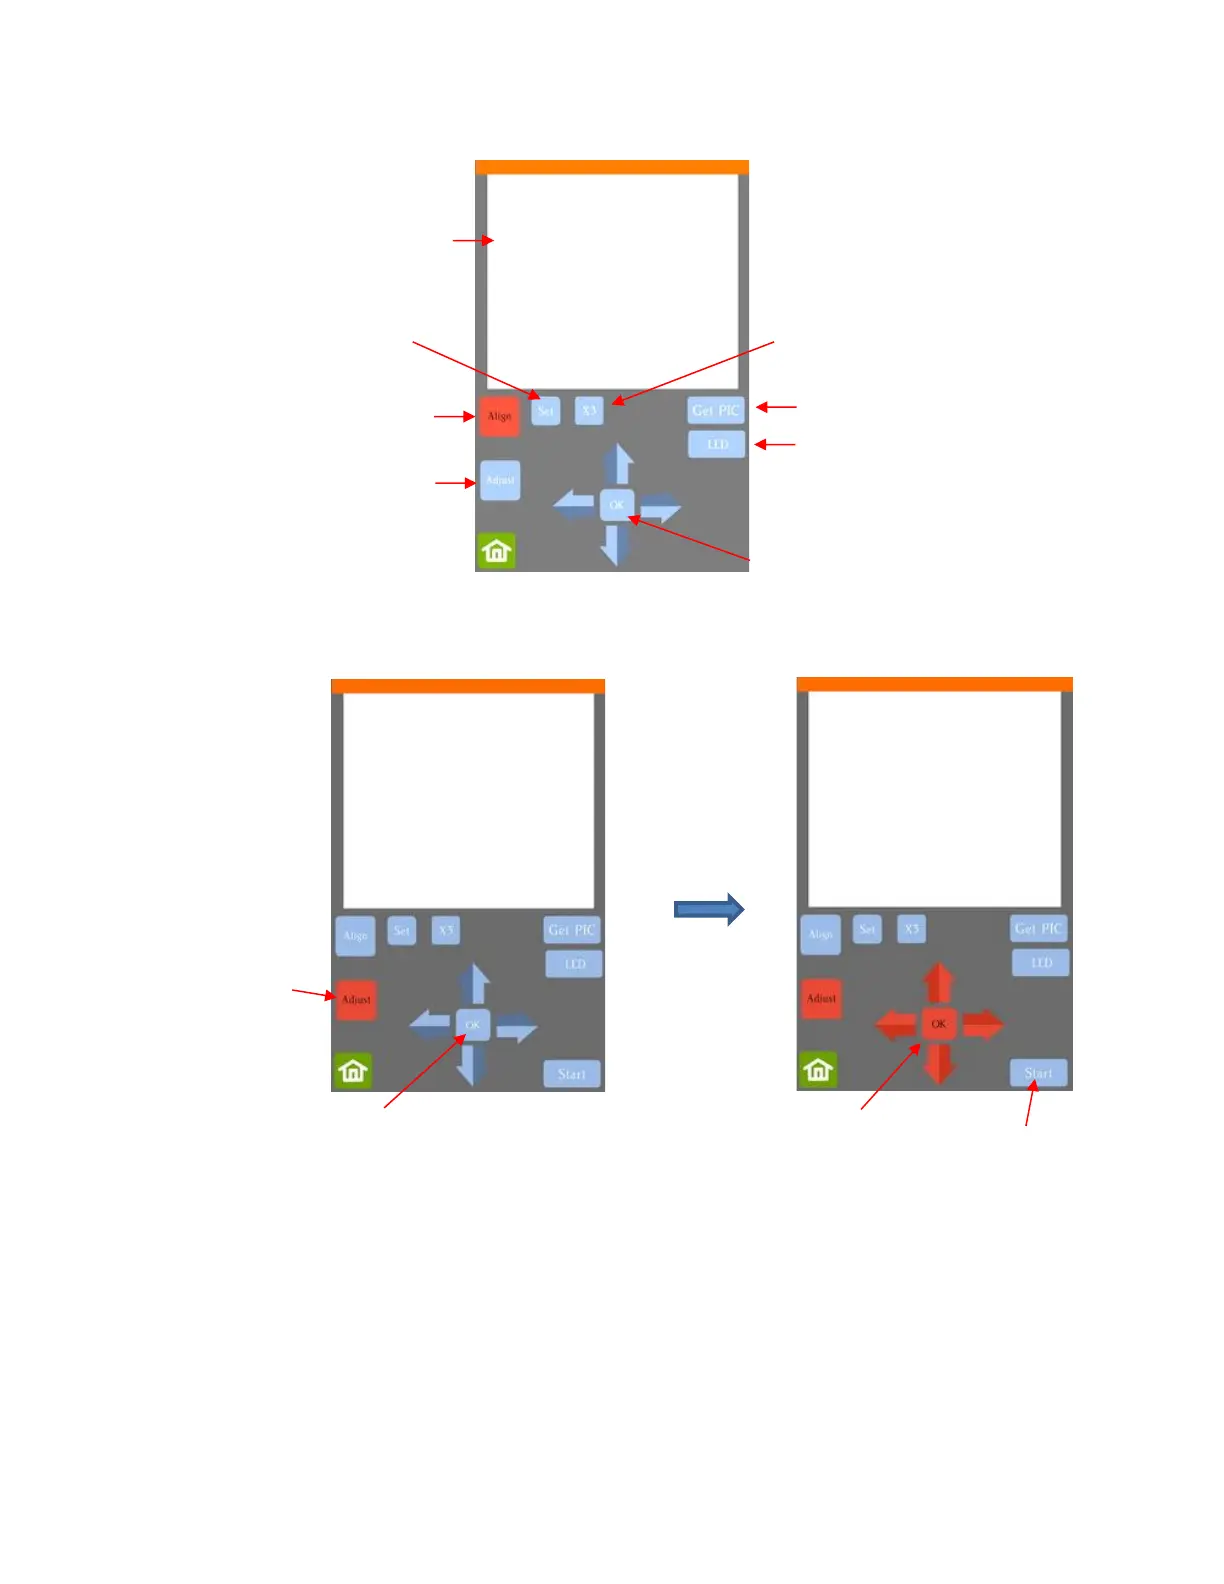
(5) Press Adjust to switch to calibrate mode. Press and hold the OK button for several seconds until it and
the arrows around it turn red:
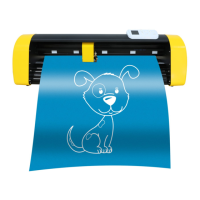
(6) Press Start. The test shape, which is a grid of 6 lines, will be drawn first on the right side of the paper by the
right-side pen. Then the same test shape will be drawn by the left-side pen about 4 inches to the left of the
first test shape.
(7) The camera will move over the right-side test shape, take a photo, and display the photo on the control
panel. If you cannot see the test shape clearly, press the LED button once so that it reads LED 50% and
press the Get PIC button. You should see three items in the photo: the test shape that was drawn with the
right-side pen, a red +, and the blue dashed +:


 To Next Page