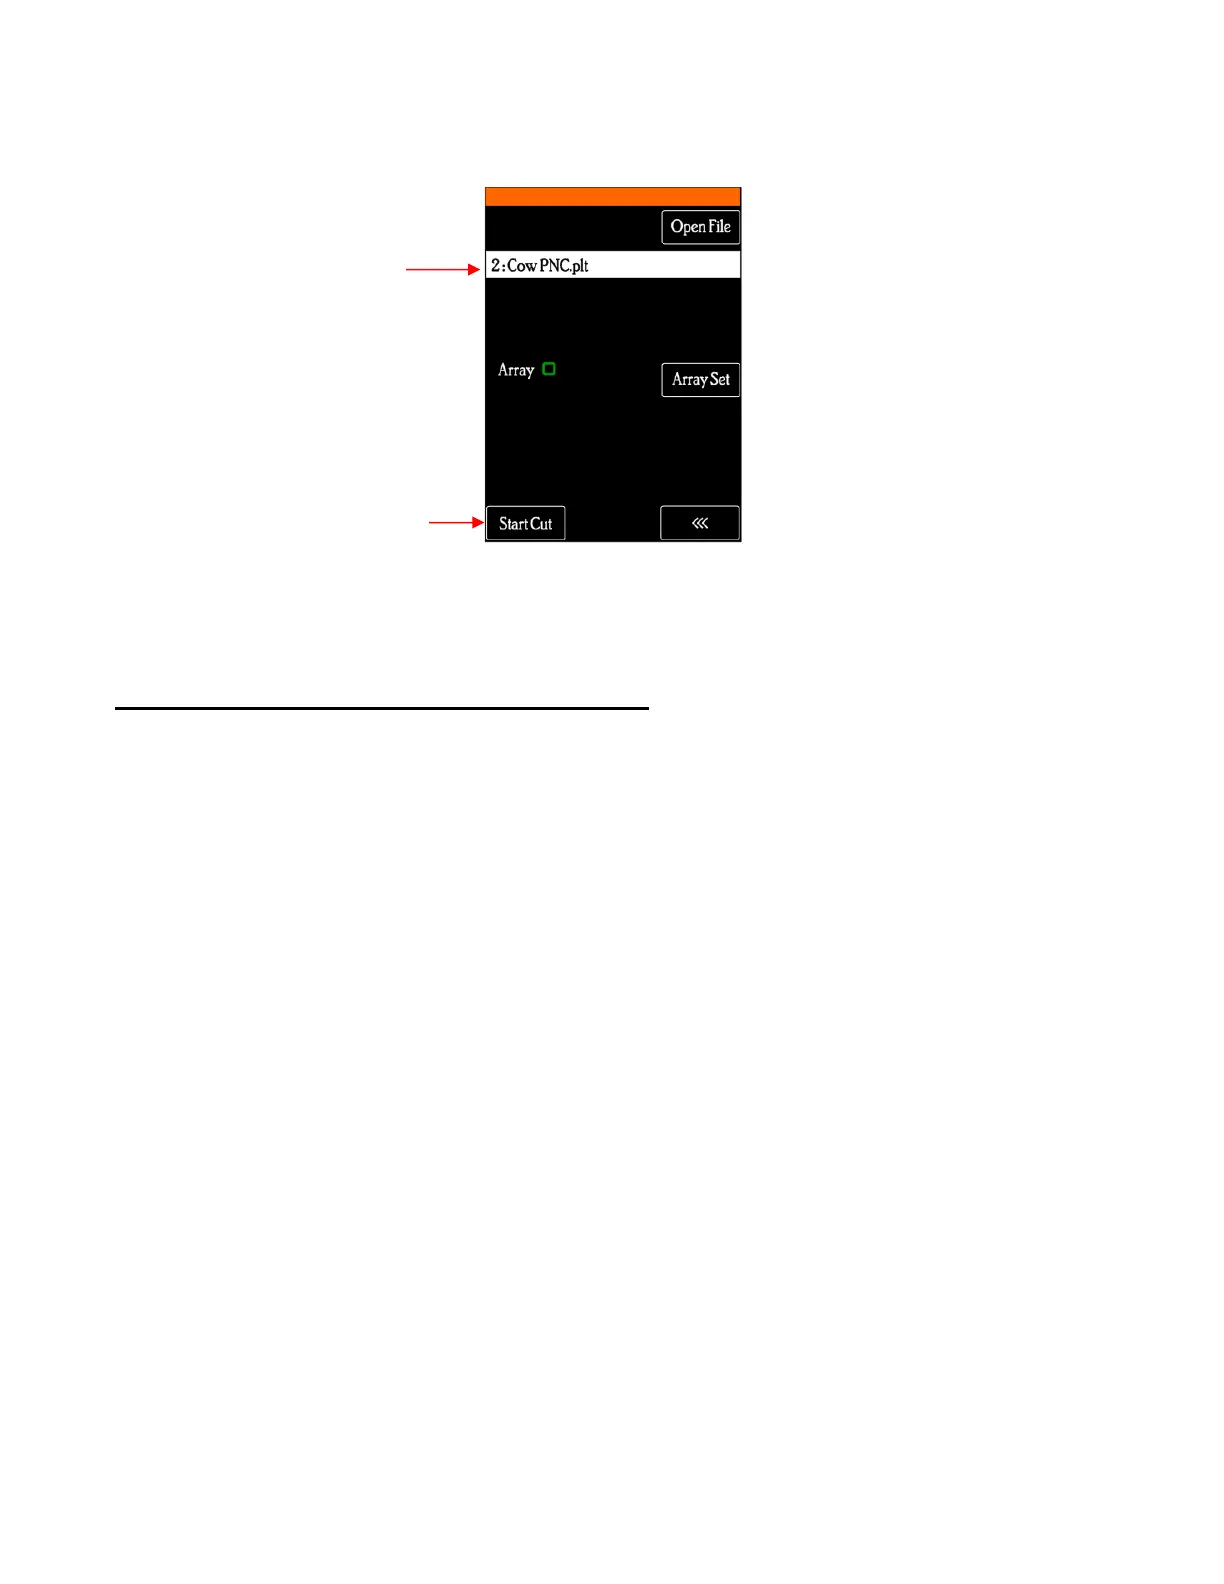
Assuming the printout is on the cutting mat and the blade holder is over the lower right registration mark,
click on Start Cut and the marks will be scanned by the camera and the shapes cut out.
E2 Printing a PNC Project from Outside of CREATE
• Sometimes users prefer to print their designs from other applications, such as Adobe Illustrator or
Photoshop. The following procedure cover this process somewhat generically.
(1) Open the file in the alternative program. To make things easier, make sure the Page or Document size
matches that which will be used for printing.
(2) If the program is a raster designing program, such as Photoshop, export the file as PNG. If the program
is a vector designing program, such as Illustrator, export the file as AI. For vectors, only export the cut
lines.
(3) In CREATE, set the Page dimensions to also match that which will be used for printing.
(4) If the file to be imported is PNG, then import and trace the design. It is not necessary to also include the
original image. You only need the vector trace line. If the file to be imported is AI, then import as you
would any other vector file.
(5) Save this file so that it can later be used for cutting.
(6) For PC owners: Go to File>Print and mark the option for Print registration marks. For printer, select
Microsoft Print to PDF. (If you have an older version of Windows, you may need to download and
install a PDF printer. There are free ones like Cute PDF.) Click on OK. Name the file and note where it
is being saved.
 Loading...