Clicking Update Preview to check the tracing based on current settings
Making changes to the Image Settings and Output Settings to optimize the trace
Selecting OK to move the results to the Page
• To begin the process, click on Choose an image to import the image you wish to trace. Alternatively,
File>Place Image in the main window can also be used and, with that image selected, clicking on the Trace
Image icon will automatically import the image into this window.
• Note the Prompt to continue tracing icon: Enable this function so that you have the option to stay in the
Trace Image window after clicking on OK. In certain circumstances, this will be very handy.
• Before proceeding, note that PNG files created with a transparent background can be imported (using the
Import icon on the upper Toolbar) into the main window of CREATE with the trace lines in place. The
Layers Panel will indicate both a Cut layer and Print layer are present and you can verify the cut line in the
Preview window, as was shown in Section 3.03.
4.09.2 Image Settings
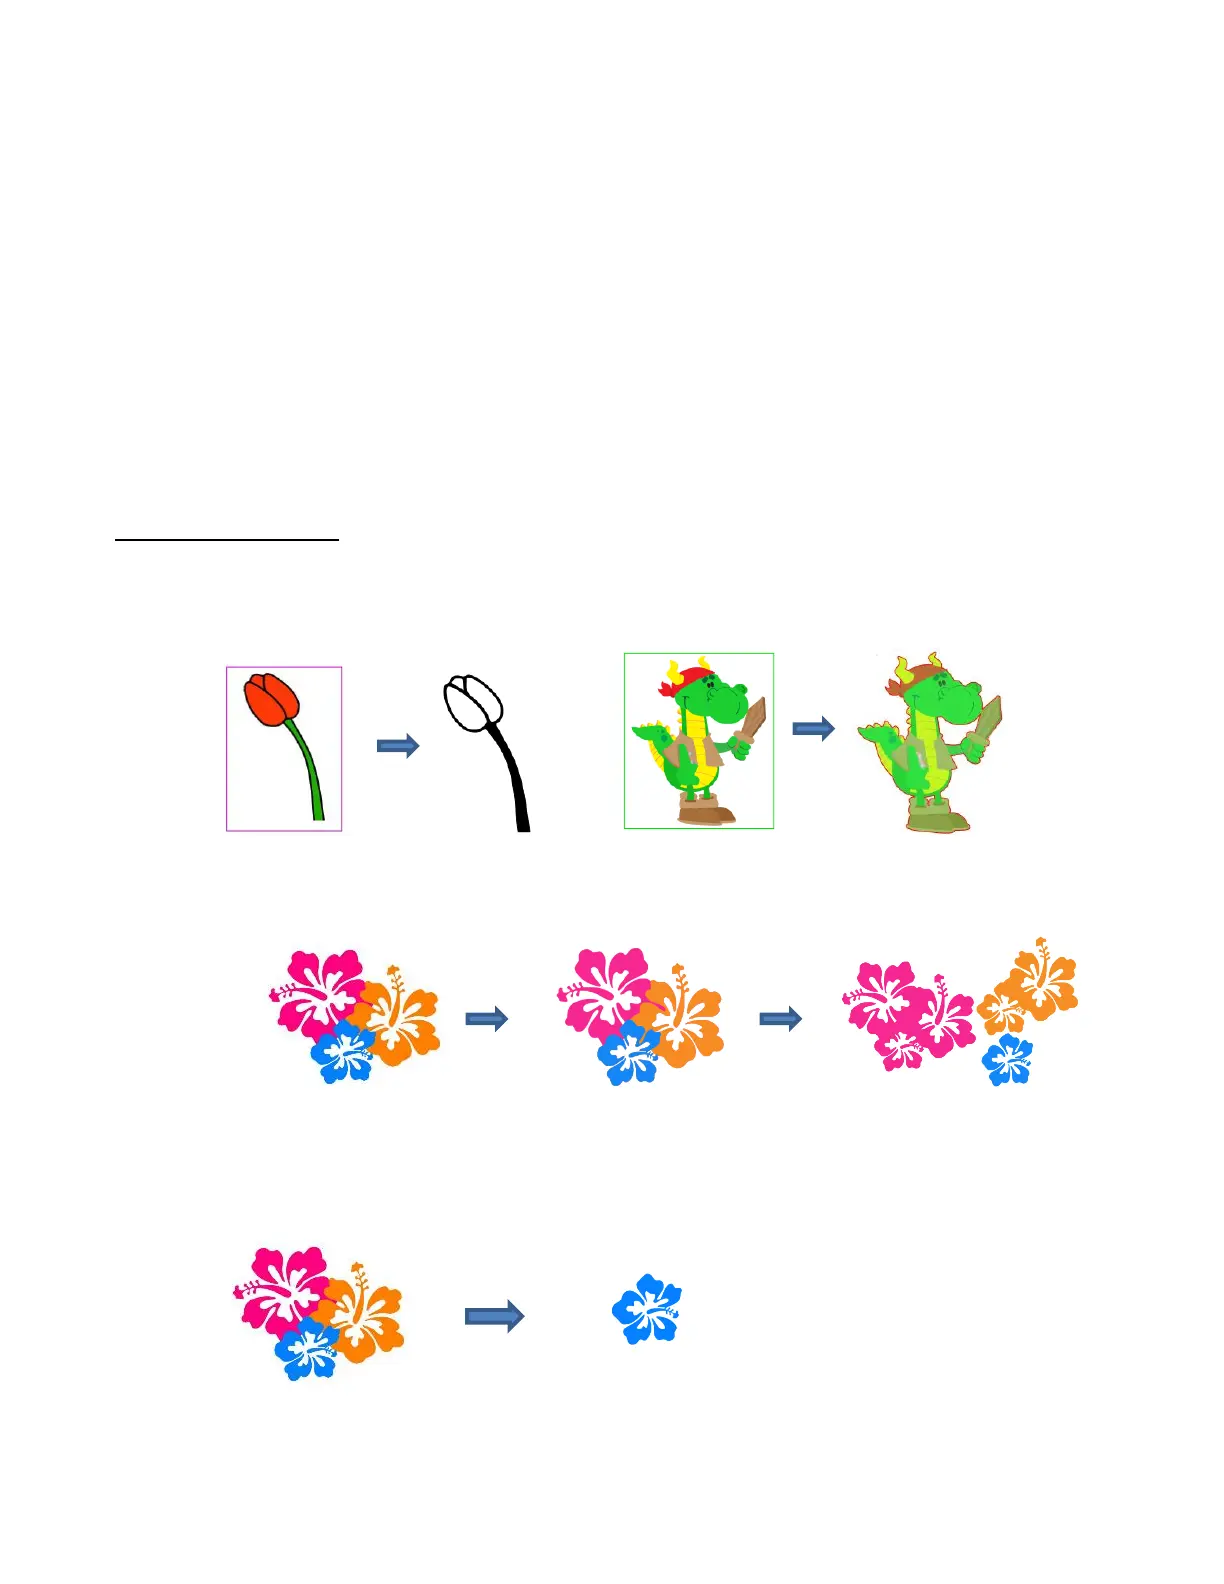
• The Mode menu provides 3 options for tracing the image:
Monochrome: choose this mode when you only need a black and white trace of the image or when
setting up a Print+Cut application:
Color Layers: choose this mode for multi-color images where you need separate colors, such as for a
paper piecing or layered vinyl project and you want under-layers to use for alignment.
Single Color: choose this mode when you want to single out a certain color to be traced or when the
multi-color image needs to have colors traced exactly as displayed. This would be a typical choice for an
HTV application where you do not want layers of material to overlap: