This will then locate your cuts closer to the origin and reduce the likelihood of sending them outside
of the cutting range.
• If the SOLO stops and the blade carriage is not located near the left side:
Make sure it’s not a communication issue. For cuts which take a long time to complete, a USB
connection or saving your file in PLT format onto a flash drive to load directly into the SOLO is
recommended.
You may have exceeded a buffer limit. Try reducing the number of nodes: Refer to Section 6.01 of
the StarCraft CREATE User Manual.
____________________
Whenever I start a cut, a Job window opens. How do I stop that from happening? That used to not happen.
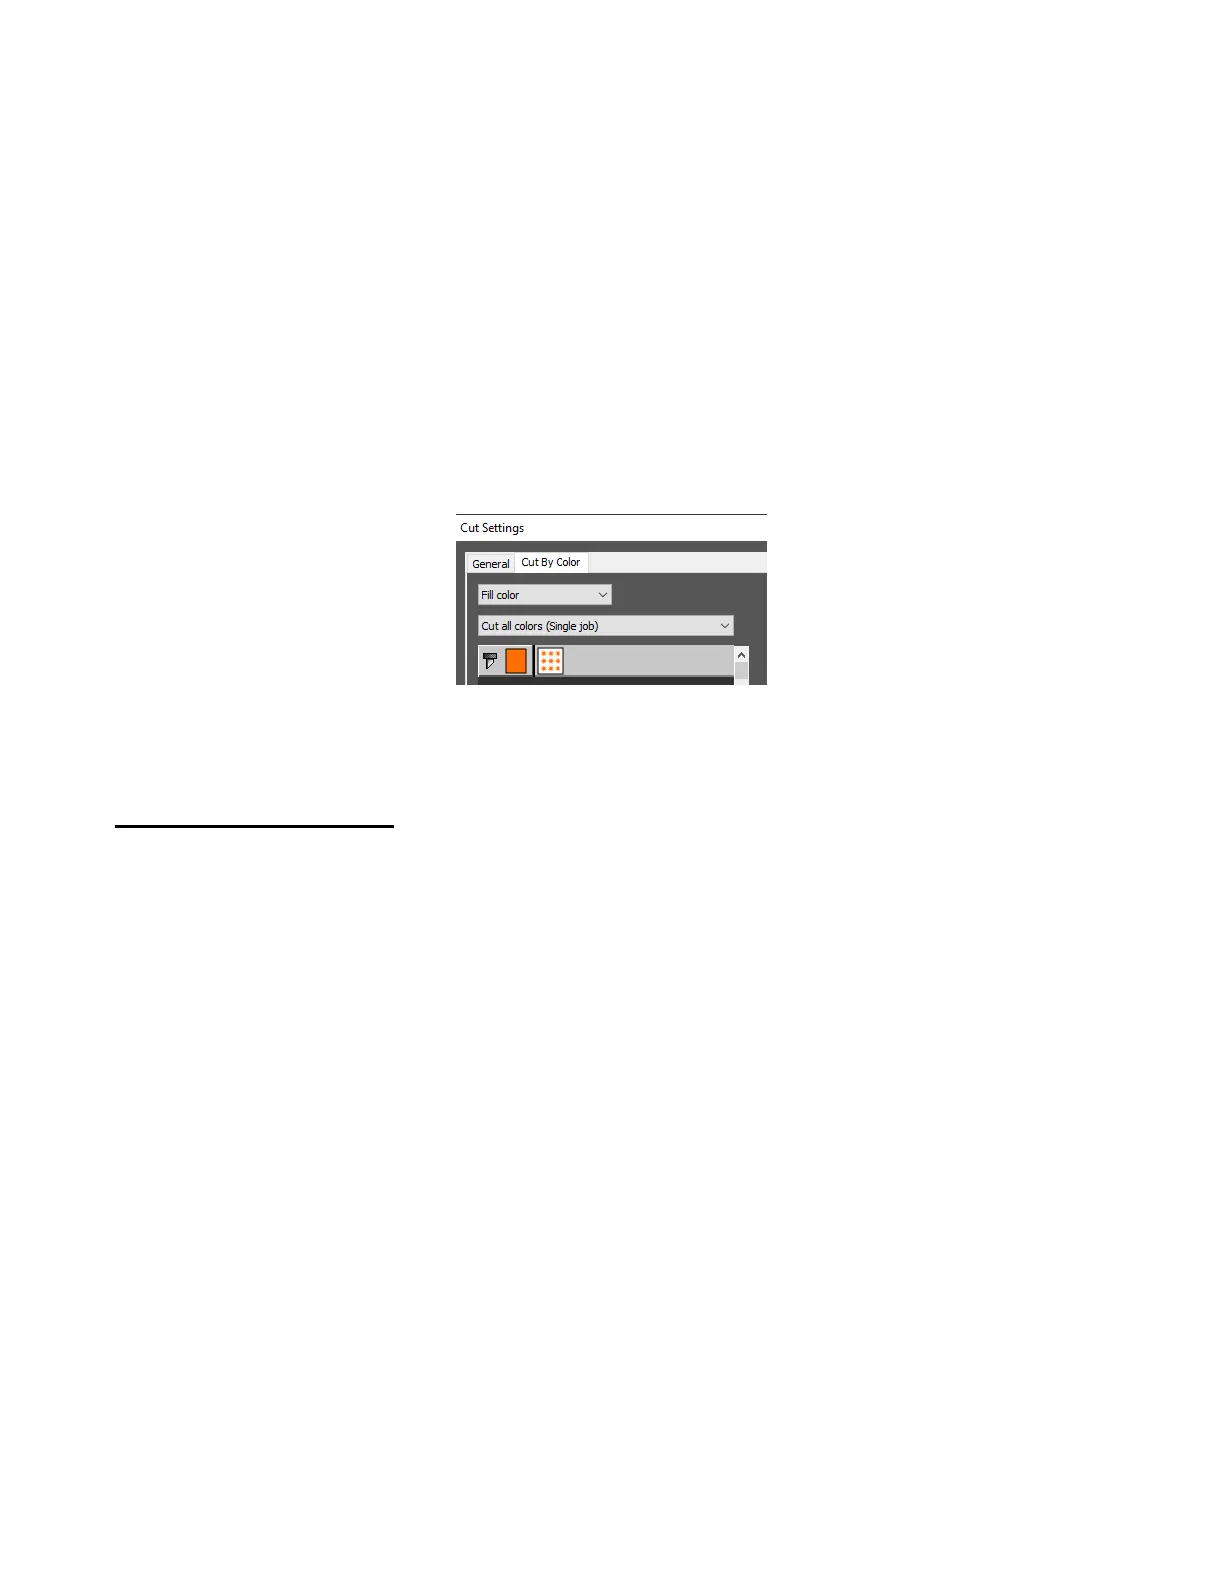
• Click on the Cut by Color tab in the Cut Settings window and make sure Cut all colors is selected:
____________________
A3 Cutting/Drawing Issues
I am getting large lines sliced through all of my cuts.
• Your CREATE software is still in trial mode. You need to register your copy of CREATE. Refer to
Section 1.06.1.
____________________
My shapes are drawing (cutting) off the material. What am I doing wrong?
• When setting the origin, make sure you are using the tip of the blade as the reference point and set the
tip inside the corner of the material (not too close to an outside edge).
• Check whether the Document Panel Orientation is in Vertical (Portrait) or Horizontal (Landscape)
mode. This will change whether your image appears the same way you see it on the screen or rotated
90 degrees relative to the screen.
• Check which Cut Mode is set in the Cut Settings window.
• Details on these various settings are covered in Sections 2.03.2 and 2.06.
____________________
When drawing with the test pen (or cutting with the blade holder), I have extra lines being drawn (or cut).
• Make sure you raise the pen in the blade holder seat on the SOLO before tightening the screw. The
blade holder seat needs to be able to drop the pen down when it reaches the spot to start drawing.
Otherwise, the tool tip will be dragging across the material from the origin to where the shape will begin
and then back to the origin at the end of the “cut”.
• Make sure you have registered your copy of CREATE. Watermark lines are made in the trial version.