Checking the option for Keep original outline will better define the shape, as it will also draw the
original shape.
• Make sure your shapes will not be drawn where any of the pinch wheels travel over the material. Otherwise,
the ink might smear.
• For quicker drawing of lettering, open path fonts work well as they provide single drawn lines and curves
versus an outline form that usually then requires a fill. Refer to Section 4.11 of the StarCraft CREATE User
Manual.
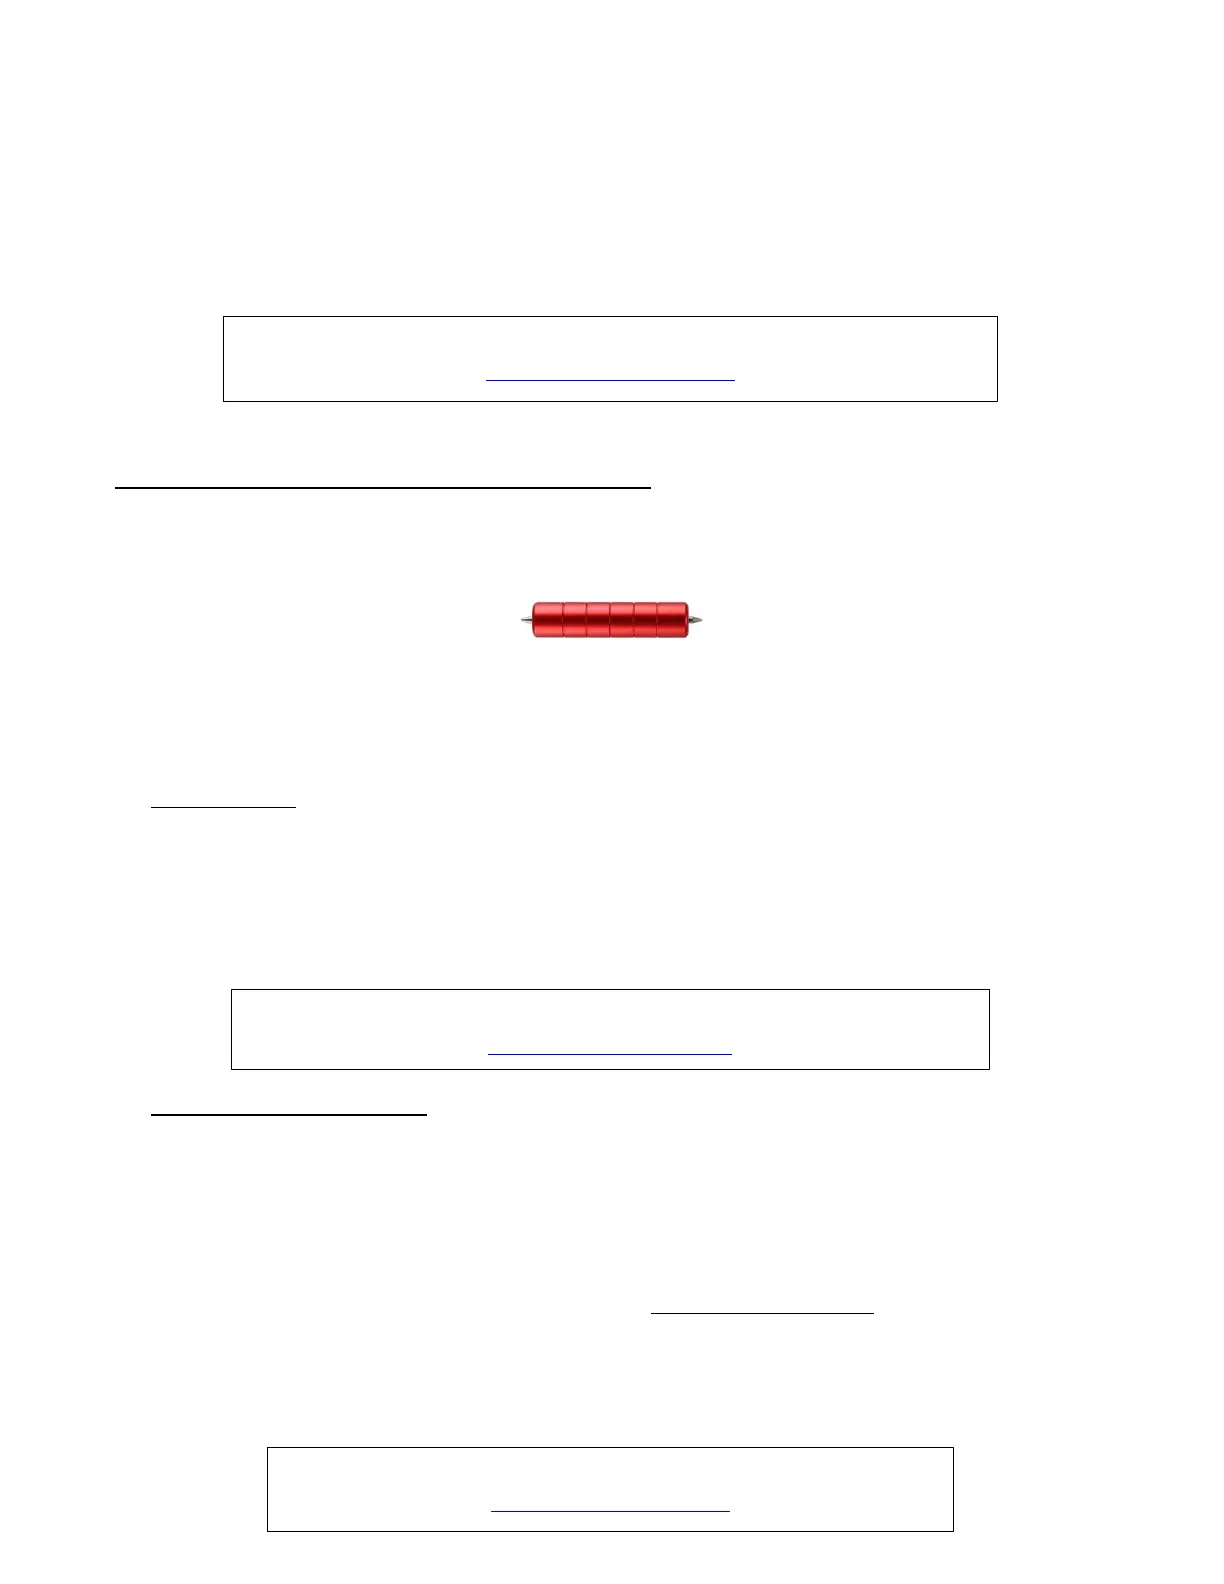
6.04 Scoring Fold Lines and Debossing/Embossing
• The SOLO Scorer/Debossing tool has two heads which are identical. This tool can be used when creasing
cardstock for fold-up projects, such as pop-up cards, gift bags, and small boxes. It can also be used for
debossing or embossing shapes.
• Perform tests first to get the best settings for the application you need. In most cases, setting Multi-cut to 2
or 3 passes at a lower force yields better results than trying to achieve what you need in a single pass.
When too much pressure is applied, the mat can skew out of place which then, of course, skewing will ruin
the project.
• Tips on Scoring:
The paper or cardstock should be applied directly to the mat, just as you do for cutting.
Because the scoring will not be as deep on the underside of the paper or cardstock as the top side, fold
all score lines (valley and mountain) forward to establish the fold on both sides. Then flip over and fold
any mountain scores the opposite way. This especially works well on pop-up cards.
Always select WYSIWYG as the Cut Mode in the Cut Settings window.
• Tips on Embossing/Debossing:
It is recommended that a soft material (such as thin EVA foam) be place beneath the paper or cardstock
to allow a deeper impression to be made. Make sure the material is well adhered to the mat. Then tape
your paper or cardstock to the top of this material.
o If you will need aligned cutting after using the embossing tool, be sure to hinge tape the top or
bottom of the cardstock to the mat, so that the EVA foam can be removed without disturbing the
position of the cardstock. Refer to Appendix B2 for a method of moving the mat to facilitate access
to the material and then returning the mat to the exact same starting point.
If you will be cutting out shapes immediately after using the tool, the blade holder will probably need to
be mounted higher than normal. Refer to Section 2.01.
Using several very small shadow layers to create either embossing or debossing outlines will result in
much better results than attempting to do a line fill. More about this is covered in the link below.