(10) If the arrow buttons are still red, repeat the prior two steps.
(11) Once the arrow buttons are white, press the Home button and then press Stop on the Main Screen to
save the calibration and conclude the process. Your camera is calibrated!
3.03 Performing a PNC in CREATE
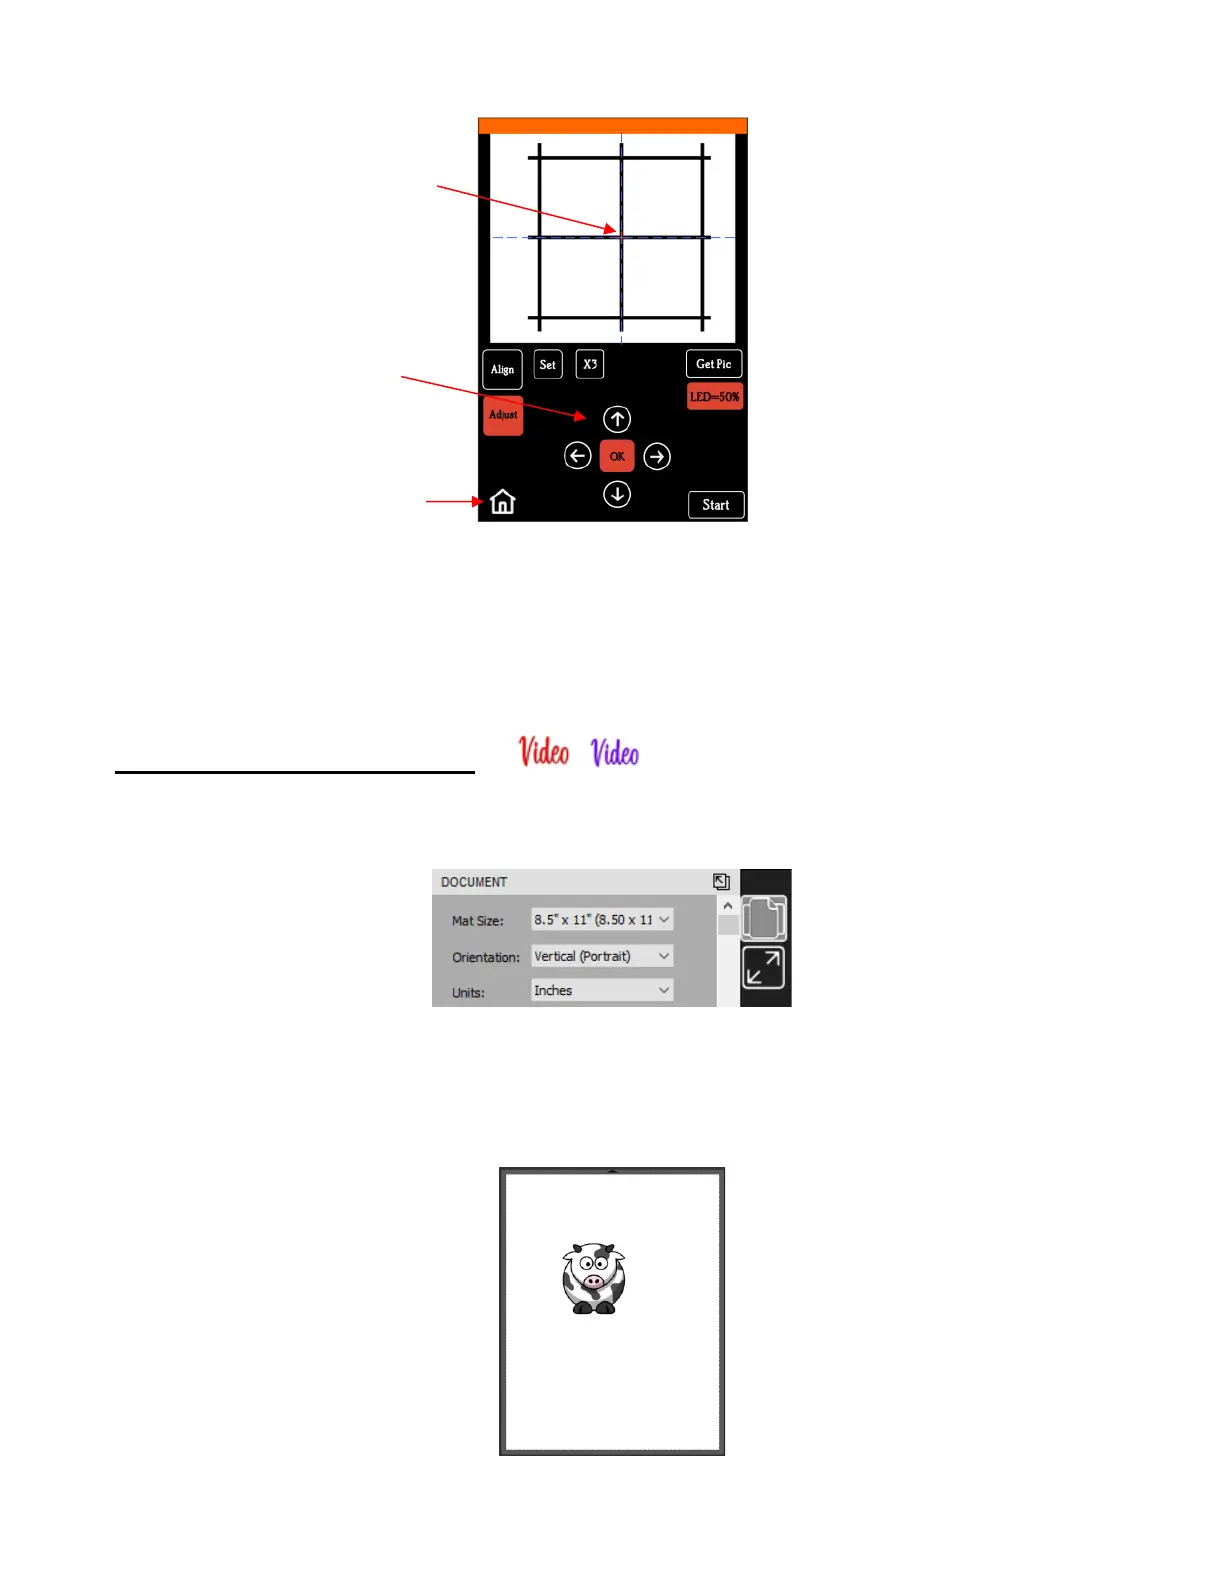
(1) The Page dimensions can be any size you choose. For convenience, Letter size (8.5” x 11”) will be used
since it matches the paper size that will be used for printing in the screenshots:
(2) To keep things simple for this exercise, a PNG file with a transparent background is selected because
CREATE has the ability to automatically recognize the border of the image and create the necessary cut
line. Note that there is more than one way to open a PNG file into CREATE, but because the automatic
trace line is desired, using File>Import (or clicking the Import icon on the Toolbar) must be selected: