Or…Place the paper onto the cutting mat and then insert the cutting mat into the Solo:
• Before installing the test pen, make sure the pen will write by scribbling on scrap paper. Note that there is a
little piece of wax on the pen nib that will need removing. Then follow these steps:
Loosen the screw on the blade holder seat.
Insert the test pen allowing it to freely rest on top of the paper.
Before tightening the front screw, raise the test pen up a little bit (~ 1/8” or several mm). You don’t want
the pen still touching the paper but you also don’t want the pen too high above the paper either.
Tighten the front screw to lock in the test pen. Be careful not to push down on the blade holder seat
while tightening.
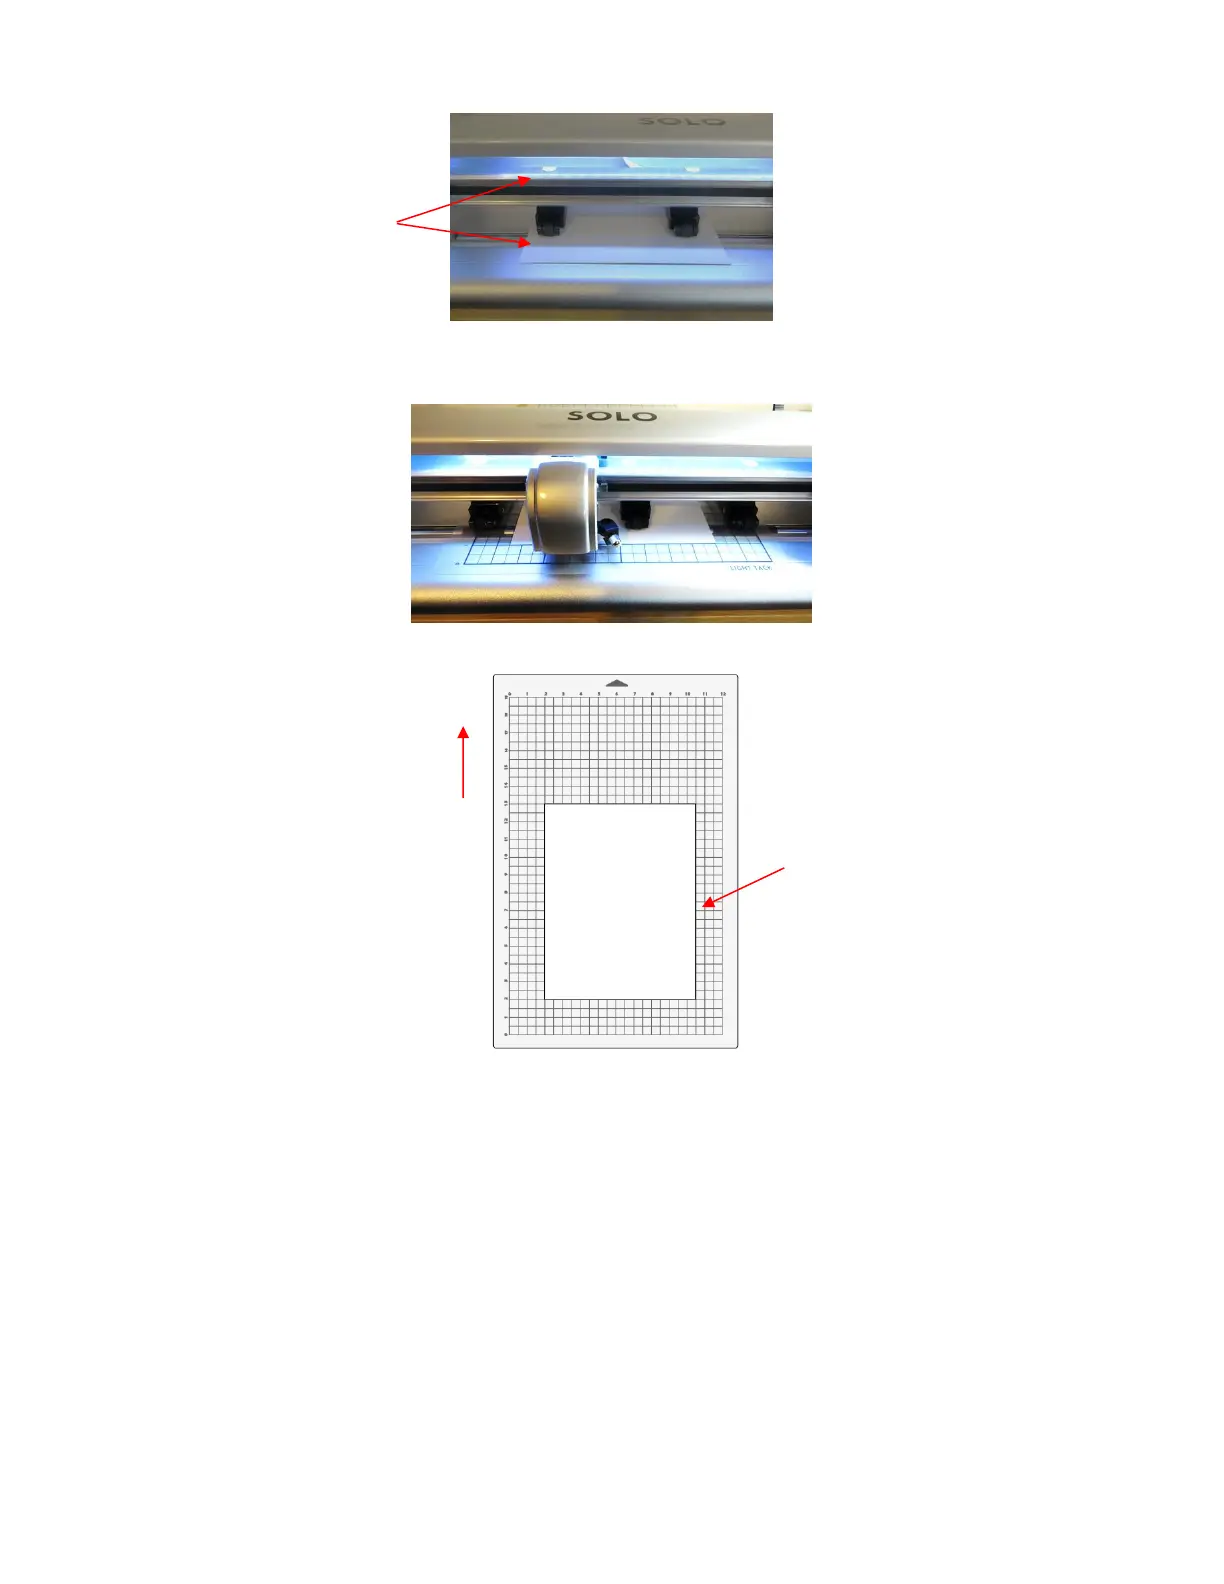
• Use any of the horizontal markings along the front of the SOLO to align the mat (or paper) so that it’s
straight. Lift the pinch lever to drop the pinch wheels onto the cutting mat (or paper).
 Loading...