• If you completed the steps in Sections 1.06 and 1.08, then Model should indicate SOLO and the
Connection should be set to whichever method you elected to use.
• Set the Cut Mode to WYSIWG (What You See Is What You Get) as indicated in the prior screenshot.
• Change the remaining settings to match the prior screenshot. More details about these settings will be
covered in other sections.
IMPORTANT! The preview of the arrow will not appear until Pen is selected under Holder. The default,
Blade, would have been used if the Cut Line Type on the Style Panel had been left at the default of Cut.
• Click on the CREATE icon at the bottom of the Cut Settings window and the arrow will draw in the same
location on the paper as on the Page:
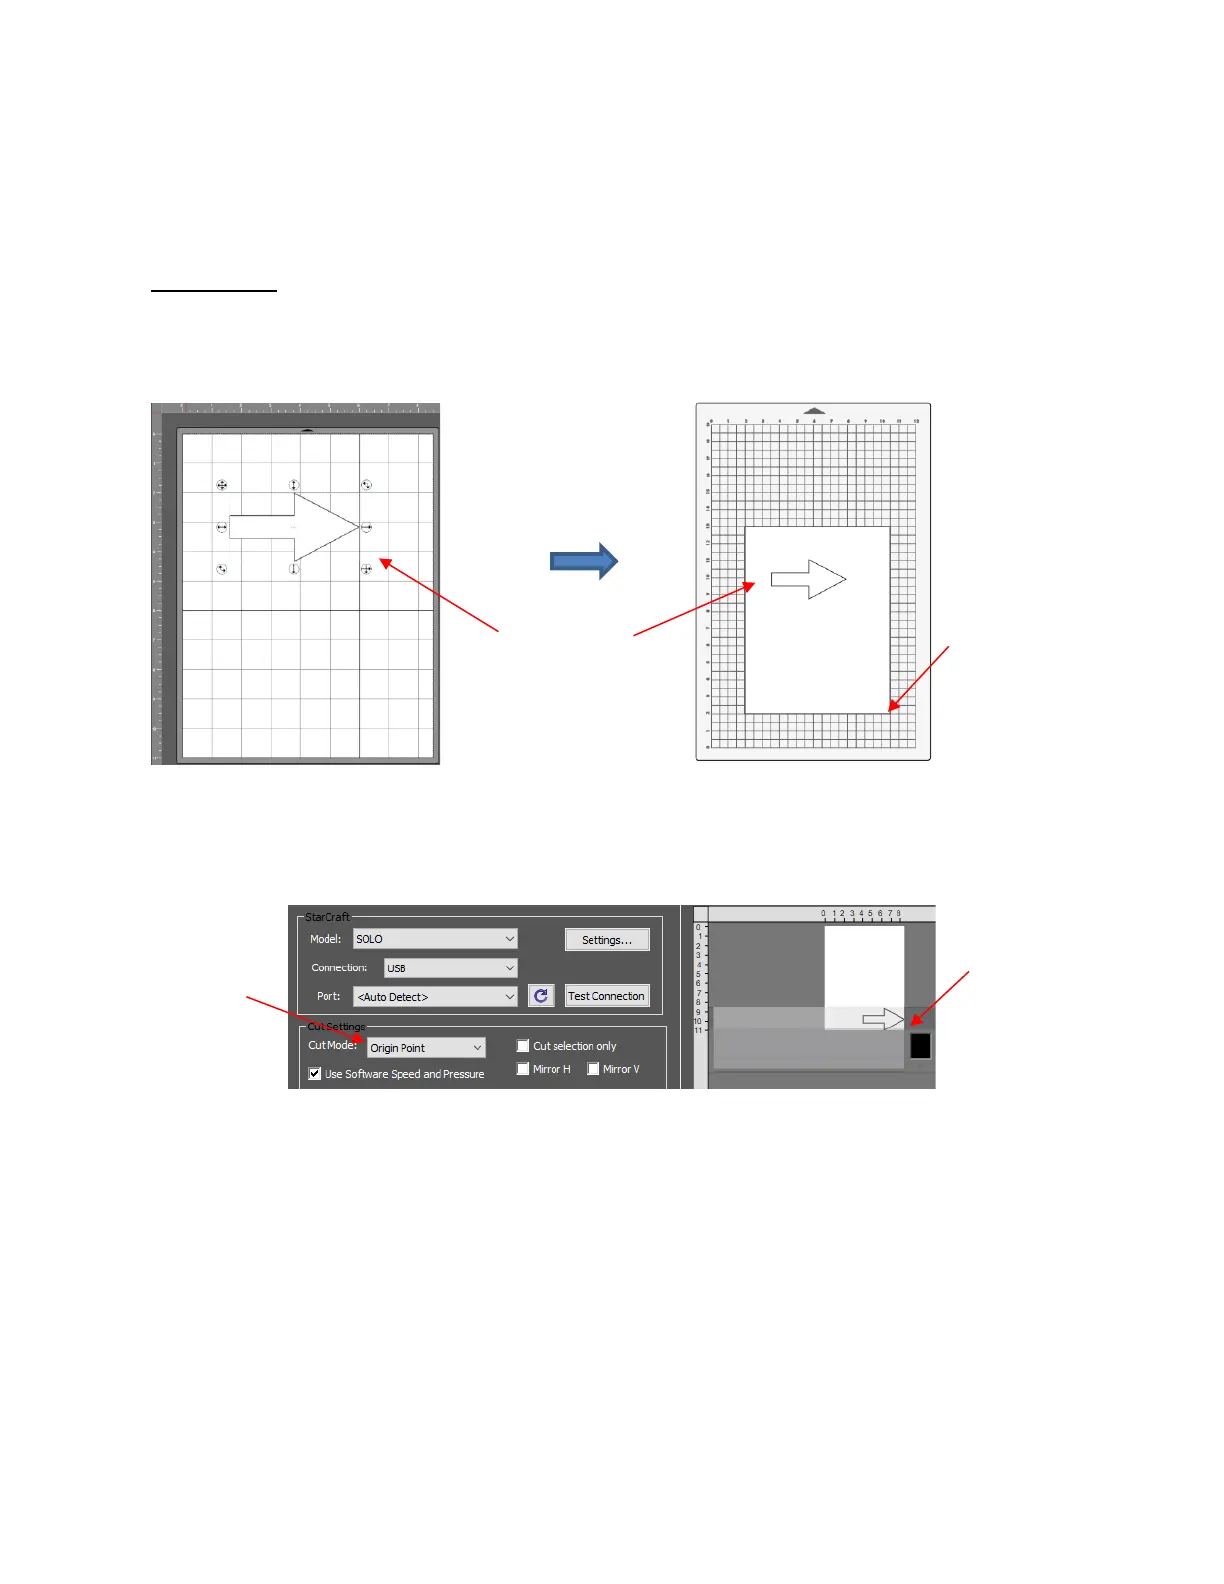
• Click CREATE to enter the Cut Setttings window again. Change the Cut Mode from WYSIWYG to Origin
Point. Note in the preview to the right, the arrow has moved to the lower right corner: In this mode, it
doesn’t matter where the shape is located on the mat in CREATE, the lower right bounding box will align
with where the pen nib is positioned before drawing:
• In this mode, it doesn’t matter where the shape is located on the Page, the lower right bounding box will
align with where the pen nib is positioned before drawing:
 Loading...