EasyManuals Logo

Xerox 8850 Service Manual

Xerox 8850
432 pages
To Next Page IconTo Next Page
To Previous Page IconTo Previous Page
Page #119 background imageLoading...
Page #119 background image
03/2003
4-43
8850/ 510DP
REP 8.12
Repairs and Adjustments
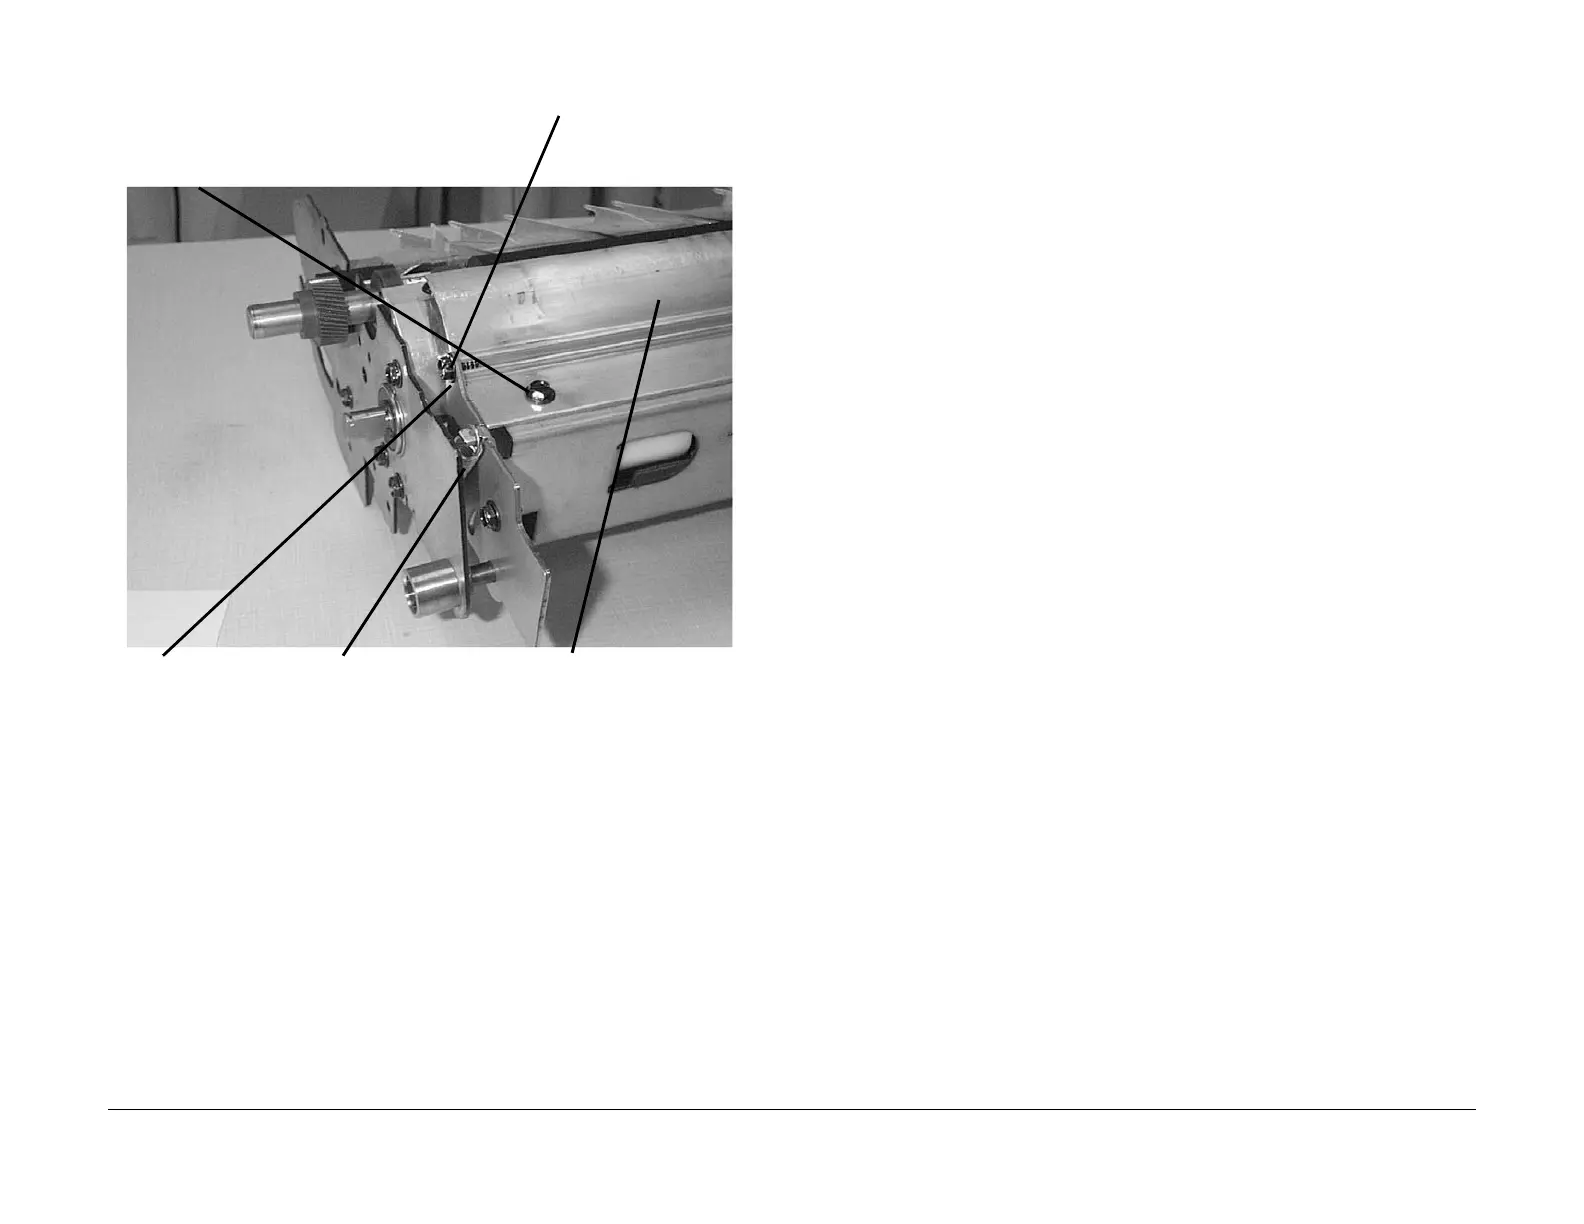
5. (Figure 6): Reinstall the springs.
Figure 6 Reinstalling the Springs
6. Complete the reassembly of the Printer and perform the following:
a. Fuser Temperature (NVM) ADJ 10.1.
b. Vertical Magnification ADJ 8.1.
c. Lead Edge Registration ADJ 8.2.
d. Cut Length ADJ 8.3.
5
Reinstall the two
springs (one at
each end)
2
Loosely reinstall the
two end screws (one
each end)
1
Reinstall the Baffle
3
Reinstall the five
baffle screws
4
Fully tighten the two
end screws

Table of Contents

Other manuals for Xerox 8850

Questions and Answers:

Question and Answer IconNeed help?

Do you have a question about the Xerox 8850 and is the answer not in the manual?

Xerox 8850 Specifications

General IconGeneral
BrandXerox
Model8850
CategoryPrinter
LanguageEnglish

Related product manuals