03/2003
4-53
8850/ 510DP
REP 8.17
Repairs and Adjustments
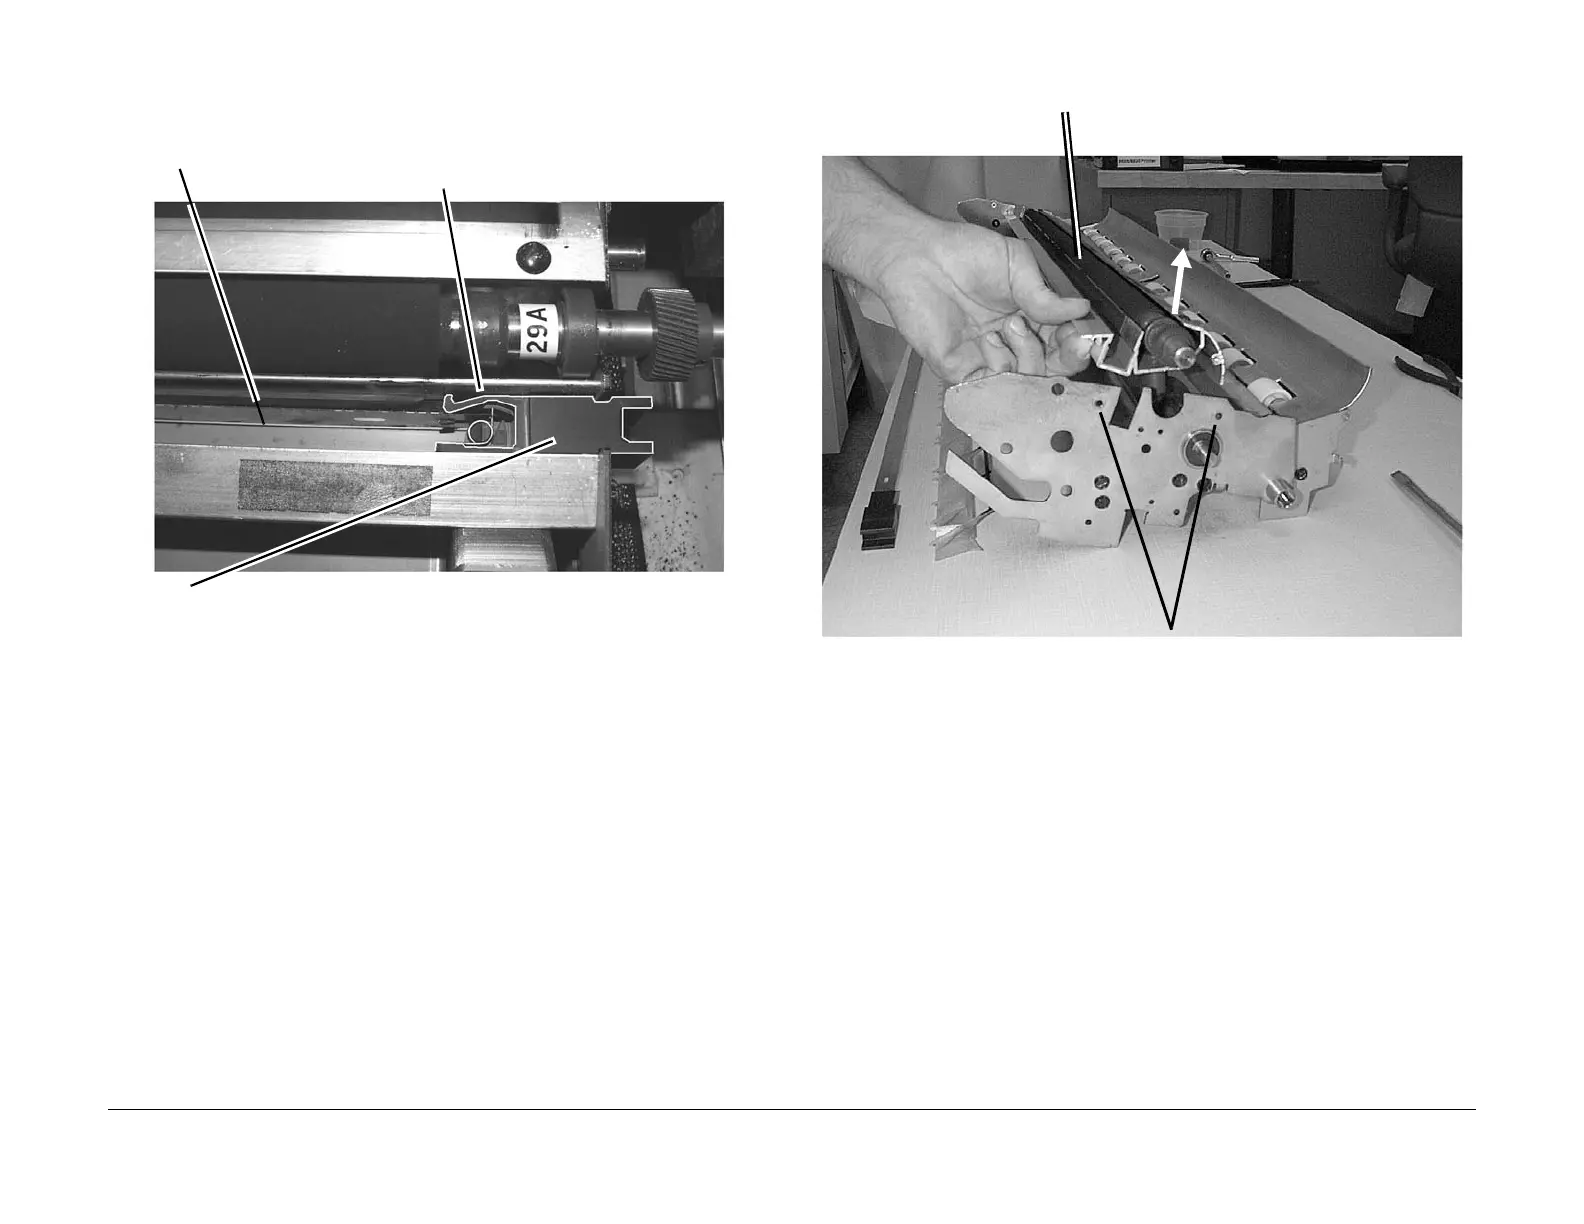
4. (Figure 3): Remove the Detack Corotron and End Blocks from the Upper Transport
Assembly.
Figure 3 Removing the Detack Corotron and End Blocks
5. (Figure 4): Remove the Bias Transfer Roll (BTR) and BTR Extrusion from the Upper
Transport Assembly.
Figure 4 Removing the Bias Transfer Roll and BTR Extrusion
1
Lift the right and left End Blocks out of the Upper Transport
Assembly (this will also remove the attached Detack
Corotron)
2
Set the Detack Corotron and End Blocks on
a clean, flat surface
Detack Corotron
1
Remove the two screws on
each side of the Upper Trans-
port Assembly
2
Lift out the BTR and aluminum
extrusion as one piece
Bias Transfer Roll
 Loading...


