03/2003
6-33
8850/ 510DP
Installation Procedure
General Procedures
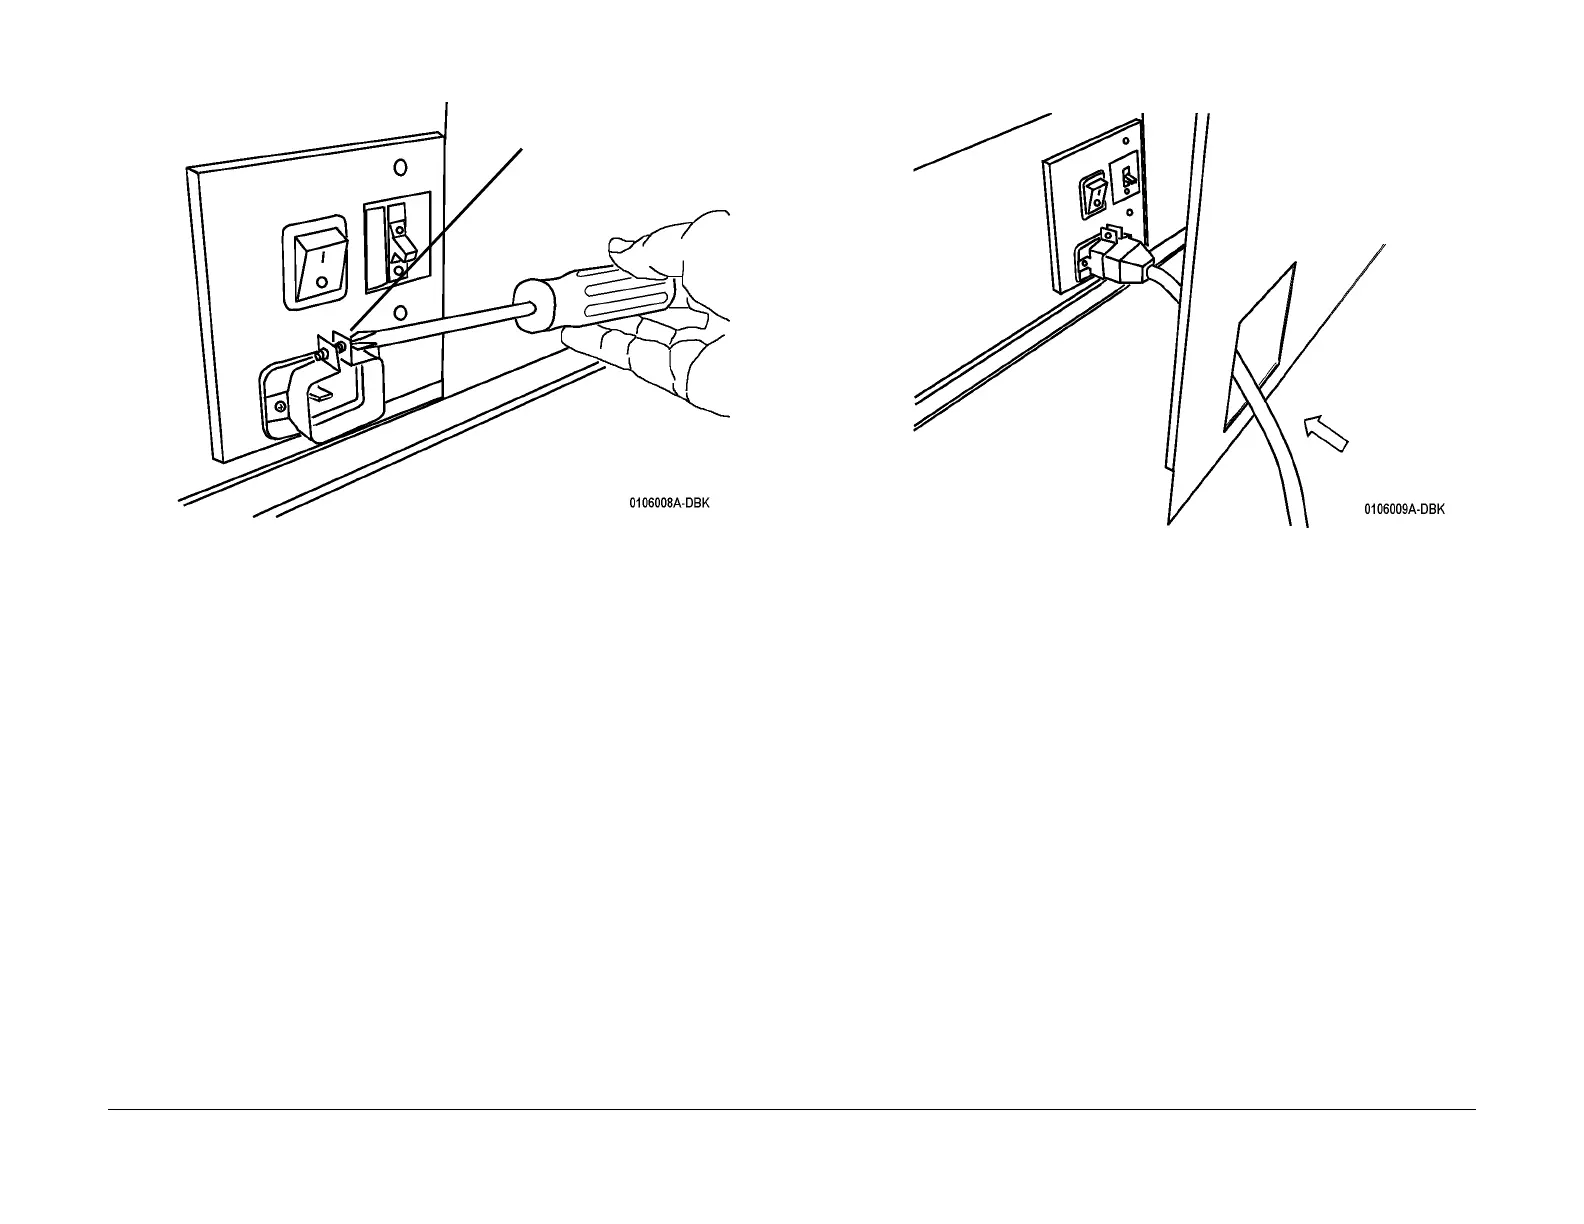
Figure 23 Preparing to install the Power Cord
b. Place the Controller on the floor next to the Printer.
c. (Figure 28): Pass the Power Cord through the opening in the cover and connect it to
the Printer.
Figure 24 Connecting the Power Cord to the Printer
d. Insert the power cord into the power cord bracket and firmly seat into the AC Mod-
ule.
e. Tighten the retaining screw on the power cord bracket.
36. Connect the power cord to the AC power outlet and switch on the Printer.
37. Install FLASH updates on the Printer Main PWB (if required).
38. Provide the following to the Systems Administrator (required for obtaining the software
feature keys for options):
• Printer serial number
• Controller serial number
• Hardware address of the Ethernet Advanced Port
39. If the Printer is being installed as part of the 8850 DS/SPS 510dp, proceed to the Syn-
ergix Scanner Service Manual, Section 6, Installation. Otherwise, continue on with the
next step.
40. Install the catch tray or folder. Go to the installation procedure of that service manual.
Functional Checks
1. Check to ensure that the latest software is available and compatible for installation on the
8850/SPS 510dp Printer. Reference the Configuration Matrix Technical Services Bulletin
(TSB) for the 8850/SPS 510dp Printer, or reference one of the websites: http://xww.xes-
info.world.xerox.com (Xerox internal) or http://www.xeserv.com.
2. Switch on the Controller and the Printer. Then enter the Diagnostic mode (See To Enter
The Diagnostic Mode, at the front of this section).
Loosen the Power Cord Bracket
Controller
Cover
 Loading...


