Setting up the Printer to Fax
SETTING UP THE FAX FUNCTION
• Some connection methods are applicable only in some countries or regions.
• If the fax function is enabled and not fully set up, then the indicator light may blink red.
• If you do not have a TCP/IP environment, then use the control panel to set up fax.
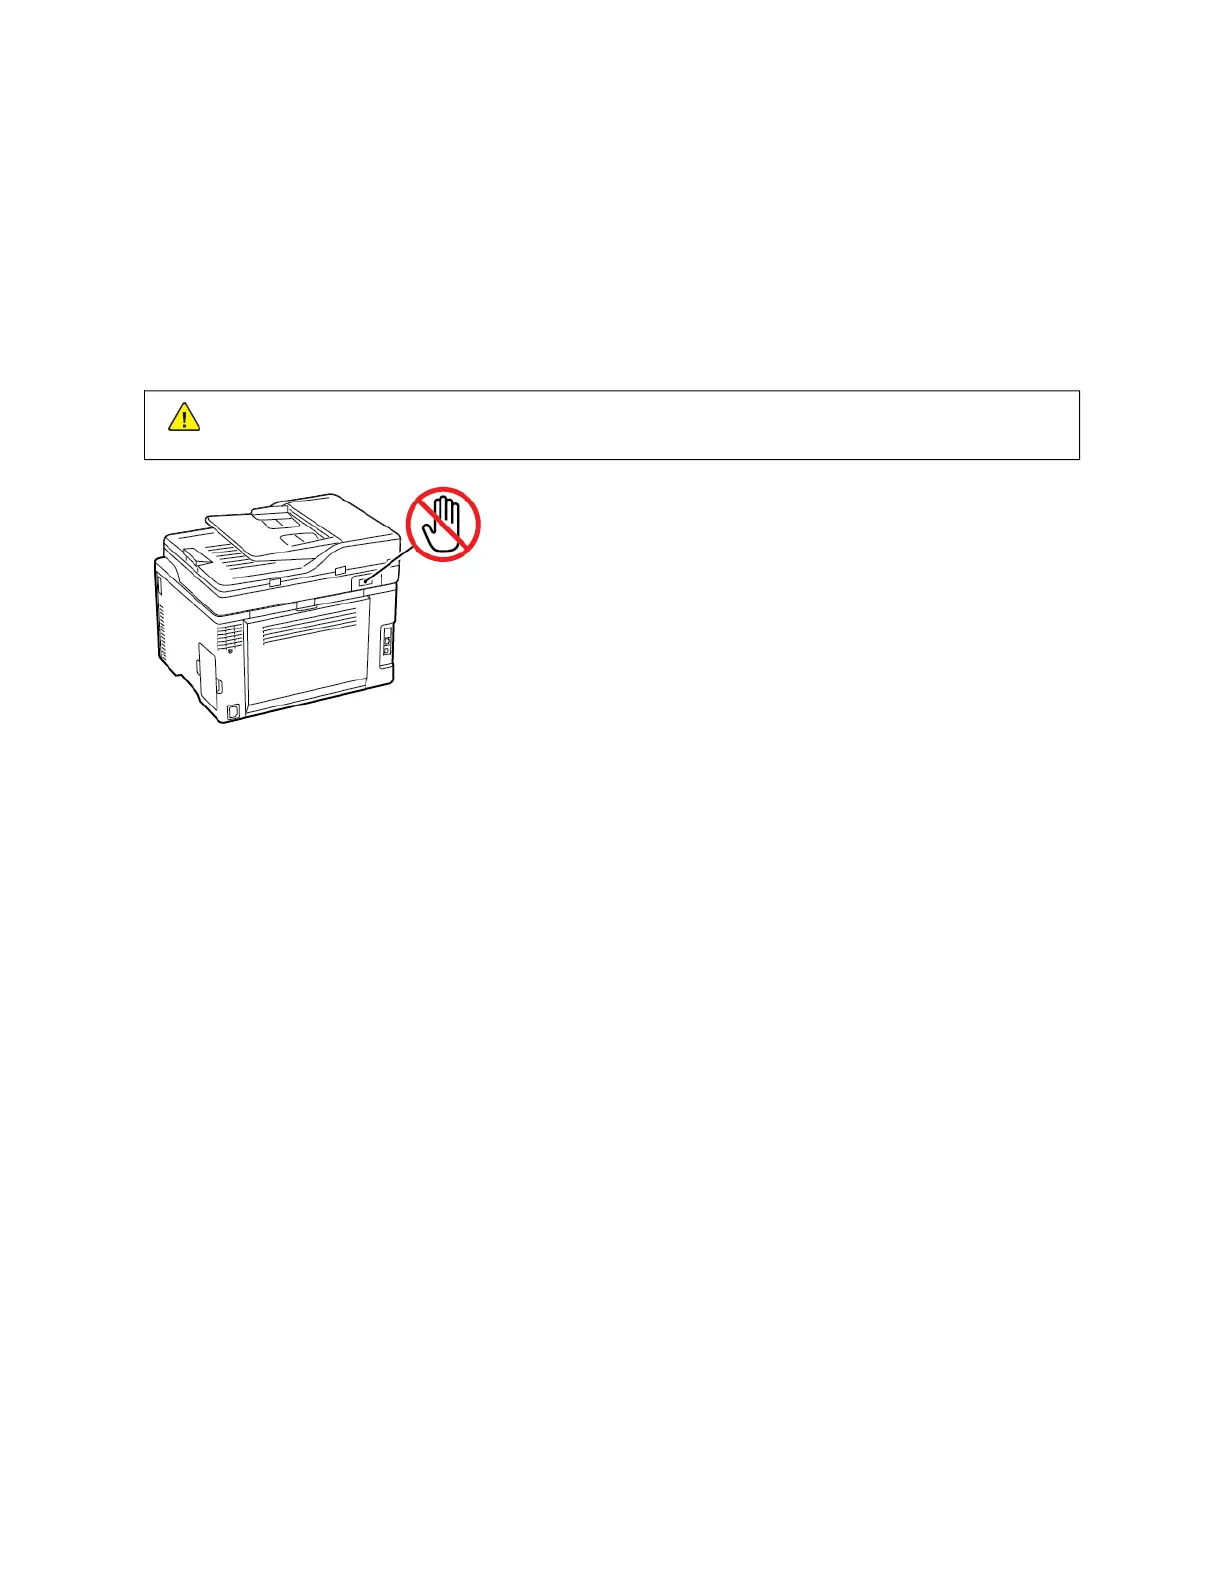
WWaarrnniinngg:: To avoid loss of data or printer malfunction, do not touch cables or the printer in the area
shown while actively sending or receiving a fax.
Using the fax setup wizard in the printer
• This wizard appears only when analog fax is not yet set up.
• This wizard only sets up the analog fax. To setup other fax modes, go to Settings > Fax > Fax Setup.
• Before using the wizard, make sure that the printer firmware is updated. For more information, see Updating
Software.
1. From the home screen, touch FFaaxx.
2. Touch SSeett uupp nnooww.
3. Type the fax name, and then touch NNeexxtt.
4. Enter the fax number and then touch DDoonnee.
Using the Settings menu in the printer
1. From the home screen, touch SSeettttiinnggss > FFaaxx > FFaaxx SSeettuupp > GGeenneerraall FFaaxx sseettttiinnggss.
2. Configure the settings.
Using the Embedded Web Server
1. Open a Web browser, then type the printer IP address in the address field.
To view the IP address of the printer, refer to Finding the IP Address of the Printer.
2. Click SSeettttiinnggss >> FFaaxx >> FFaaxx SSeettuupp >> GGeenneerraall FFaaxx SSeettttiinnggss.
38
Xerox
®
C235 Color Multifunction Printer User Guide
Set Up, Install, and Configure