Recording the first track
23
Recording the first track
After connecting instruments and completing recording preparation, ready the recorder and
ÃÌ>ÀÌÊÀiVÀ`}ÊÌiÊwÀÃÌÊÌÀ>V°
Track recording
,iv\Ê iÜÊ«ÀiVÌÊVÀi>Ì
Insert effect
P90
P81
Adjusting the input level
Starting from the Top Screen of a
new project
1
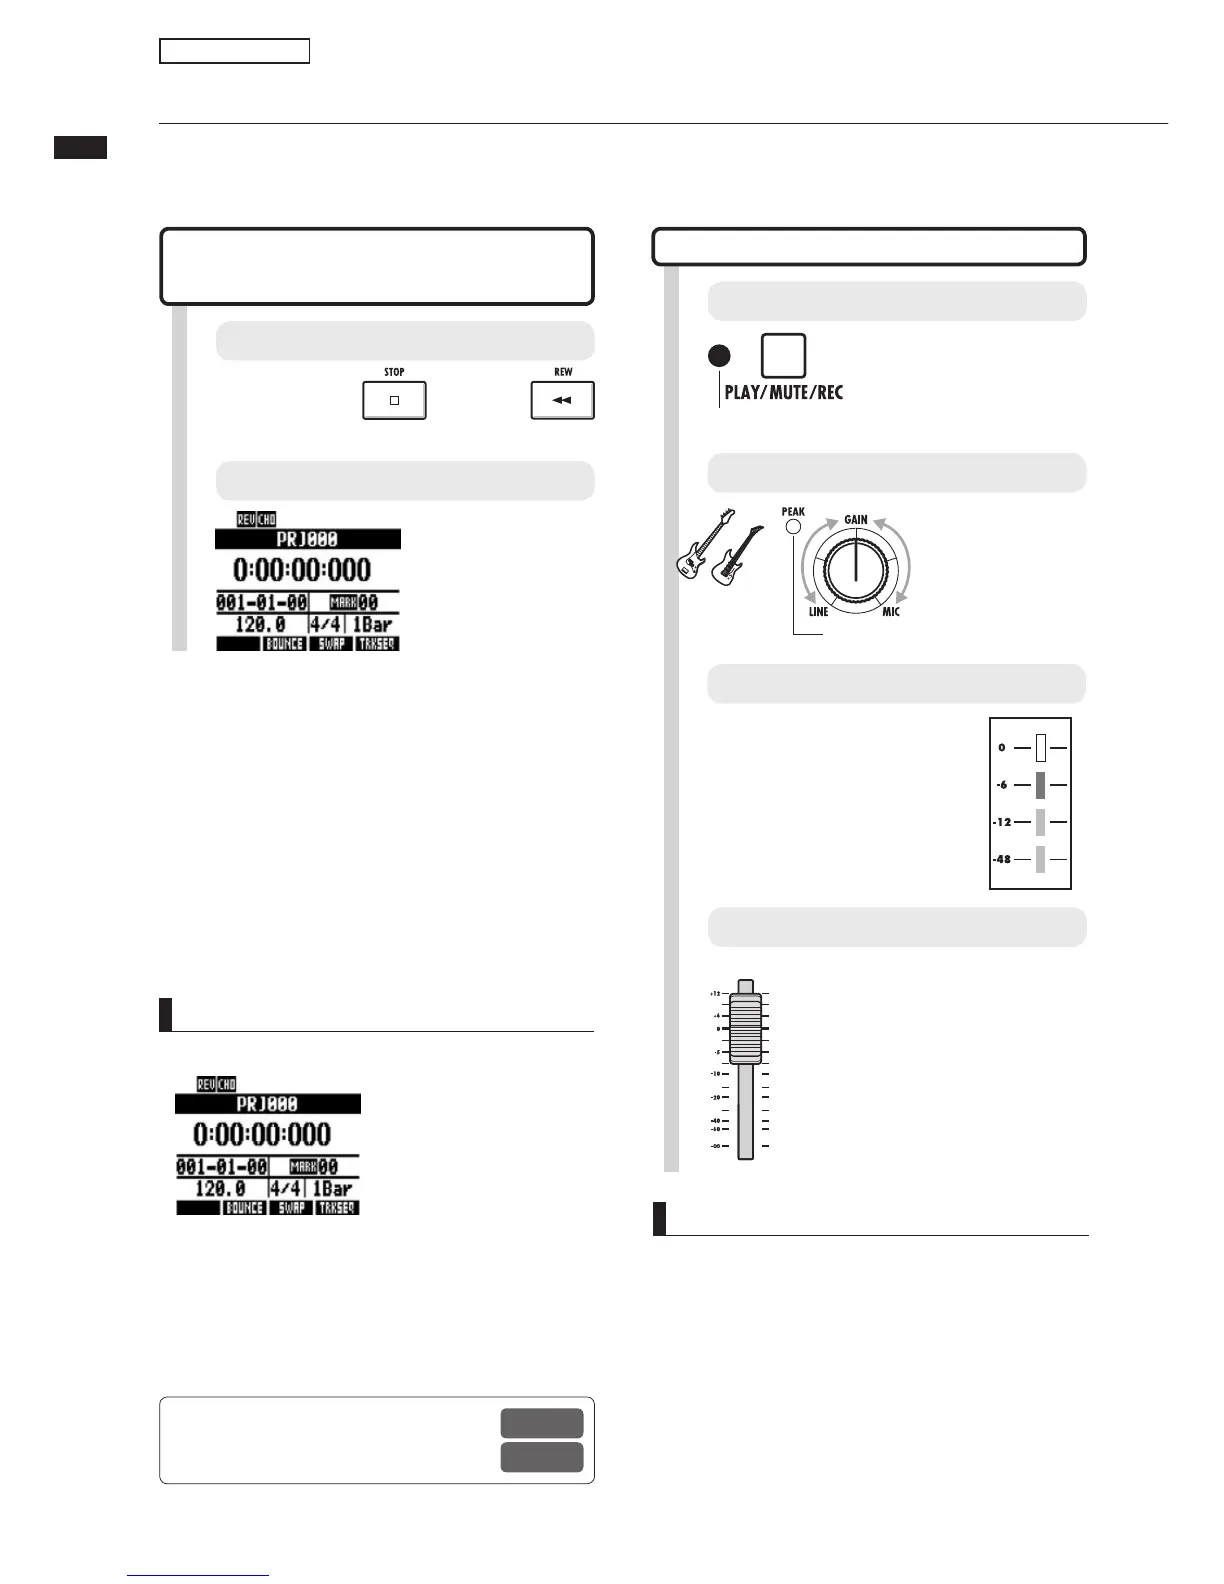
Return the counter to the beginning
NOTE
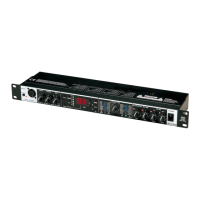
Red lights on
PEAK
indicators and level meters
A PEAK indicator turns red when the signal exceeds
ÌiÊ>ÝÕÊ`iÌiVÌ>LiÊiÛiÊvÊäÊ`]ÊÀiÃÕÌ}ÊÊ
input clipping. The red indicator on a level meter
means that the signal being recorded (signal after
«>ÃÃ}ÊÌÀÕ}ÊÌiÊÃiÀÌÊivviVÌ®ÊÃÊV««}°ÊvÊV«-
ping happens, the recorded sound will be distorted.
You should reduce the recording level.
5
Adjust the monitoring system.
3
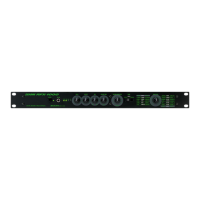
Adjust the input sensitivity
GAIN
.
Adjust the
input level.
Make
noise!
Should light briefly when the
volume reaches maximum
Use the fader for the
recording track to adjust
the monitoring level of the
instrument being recorded
(INPUT 1 is track 1, 9 or 17).
If an insert effect is
applied to an INPUT,
adjust the patch level,
for example, so that the
red indicator (0dB) on the
level meter does not light.
4
Adjust the recording level.
HINT
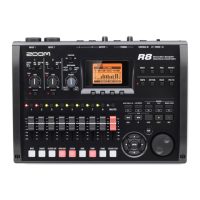
Top Screen
Counter at head position
>ÀÊää®°
UÊ
The Top Screen display of a new project
UÊ vÌiÀÊÃiÌÌ}ÊÌiÊ«ÕÌÊ-Ìi«ÊxÊ>`Ê>vÌiÀ®]ÊÞÕÊV>Ê
process input signals with the insert effect.
Counter at head position
>ÀÊää®°
2
Arm the track for recording.
Press 1-2 times until the
track light turns red.
When red, recording is possible
Press and hold and press
to return to the beginning.