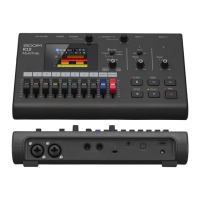
Basic recording guide
8
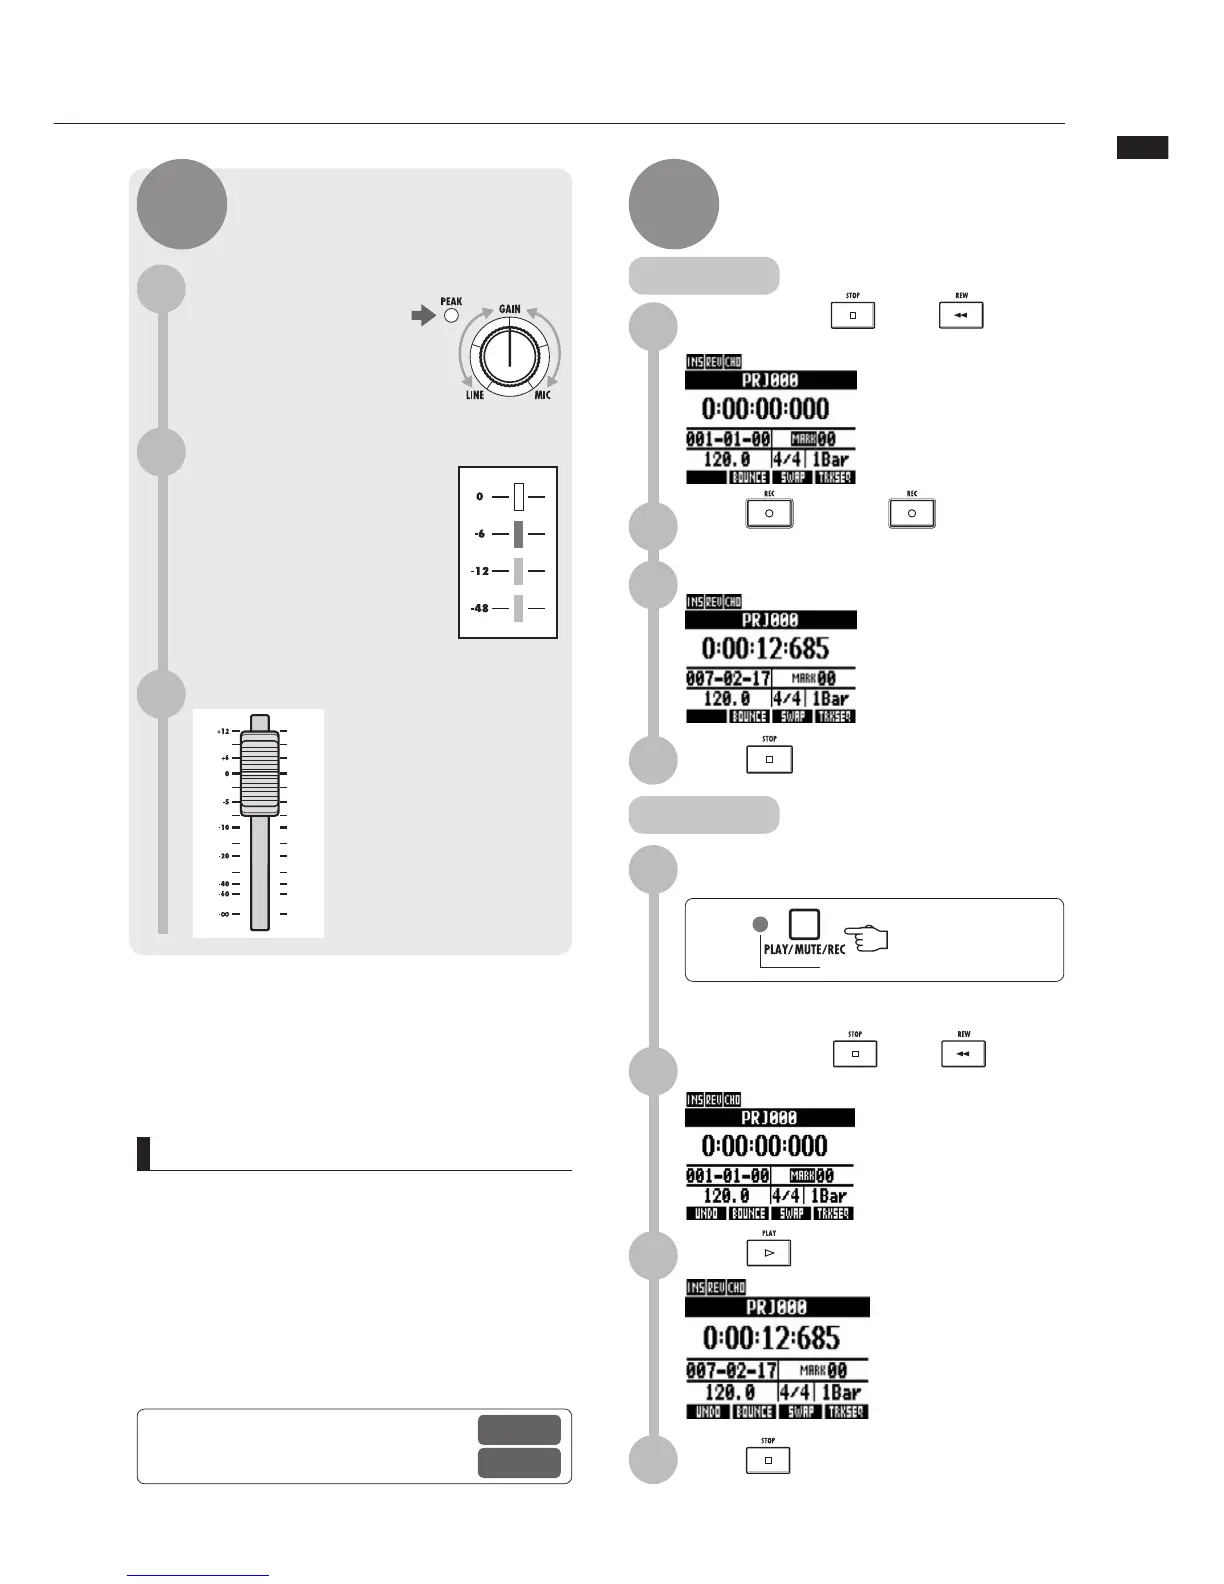
Adjust the input sensitivity (GAIN)
Adjust the
GAIN
of each
INPUT
so that their
PEAK
indicators blink
occasionally.
1
Adjust the recording level
2
NOTE
UÊ vÊ>Ê«ÕÌÊÃ}>Ê`ÃÌÀÌÃÊ`ÕÀ}ÊÀiVÀ`}]ÊÀiviÀÊ
ÌÊ-/*Ê{Ê>`Ê>`ÕÃÌÊÌiÊ«ÕÌÊÃiÃÌÛÌÞÊ>`Ê
recording level.
UÊ vÌiÀÊÀiVÀ`}Ê>ÃÊV«iÌi`]ÊÌiʺ*i>ÃiÊÜ>Ì»Ê
««Õ«ÊÜÊLiÊ`ë>Þi`°ÊÊÌÊÌÕÀÊÌiÊ«ÜiÀÊ
"ÊÀÊ Ì>iÊ ÌiÊ-ÊV>À`ÊÕÌÊÜiÊ ÌÃÊ ««Õ«Ê
ÃÊ«i°Ê}ÊÃÊVÕ`Ê`>>}iÊ `>Ì>ÊÀÊV>ÕÃiÊ
other problems.
Adjust the input sensitivity,
monitoring level and output
STEP 4
Record—Complete—Play
STEP 5
Adjust the monitoring level
Adjust the monitoring
level of an instrument
with the fader of the
track it is being recorded
on. (
INPUT 1
would be
ÌÀ>VÊ£]ÊÊÀÊ£Ç]ÊvÀÊ
iÝ>«i°®
3
/iÊÀi`ÊäÊ`®Ê`V>ÌÀÊvÊ
the level meter should not
light when you apply an insert
effect to an
INPUT
. Adjust the
patch level, for example, if
necessary.
Press to stop recording.
4
4
Playback
Recording
,iv\Ê,iVÀ`}ÊiÌ`ÃÊÊ`iÌ>
Ê Ê 1Ã}ÊÃiÀÌÊivviVÌÃ
P17~
P81
Press the status key to end recording
standby and make the light green.
1
The track changes from recording standby
Ài`®ÊÌÊ«>ÞL>VÊÃÌ>`LÞÊ}Àii®°
Press and then to start
recording.
2
While pressing press to
move to the beginning.
1
Start performing.
Counter starts
3
When green, playback is possible
2
3
Press to start playback.
Press repeatedly
While pressing press to
move to the beginning.
Press
to stop playback.