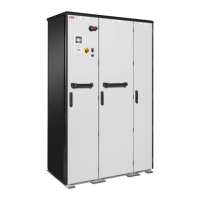
Mechanical installation
Contents of this chapter
This chapter describes the mechanical installation procedure of the drive.
Examining the installation site
Examine the installation site:
• The installation site is sufficiently ventilated or cooled to remove heat from the drive.
See the technical data.
• The ambient conditions of the drive meet the specifications. See the technical data.
• The wall behind the unit is of non-flammable material.
• There is enough free space above the drive to enable cooling, maintenance, and
operation of the pressure relief (if present).
• The floor that the unit is installed on is of non-flammable material, as smooth as possible,
and strong enough to support the weight of the unit. Check the floor flatness with a spirit
level. The maximum allowed deviation from the surface level is 5 mm in every 3 meters.
Level the installation site, if necessary, as the cabinet is not equipped with adjustable
feet.
Necessary tools
The tools required for moving the unit to its final position, fastening it to the floor and wall
and tightening the connections are listed below:
• crane, fork-lift or pallet truck (check load capacity!), slate/spud bar, jack and rollers
• Pozidriv and Torx screwdrivers
• torque wrench
• set of wrenches or sockets.
4
Mechanical installation 49
 Loading...