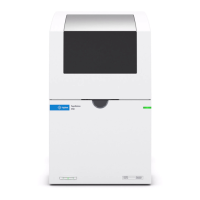
6. Use the small, flat-blade screwdriver to pry the black latch up and remove it. Note the orientation of the latch for
re-assembly purposes.
7. Push in on the lever shown, and squeeze the metal frame of the instrument to release the front panel plastic.
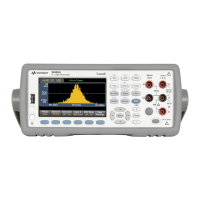
8. Slide the front panel off.
9. Slide the white plastic backing plate to the right and lift up on the left side of the backing plate to remove it.
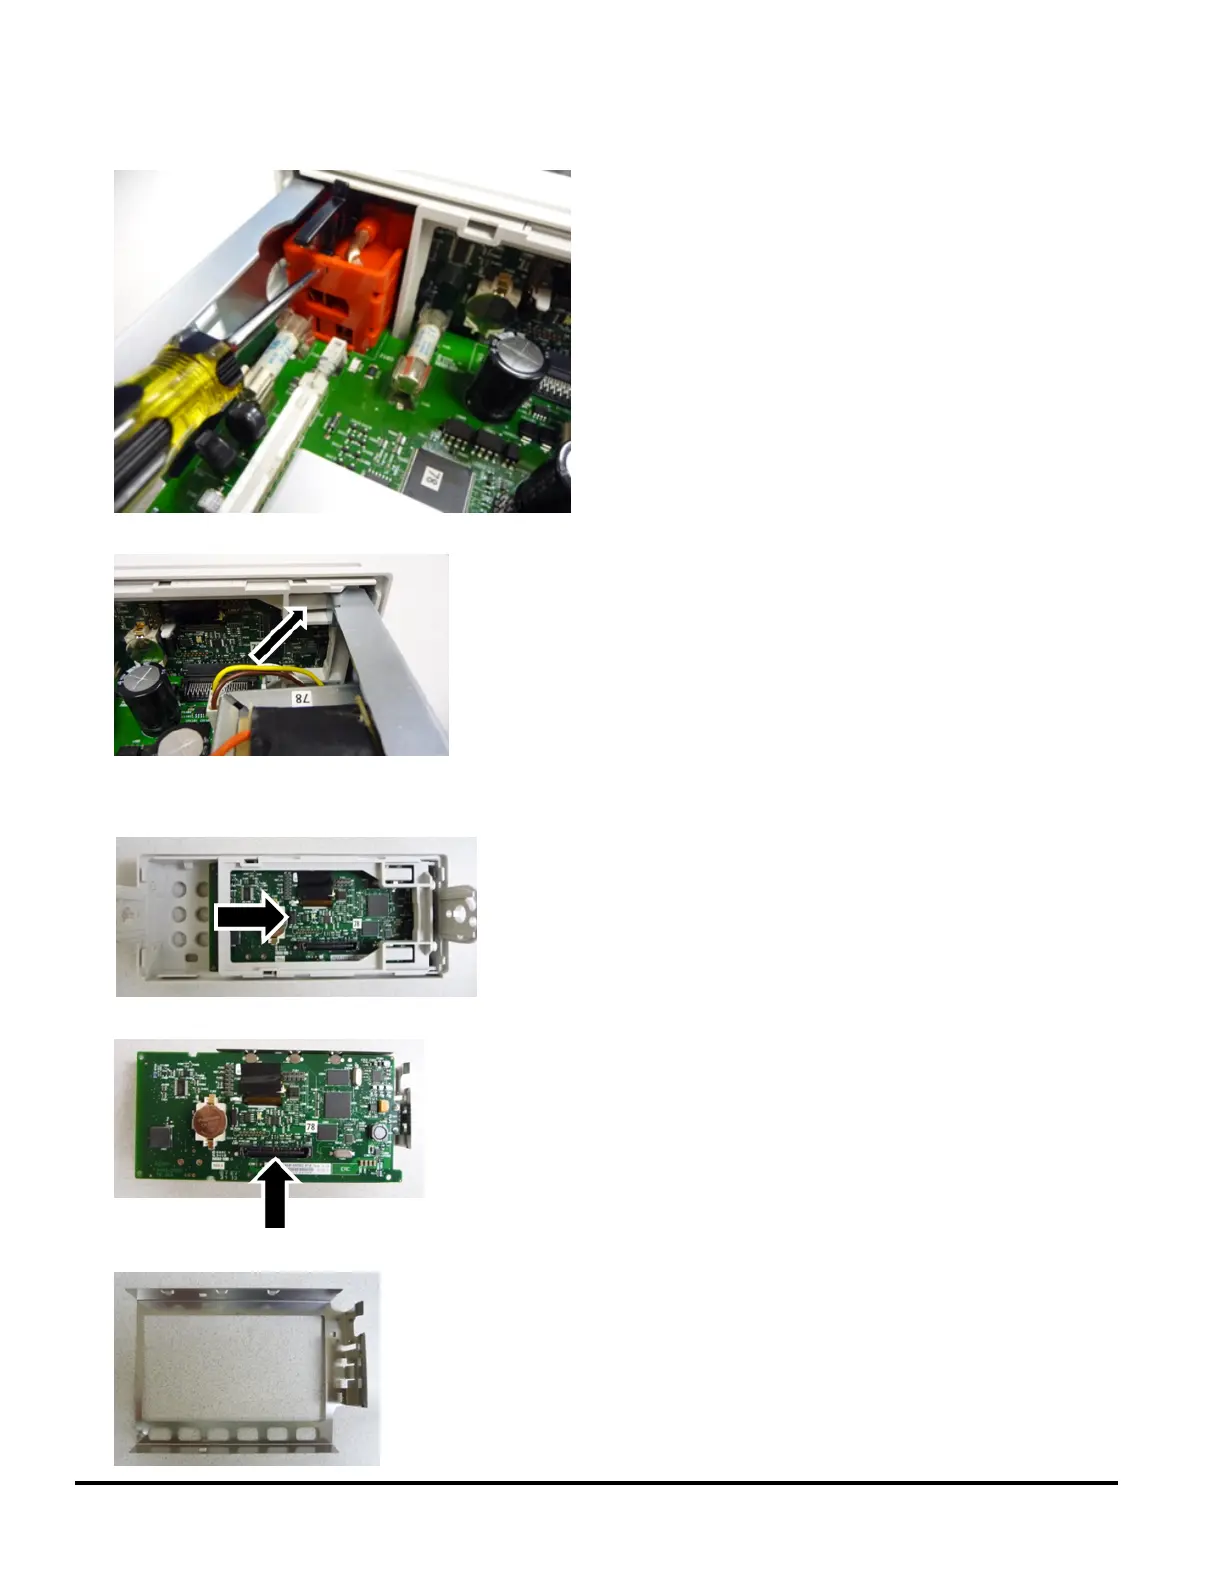
10. Remove the front panel PCBA by holding the connector housing shown below and lifting it out.
11. Remove the ESD shield by prying it out gently from the plastic housing to which it attaches.
300 Agilent Truevolt Series DMM Operating and Service Guide
 Loading...