User Manual AMETEK Programmable Power
RS Series 164
Click on the “Init Port” button. If the selected port can be initialized, the “Flash Update” button will
be enabled. If not, check the selected COM port and make sure it is the one connected to the
RS.
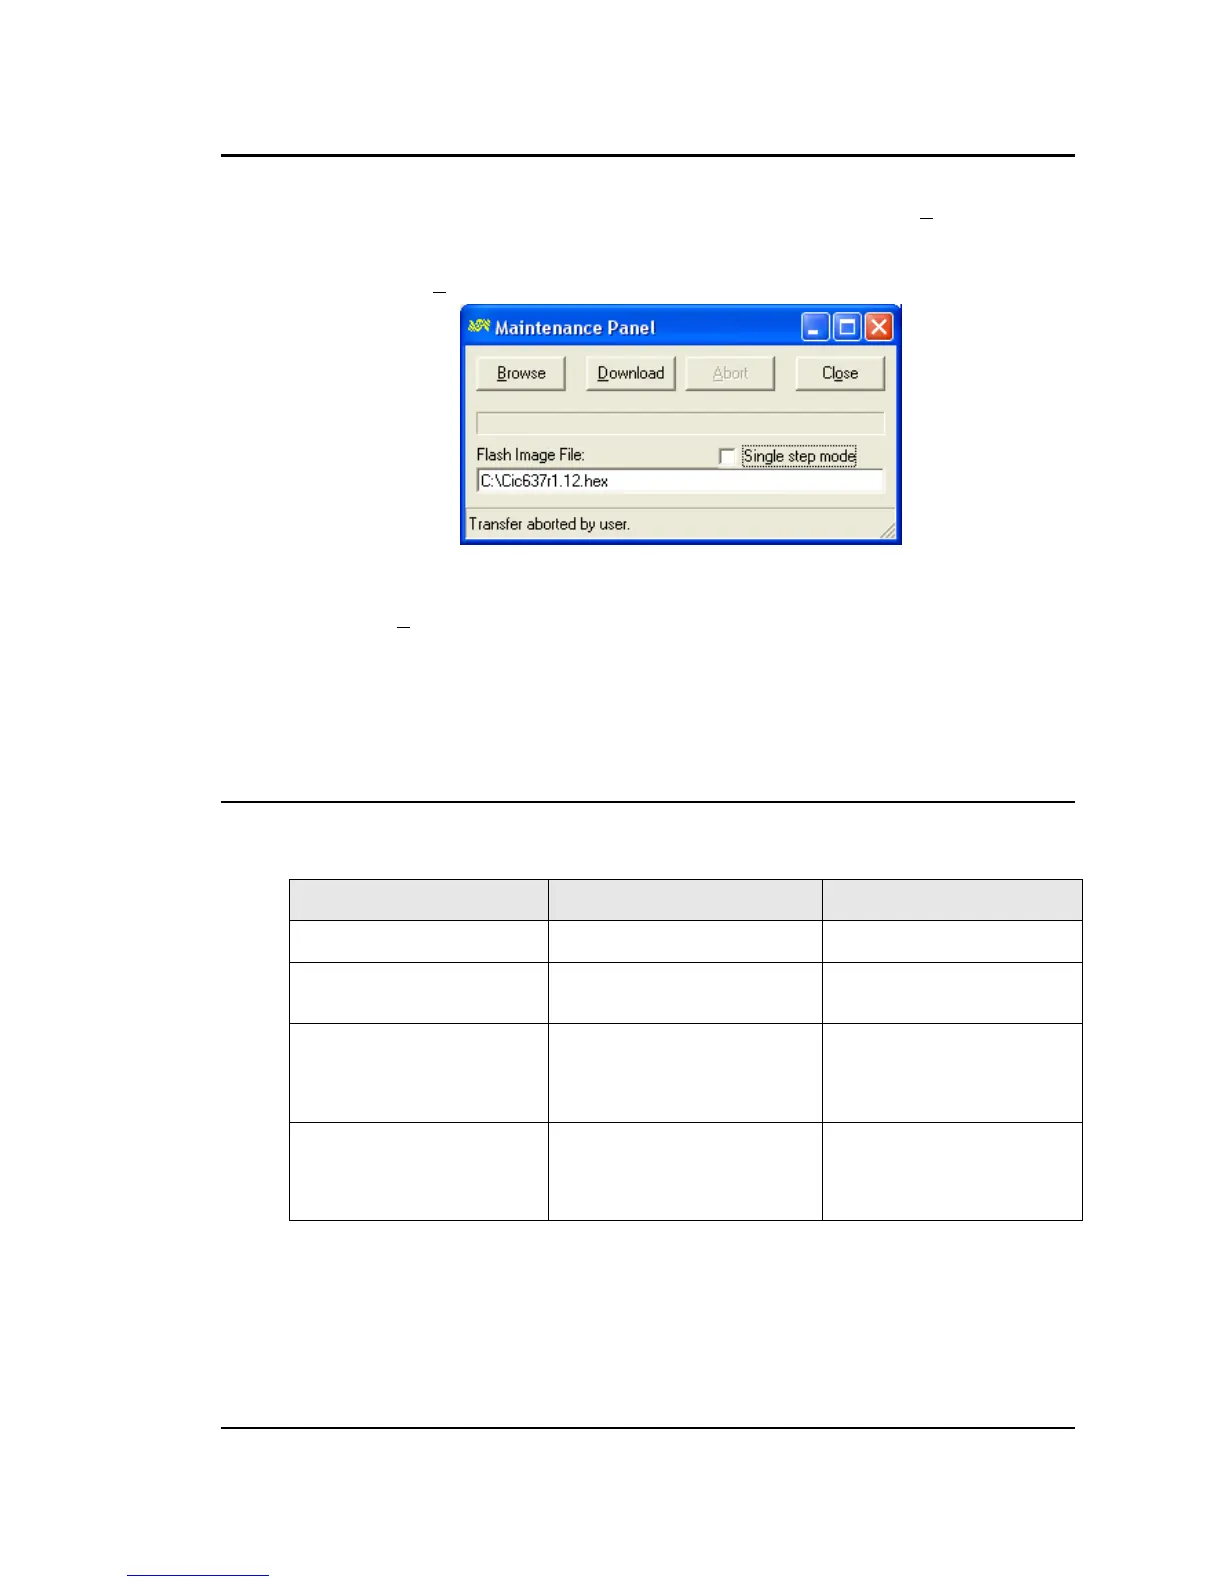
Press the “Flash Update” button. This will display the file download screen shown below.
Select Browse and locate the file Cic637rn.nn.hex at the location on the PC where you stored it
before.
Click on the “Download” button. This will start the firmware update procedure. The front panel
display for the AC source will display the message “Erasing Flash” first, followed by “Flash
erase complete” and “Programming Flash”. The down load will be completed in about 5 to 10
minutes depending on the size of the .hex file.
After the download completes successfully, the power source will initialize with the new
firmware. Observe the LCD display for the firmware revision displayed during initialization to
confirm the new firmware is now installed.
7.7.3 Flash down load Messages
One or more messages may appear during this process. The table below shows some of the
possible message and their meaning.
Message Description Remedy
Flash erase complete Erase operation successful.
Flash erase fail Firmware download capability not
supported by CPU board..
Refer to Service Bulletin SB-
0043
Flash write fail Unable to write to flash. This
message is unlikely as it generally
is preceded by the Flash Erase
Fail message.
Refer to Service Bulletin SB-
0043
Firmware down load fail Data error. Incorrect checksum
read-back from Flash block.
Communication interrupted or
problem with RS232 interface.
1. Check cable connection.
2. Try setting CmdDelay in Flash
loader program to 100 msec and
try again.
Table 7-3: Flash Down load Messages
 Loading...