Section 6 Correction Software
6-20
Modify the specification data by following the instructions below.
(1) Select “Settings” in section [1] and “Spec Set” in section [20] on the “Initial
Menu Screen” shown in Fig. 6-4. This causes the “Specification Data Input
Screen,” shown in Fig. 6-15, to be displayed together with the current set values.
(2) To change the specification data for the item combining each setting displayed in
section [1] to [3], click the relevant item in section [4]. The current setup value is
displayed in section [5], enabling modification to the specification data.
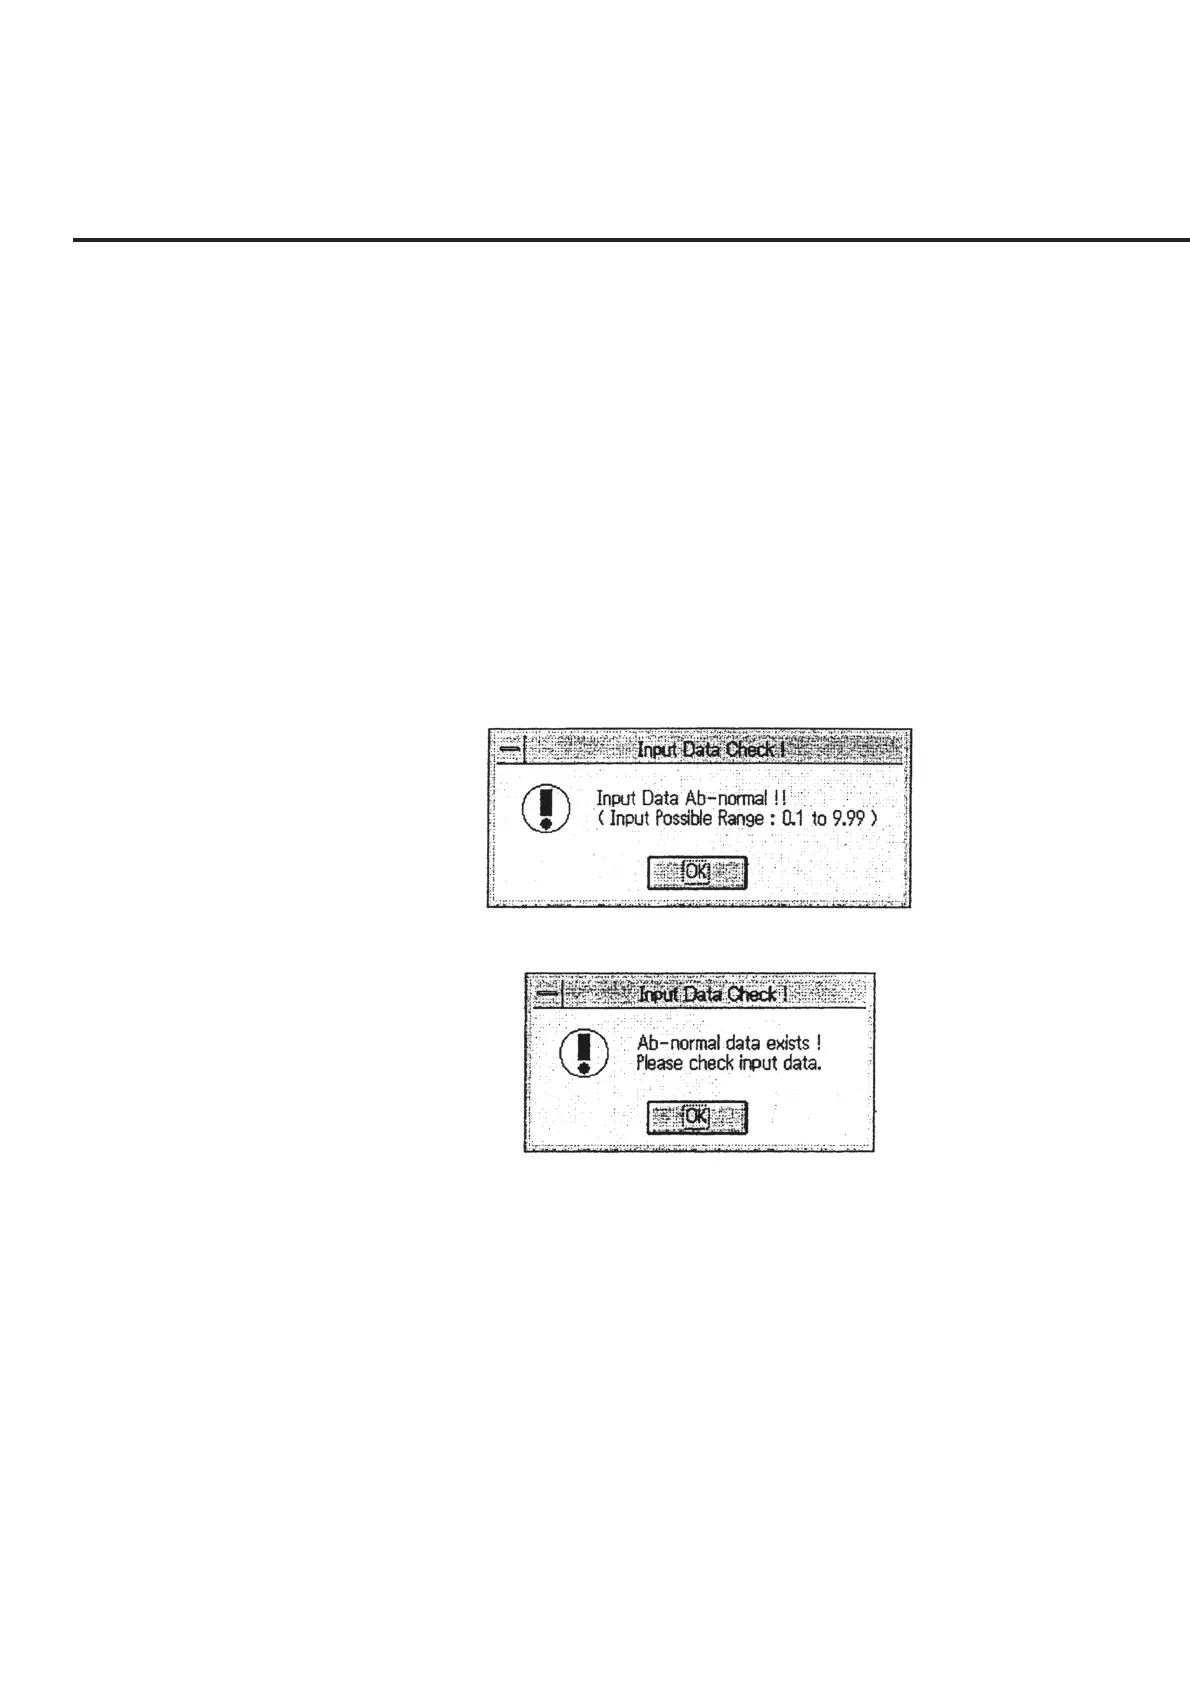
(3) Similarly, correct the data for all the items to be modified. The range of input
specification allowed is between 0.1 and 9.99 dB with resolution of 0.01 dB.
When the data input is found to fall outside the range of input specification al-
lowed, an error message as shown in Fig. 6-16 appears. In this case, check the
input data.
Fig. 6-16 Input Range Error Message
Fig. 6-17 Setup Data Error Message
(4) Check the data corrected and click the “OK” button of section [6]. When a data
that falls outside the input range is found, an error message as shown in Fig. 6-17
is displayed. When the error confirmation is completed, the screen returns to the
“Initial Menu Screen” shown in Fig. 6-4.
(5) To finish viewing the currently set specification data without changing any infor-
mation, select the “Cancel” button of section [7]. When this button is selected,
the information modified on this screen will be returned to the pre-modification
information (stored in the initial file). To perform measurements in accordance
with the modified setting, click the “OK” button of section [6].