Digital Video Recorder
27
Highlight the box beside Sender and enter the sender’s e-mail address. Use the virtual keyboard to enter
the e-mail address.
NOTE: The e-mail address must include the “@” character to be a valid address.
Highlight the box beside Recipient and enter the recipient’s e-mail address. Use the virtual keyboard to
enter the e-mail address.
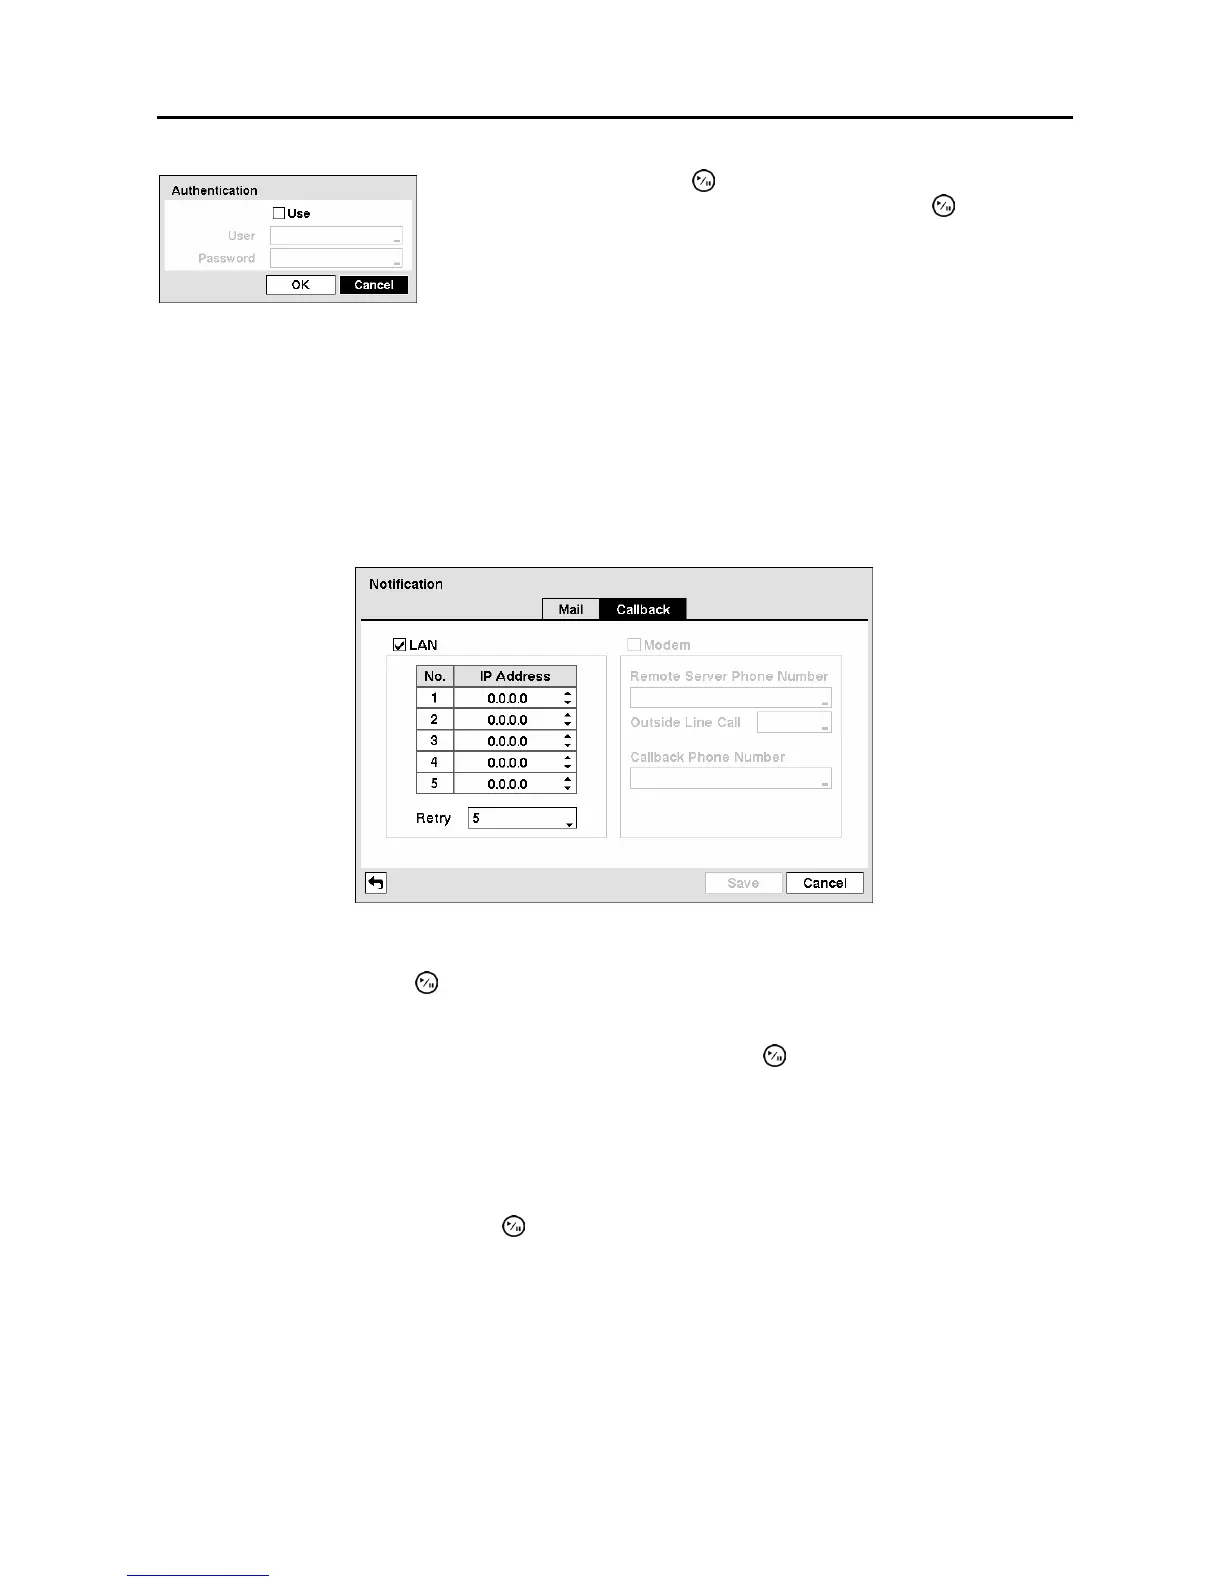
Highlight the Callback tab, and the Callback screen displays.
Figure 34 ─ Notification Callback setup screen.
Highlight LAN and press the button to toggle between On and Off. When LAN is turned On you can
change the IP addresses.
Highlight the IP Address box that you want to change and press the button. Enter the IP address of
the computer you want contacted during an event. You can enter up to five IP addresses.
Highlight the box beside Retry and enter the number of times you would like the DVR to try contacting
the computer. You can select from 1 to 10 retries.
If the modem was enabled in the Network screen, you can set up the DVR to contact a computer running
RAS. Highlight Modem and press the
button to toggle between On and Off. When Modem is turned
On you can enter a telephone number.
Highlight Use and press the button to toggle between On and Off.
Highlight the box beside User/Password and press the button. A
virtual keyboard appears allowing you to enter the user ID and password.
Figure 33 ─ Authentication setup screen.