User’s Manual
52
Highlight the second box beside Temperature Threshold, and press the button. Select either ºC
(Celsius) or ºF (Fahrenheit), and press the button.
The box beside Last Check-Time displays the Date and Time of the last S.M.A.R.T. check.
Highlight OK, and press the
button to accept the changes. Selecting Cancel exits the screen without
saving the changes.
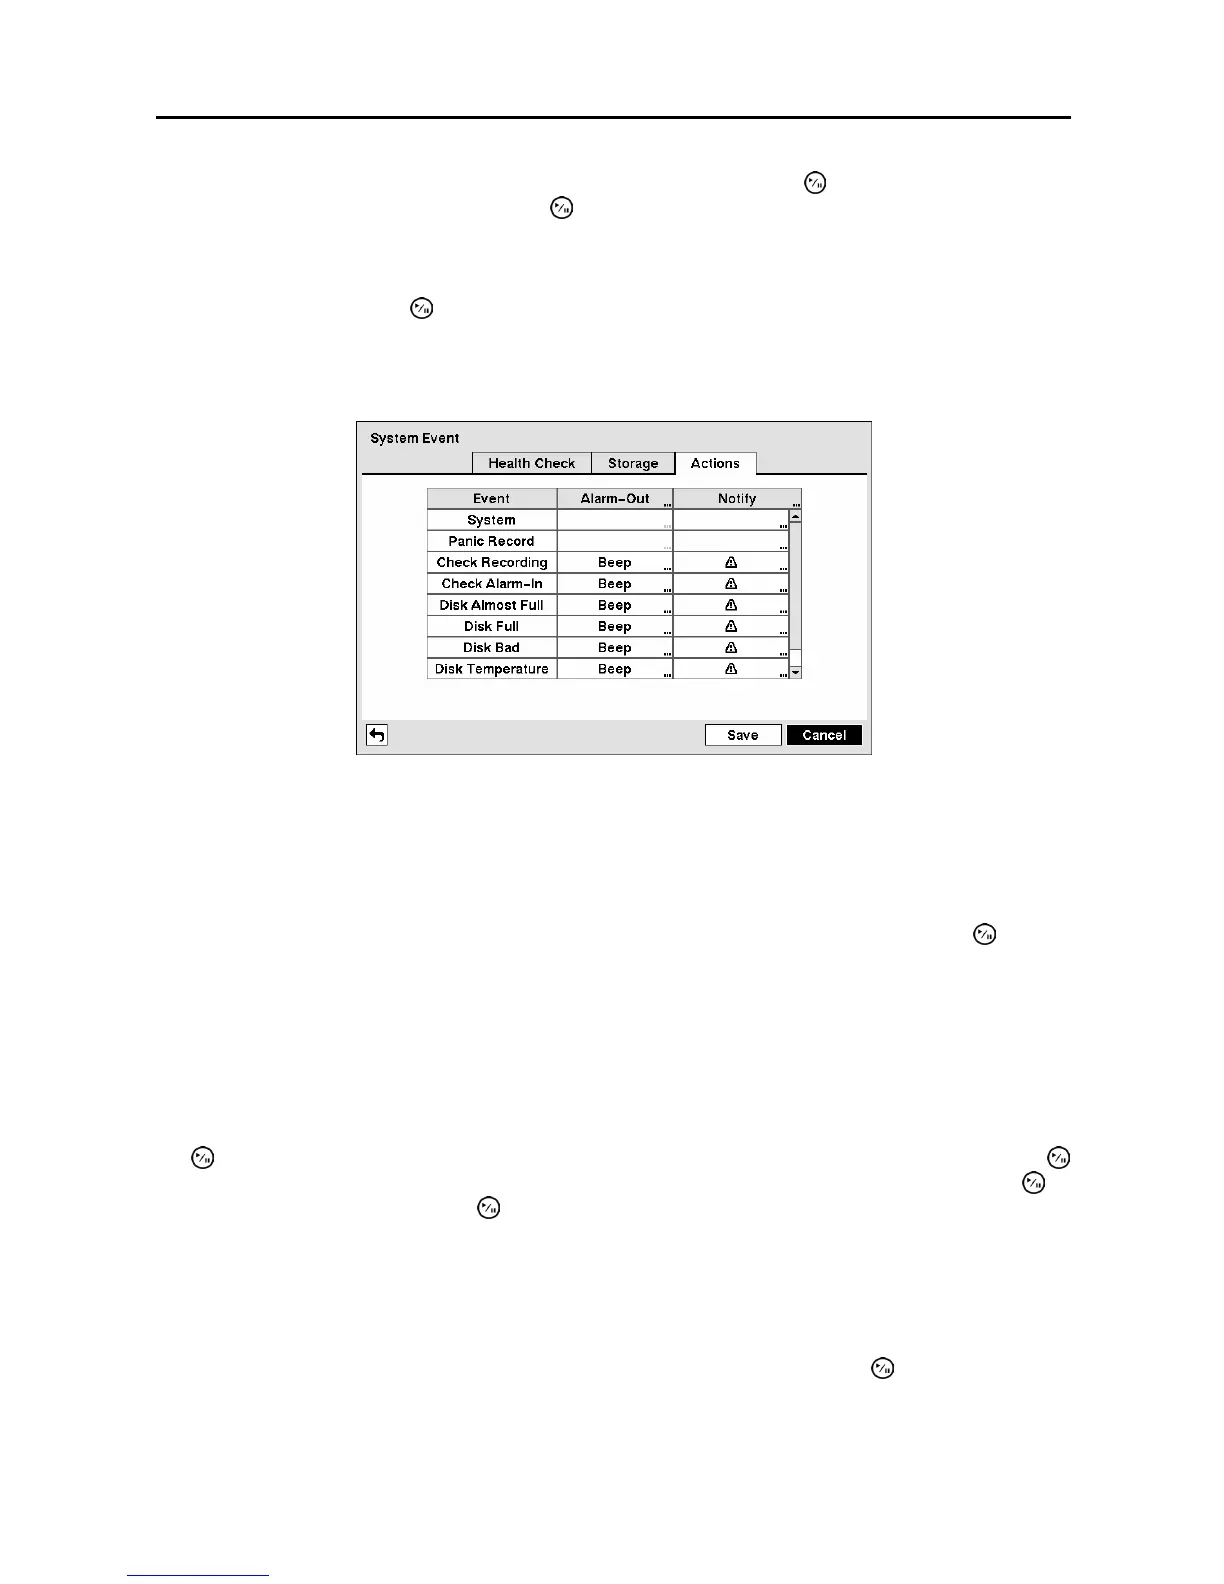
Highlight the Actions tab and the System Event Actions screen displays.
Figure 77 ─ System Event Actions screen.
The DVR can be set to react to system events. System events can be associated with an Alarm-Out
connector, sound the DVR’s internal buzzer, and/or notify a number of different devices.
Highlight the Alarm-Out box beside the desired event (Check Recording, Check Alarm-In, Disk
Almost Full, Disk Full, Disk Bad, Disk Temperature, or Disk S.M.A.R.T.), and press the
button.
A list of Alarm Outputs appears. You can associate as many Alarm-Outs with the Event as you wish. If
the DVR detects that event, it triggers output signals on all the associated Alarm-Out connectors. You
can also have the DVR’s internal buzzer sound if an event is detected.
NOTE: Alarm-Out action cannot be set to System and Panic Record events.
Highlight the Notify box beside the desired event (System, Panic Record, Check Recording, Check
Alarm-In, Disk Almost Full, Disk Full, Disk Bad, Disk Temperature, or Disk S.M.A.R.T.), and press
the
button. You can toggle the entire list On and Off by highlighting Notification and pressing the
button. You can toggle the individual items On and Off by highlighting that item and pressing the
button. Highlight OK and press the
button to accept your changes.
NOTE: Mail notify is the only option available for the System event.
NOTE: For the Notify action to work, the DVR should be registered in the RAS (Remote
Administration System).
You can save your System Event changes by highlighting Save and pressing the button. Selecting
Cancel exits the screen without saving the changes.
 Loading...