Digital Video Recorder
41
Highlight the desired box under the Spot Monitor heading, and press the button. A list of a SPOT
monitor and cameras appears. A SPOT monitor can be associated with a camera. The DVR will display
the associated camera on the SPOT monitor whenever it detects an input on the associated alarm input.
You can save your Alarm-In changes by highlighting Save and pressing the button. Selecting
Cancel exits the screen without saving the changes.
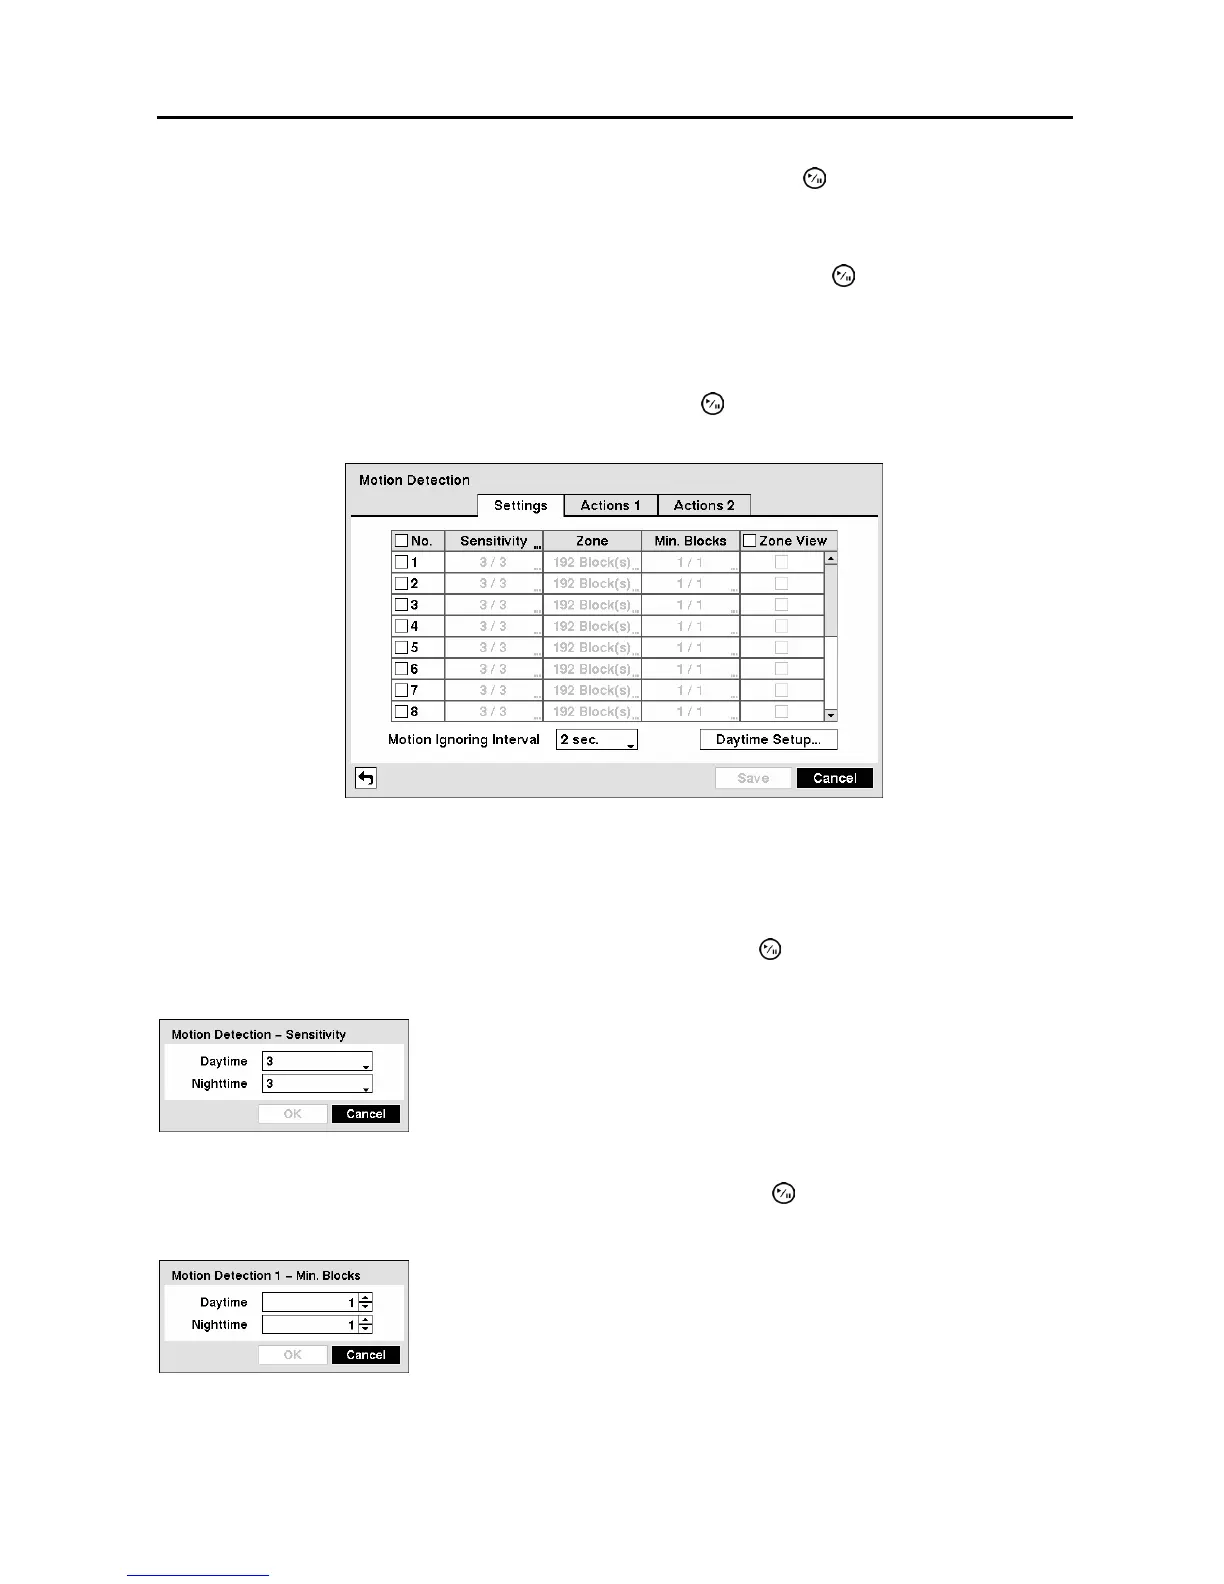
Motion Detection Screen
Highlight Motion Detection in the Event menu and press the
button. The Motion Detection setup
screen appears.
Figure 58 ─ Motion Detection Settings screen.
Your DVR has built-in video motion detection. Video motion detection can be turned On or Off for each
camera.
Highlighting the box under the Sensitivity heading and pressing the
button allows you to adjust the
DVR’s sensitivity to motion for Daytime and Nighttime independently.
You can adjust the minimum number of detection blocks that must be activated to trigger a motion alarm.
Highlighting the box under the Min. Blocks heading and pressing the
button allow you to adjust the
minimum number of detection blocks for Daytime and Nighttime independently.
There are five settings with 1 being the least sensitive and 5 being the
most sensitive.
Figure 59 ─ Motion Detection Sensitivity screen.
Smaller numbers provide greater sensitivity because fewer detection
blocks must be activated.
Figure 60 ─ Motion Detection Min. Blocks screen.