92 - Documenting Calibrator
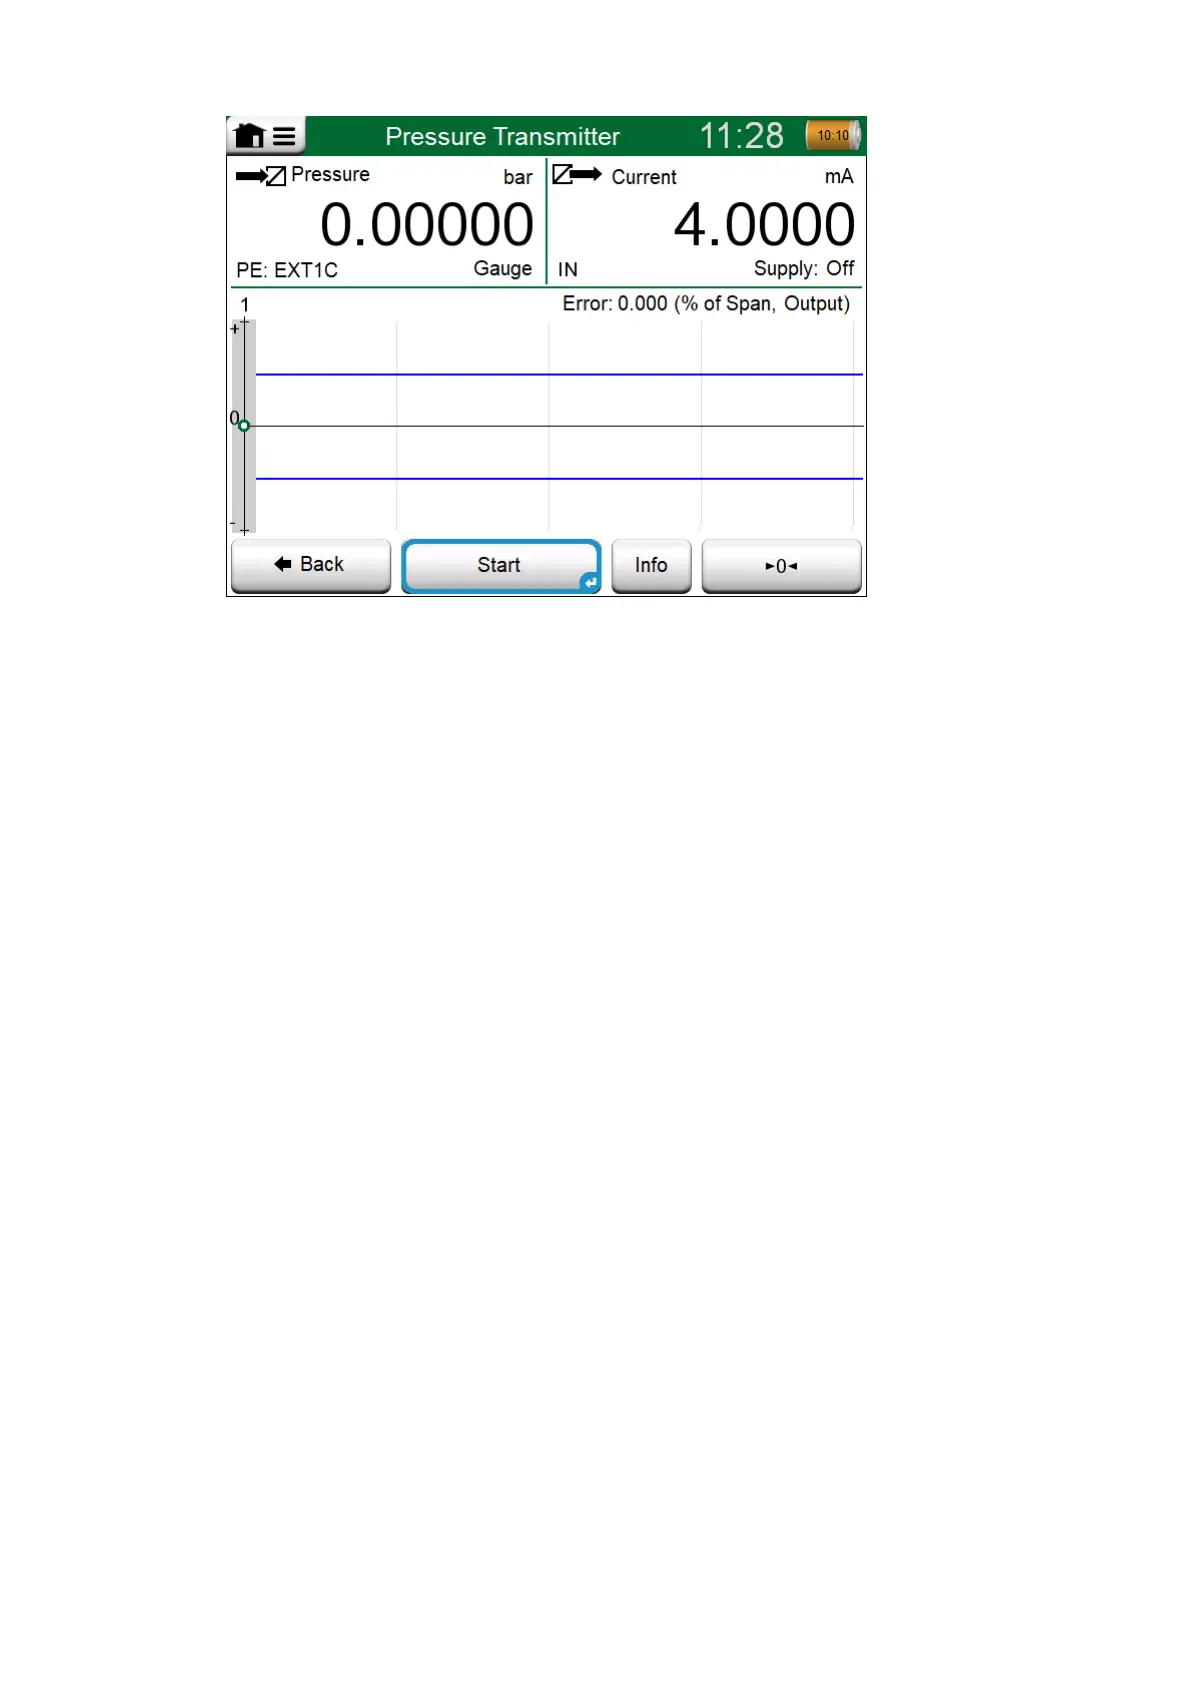
Figure 83: Button for zeroing a pressure module (lower right corner)
Before you tap the Start button, ensure that the signals are "live", i.e.
measurements and the required connections are as they should. If unsure,
use the connection diagrams found in the Instrument Overview Window. It
opens from the Info button.
If gauge pressure modules are used in the calibration, remember to zero
them before starting the calibration.
Tap the Start button to begin calibration. The rest depends on the
instrument setting: Automatic Acceptance.
When Automatic Acceptance is in use (checked), MC6-T accepts
calibration point automatically as follows:
1. MC6-T uses the Max. Point Deviation value to see if the input signal
is close enough to the next calibration point.
2. When close enough, MC6-T checks the signal stability to decide
whether the readings can be saved or not.
3. When signal stability is reached, a timer counts down as set in Point
Delay and then the readings are saved only if the signal stability is
still valid. See hourglass in Figure 84: Calibration with Automatic
Acceptance in use. If a signal becomes unstable, MC6-T returns to
phase 2.