125
5.1.5.1. Changing the microprocessor board
a) Remove the back cover of the electronics. Unplug the connectors of the 2 fans from the cover.
b) Remove the front housing of the analyzer.
c) Remove the front cover of the electronics.
d) Disconnect all the connectors from the microprocessor board from the front of the analyzer.
a) From the back of the analyzer, remove the 4 screws that hold the board to the base. These screws also hold earth
connections.
e) Remove the board from the back of the analyzer.
f) When installing the new board, reconnect all the connectors carefully. Remember to connect the earth connections on
the board fastening screws.
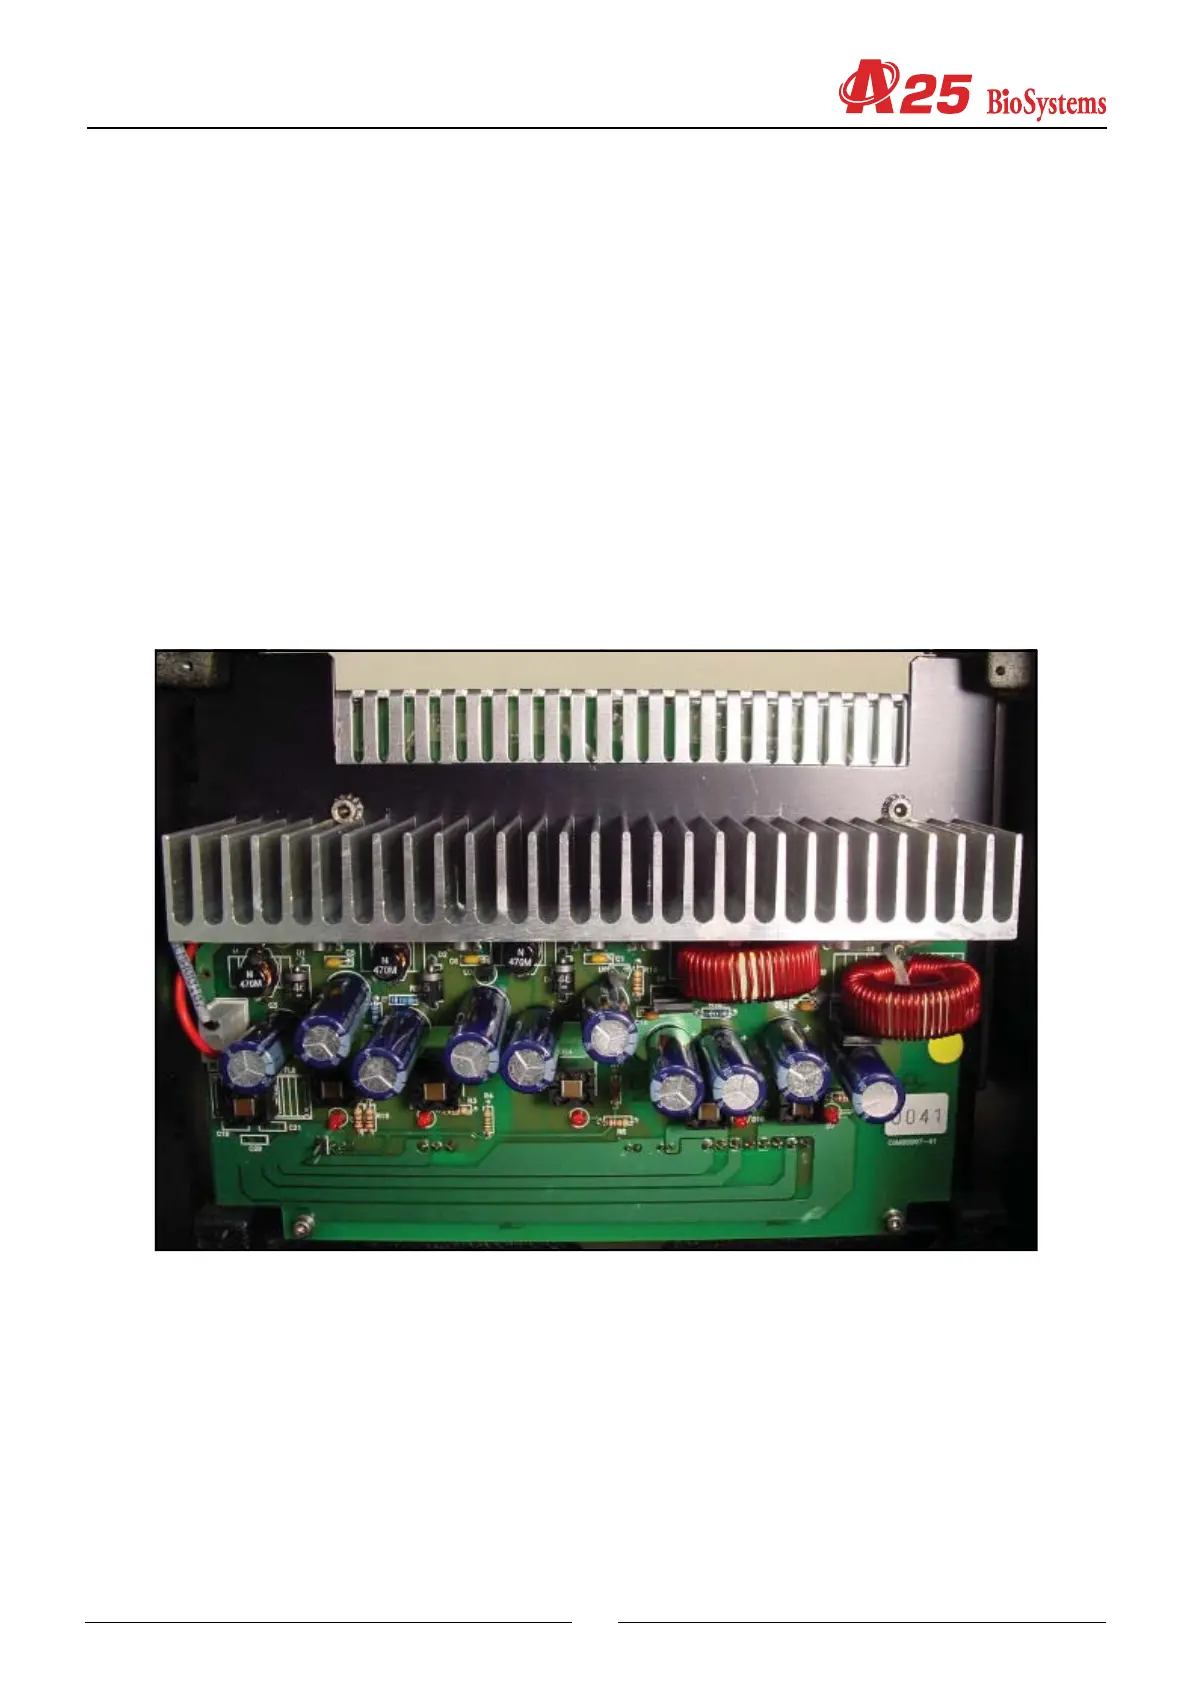
5.1.5.2. Changing the power supply board
a) Remove the back cover of the electronics. Unplug the connectors of the 2 fans from the cover.
b) Disconnect all the connectors from the power supply board.
c) Remove the 4 screws that hold the board to the base.
d) Remove the board.
e) When installing the new board, reconnect all the connectors carefully.
5.1.5.3. Changing the needle conditioning board
a) Remove the arm housing
b) Unplug the connectors carefully.
c) Change the board.
d) Plug in the connectors again and fit the arm housing.