4-17
Confidential
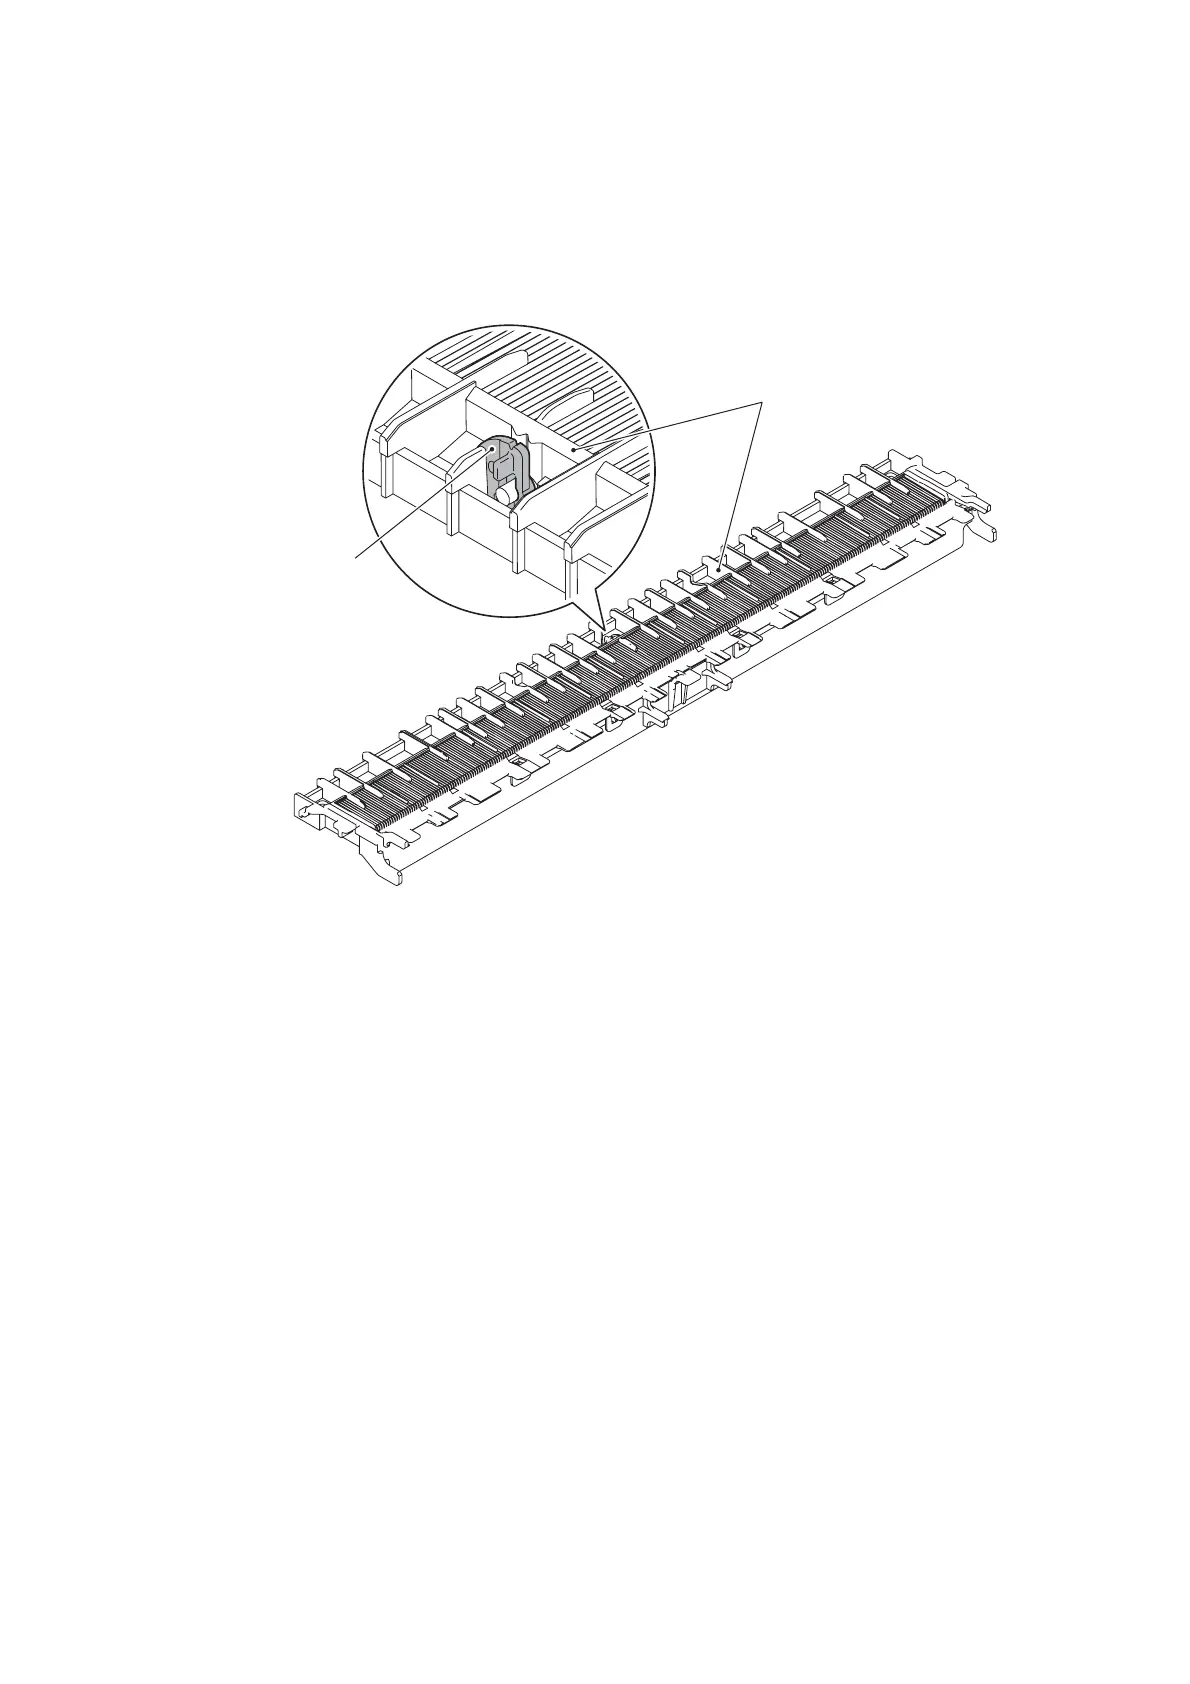
[ 6 ] Adjust the height of the platen
Before starting the operation below, be sure to set letter-size paper in the paper tray for
printing check patterns.
(1) Turn the platen height adjuster, which is located at the center of the platen, to the center
position.
(2) Drag and drop the "platen_gapadj.prn" onto the Brother Maintenance USB Printer driver
icon in the Filedrgs window.
The machine displays the "RECEIVING DATA" on the LCD and prints out "KEISEN &
GAP & EXIT ADJUST PATTERN (see the next page for a sample printout).
Tip: The check pattern can also be printed with Function code 61 (refer to Section
5.1.4.18). After printing with a memory card, be sure to remove the card before proceeding
to the following step.
(3) In each of the PLATEN GAP ADJUST rows 1 through 3, select the block that is the least
uneven print.
(4) Calculate with the block numbers selected in step (3).
Row 2 x 2 - Row 1 - Row 3
(Example) If the least uneven print block is +2, +4, and 0 in Rows 1, 2, and 3, respectively,
then (+4) x 2 - (+2) - (0) = +6
(5) If the calculation result is within -2 to +2, no adjustment is required.
If it is 3 or greater, tilt the platen height adjuster to the left until it stops; if it is -3 or below,
tilt it to the right until it stops.
(platen_lever)
Platen
Platen height adjuster

 Loading...