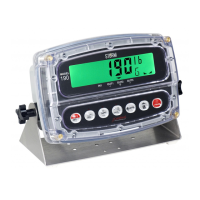
Model 190 Installation, Technical and Operation
8400-M022-O1 Rev J
4.6.2 Dual-Point without Zero (False Zero) Calibration
This calibration method requires one test weight and establishes a new
conversion factor only. It is used to establish a false (temporary zero)
zero without affecting the zero calibration value stored during the last
calibration. This is particularly useful in tank weighing applications,
where it may be impractical or impossible to completely empty the tank.
This method uses two calibration points, CAL1= and CAL2=. The value
of the test weight is entered when CAL1= is displayed and the
NET/GROSS key is pressed when CAL2= is displayed.
CAL1= – First Calibration Weight
1. The display will show CAL1=. This is the first of two calibration
weights. This weight could be ZERO (NO LOAD) or the TEST
WEIGHTS (TEST LOAD).
2. Press the TARE key to view the current setting.
3. If the first calibration weight is to be ZERO (NO LOAD), press the
TARE key.
4. If the first calibration weight is to be the TEST WEIGHTS (TEST
LOAD), use the UNITS/ and Fn/ keys to input the value of the
test weights.
5. Place the weights on the scale platform, then press the TARE key.
6. Starting at the left and proceeding right, a series of dashes will
appear on the display.
7. Next, starting at the left and proceeding right, the dashes will
disappear, after which the display will show: CAL2=.
CAL2= – Second Calibration Weight
1. The display will show CAL2=. This is the second of two calibration
steps.
2. Remove the weights on the scale platform.
3. Press the NET/GROSS key.
4. Starting at the left and proceeding right, a series of dashes will
appear on the display.
5. Next, starting at the left and proceeding right, the dashes will
disappear, after which the display will show: SetgC?.

 Loading...