CS 7600_User Guide (8J4071)_Ed04 37
3 Place the mouse over the image to preview the image and see details of date and time.
4 Click to select the correct image from the No ID list and drag and drop it to a frame of your choice. The
exam acquisition’s data is now associated to the image and the image is no longer “No ID”.
5 Repeat the previous steps for each No ID image that you wish to retrieve.
Clearing Scanner Memory
The scanner’s storage capacity is 25 images. Images are stored in the scanner’s memory in the following
cases:
• When No ID is selected in the scanner’s Select patient screen.
• When the destination workstation is not available due to network problems and so forth.
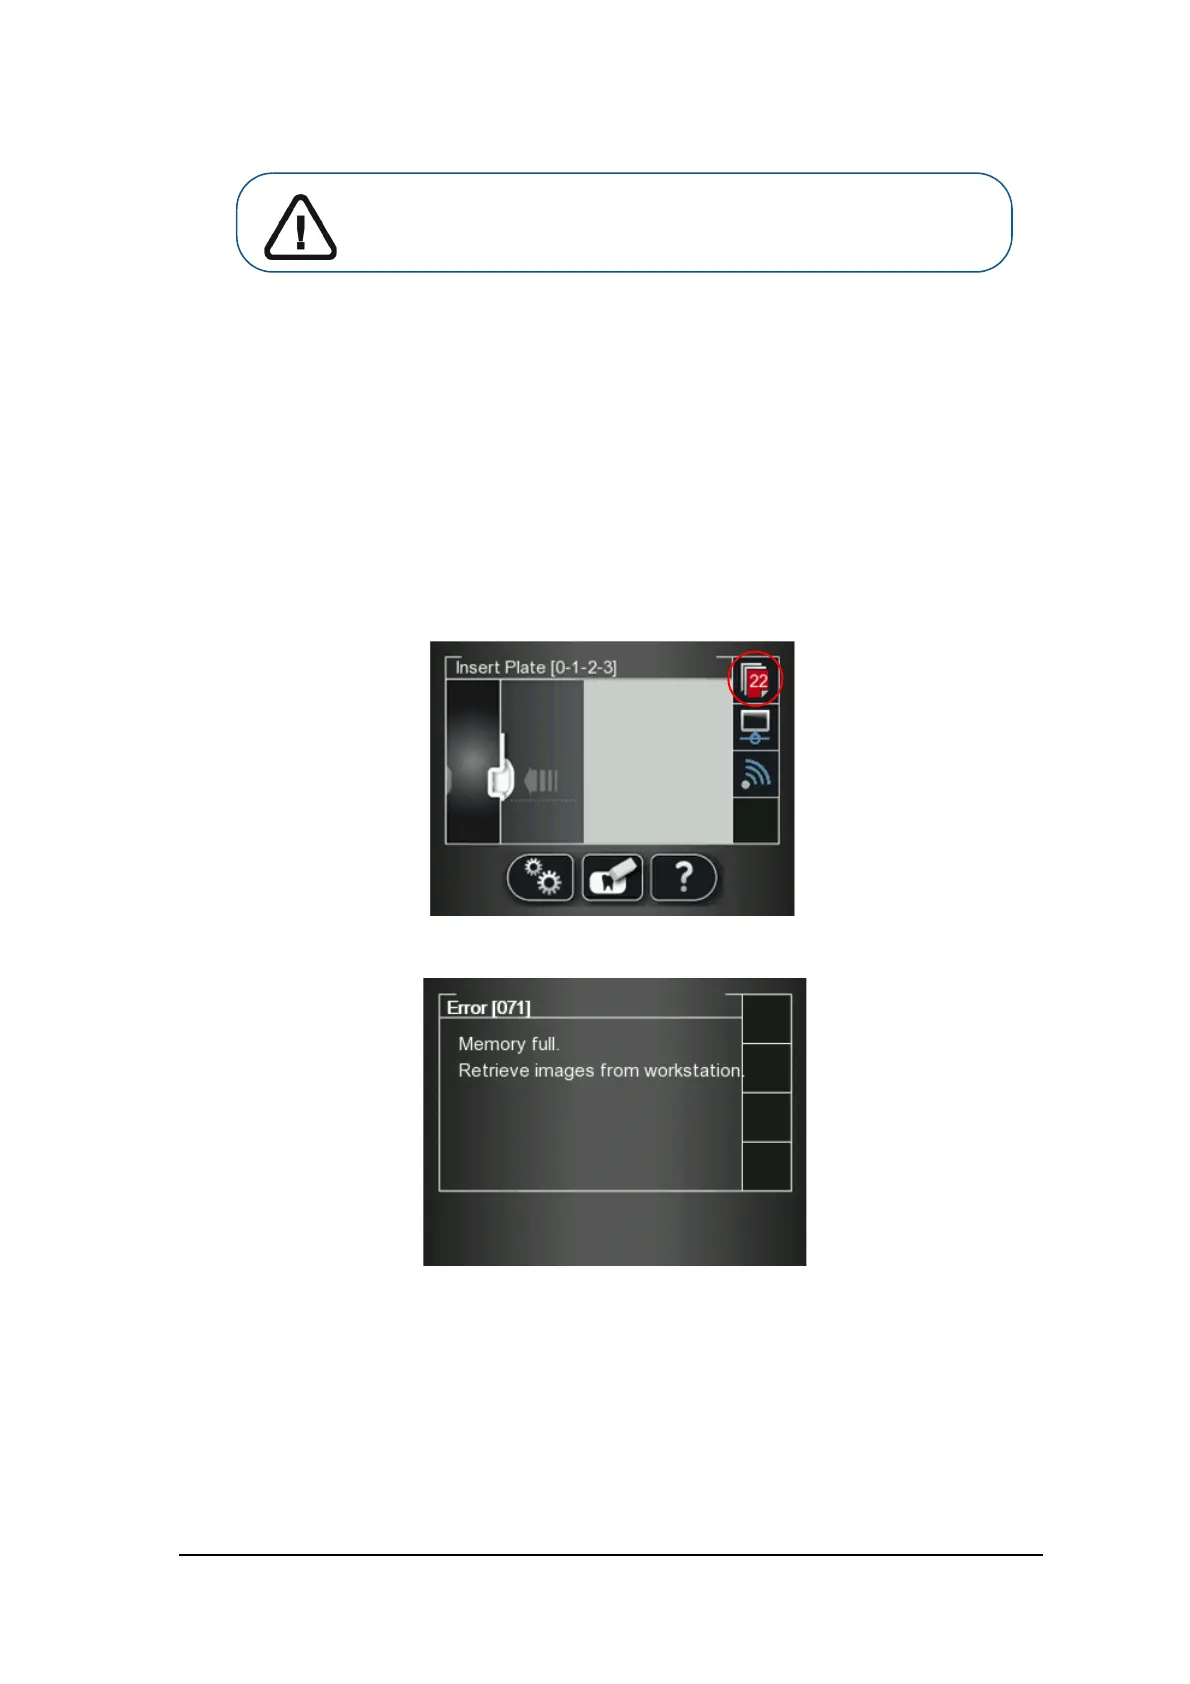
When the scanner’s memory nears its limit, the scan number icon changes to red.
When memory is full, error 071: Memory full. Retrieve images from workstation is displayed.
Important: Make sure you have correctly identified the image before
retrieving it to a specific patient file.