22 Chapter 3 Software Overview
Working with the Image Acquisition Interface
To open the image Acquisition interface, after having selected a patient, use one of the following shortcuts
provided in the Imaging Software.
• CS 7600 image Acquisition mode, examples of the icons
• CS 7600 FMS mode (Template mode), examples of the icons
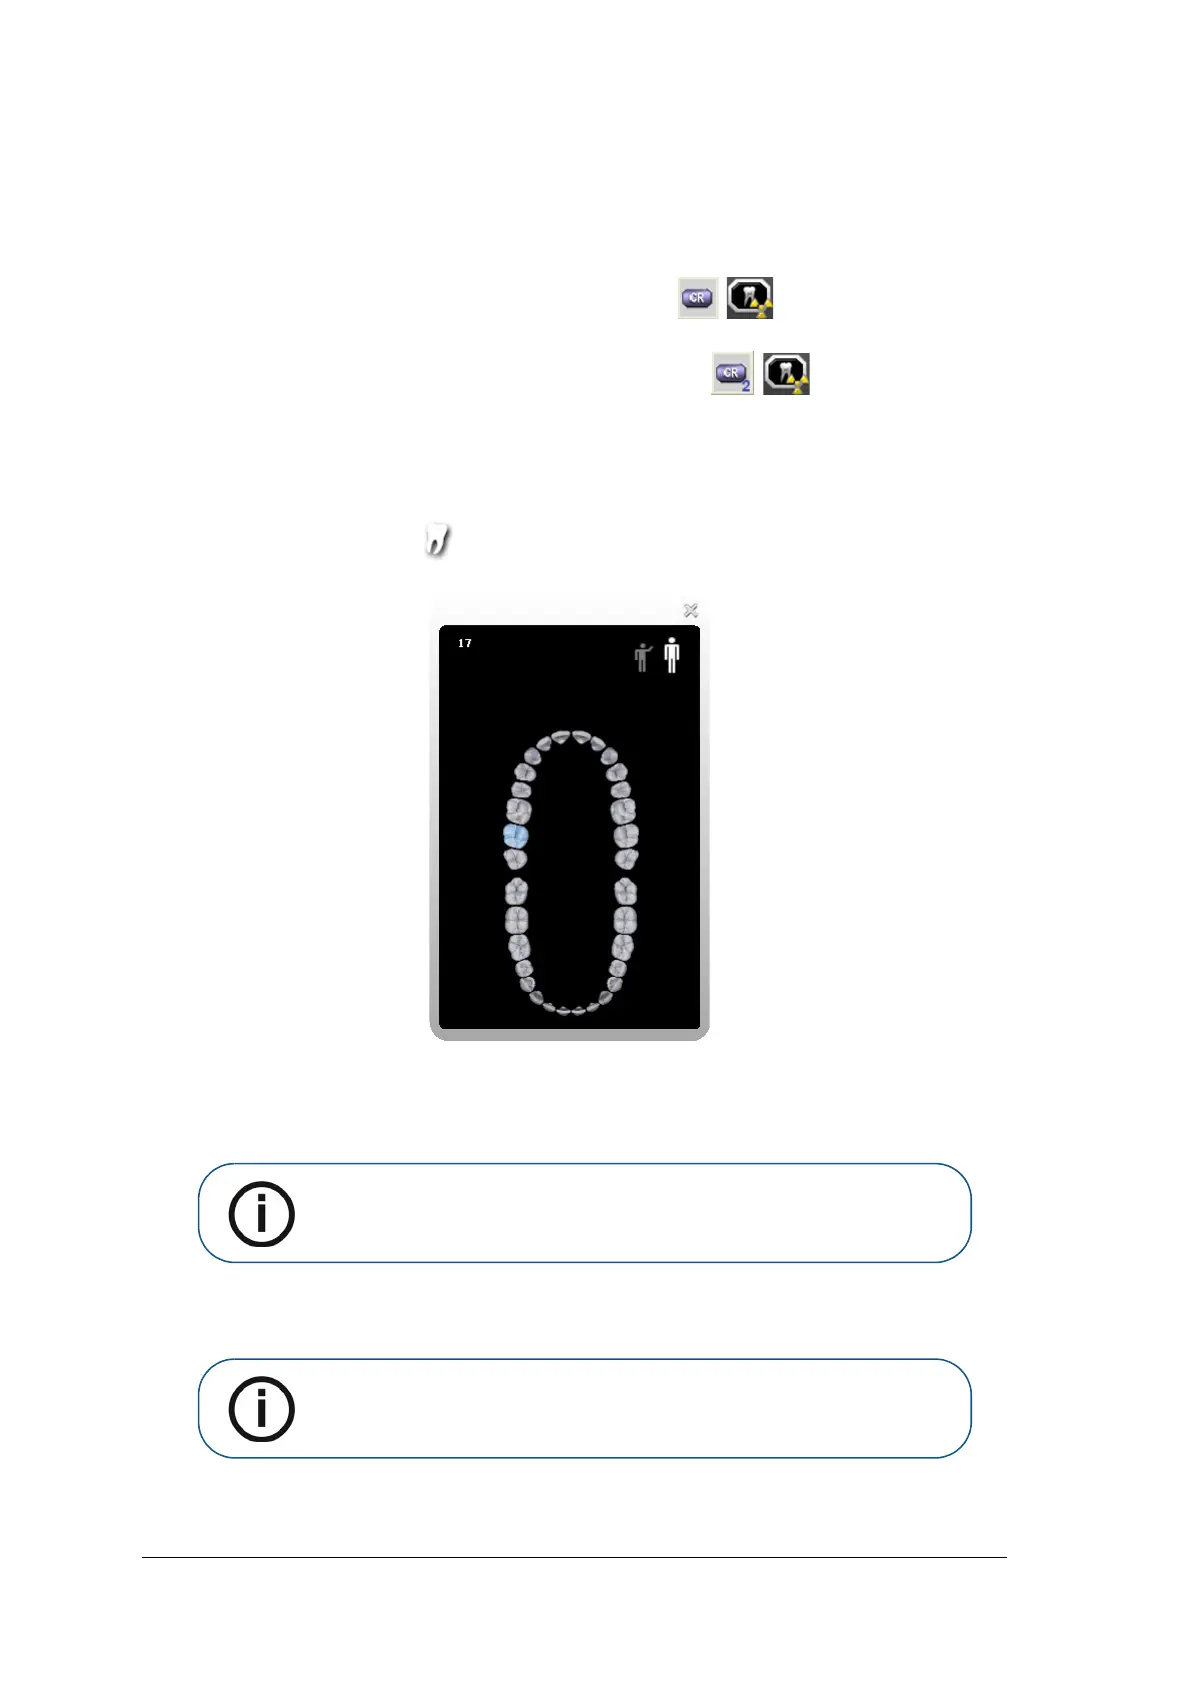
Using the Toothpicker
To use the Toothpicker in Image Acquisition mode, follow these steps:
1 Before taking an X-ray, click the tooth picker icon.
The Tooth Picker opens:
2 Select a tooth.
The tooth becomes highlighted, the tooth number appears in the top left corner of the tooth picker
window, and is assigned to the next image acquired (if the Scan & Go device is being used, the
information is recorded on the plate upon tagging with Scan & Go).
3 If the Scan & Go device is being used, tag the plate on the Scan & Go device.
4 Take the X-ray and scan the imaging plate.
5 Select a tooth before each scan.
Note: If a tooth is not selected, an available frame becomes populated during
the next scan.
Note: To select another frame in the Images Display area, you must close the
Toothpicker first.