CS 7600_User Guide (8J4071)_Ed04 53
Preparing the Imaging Plates
To prepare the intraoral imaging plate, follow these steps:
1 Choose an imaging plate of the right size for your examination.
Inserting the Imaging Plate
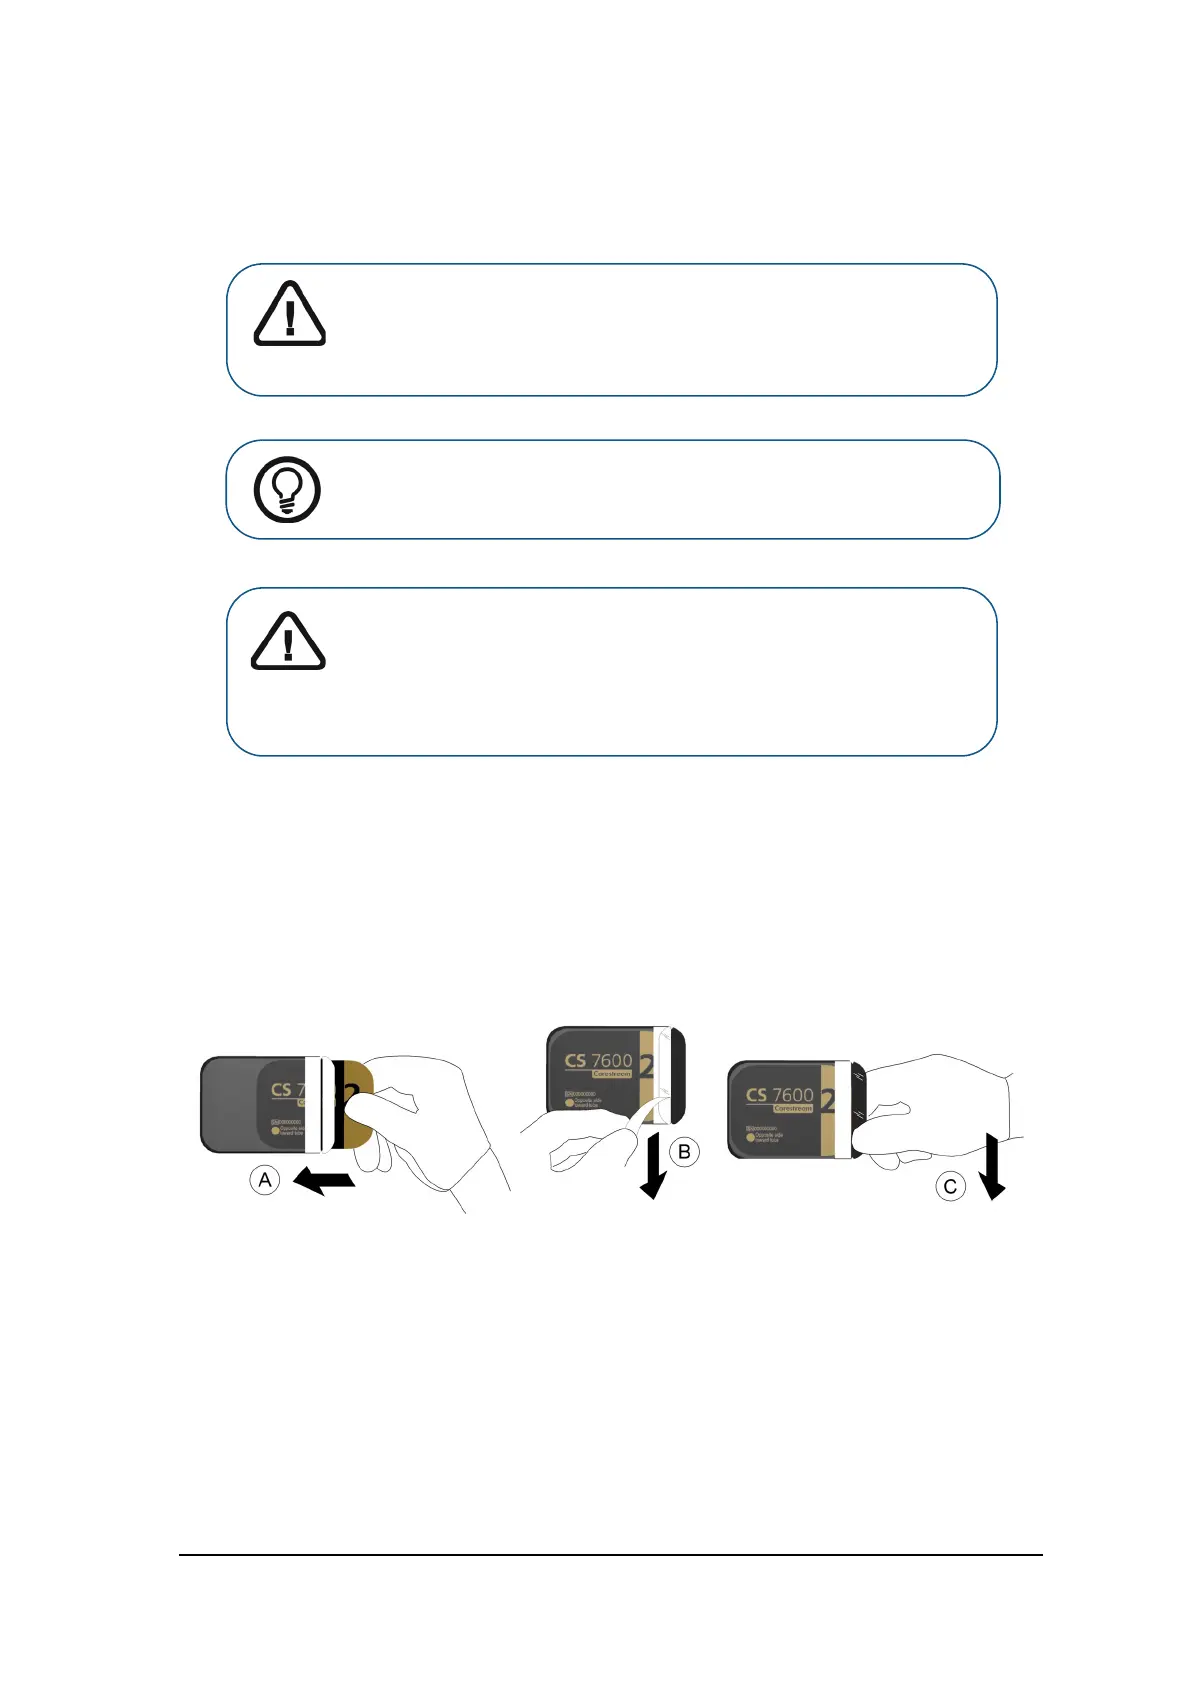
2 Insert the disinfected imaging plate ( See “Disinfecting the Hygienic Sheath and the Imaging Plates” on
page 63) into its protective hygienic sheath with the inactive side facing the adhesive strip, so the
imaging plate’s size number is seen through the transparent side of the hygienic sheath and the
orientation dot is visible in the bottom corner (A).
3 Peel the adhesive strip’s protective paper to seal the hygienic sheath (B).
Handle the imaging plate by holding the hygienic sheath’s empty edge (C) (where the foam strip is).
Tagging the Imaging Plate with the Scan & Go
If you are using a Scan & Go device follow these steps:
If you are not using a Scan & Go device, continue to “Performing the X-rays” on page 54
Important: Use only CS 7600 intraoral imaging plates from Carestream
and hygienic sheaths from Carestream. The use of plates or hygienic
sheaths from a third party supplier may cause a malfunction of the
system and void the warranty
.
Tip: If the imaging plate has not been used for a while, proceed to erase it
first. See “Erasing the Imaging Plates” on page 44.
Important: If you select a size 4 imaging plate, make sure the scanner
has the size 4 insertion slot panel installed. For information on replacing
the insertion panel, See “Cleaning the Detachable Insertion Panels” on
page 64. There is no need to power off the system when replacing
insertion panels.