CS 7600_User Guide (8J4071)_Ed04 59
Acquisition Related Procedures
Processing the Images.
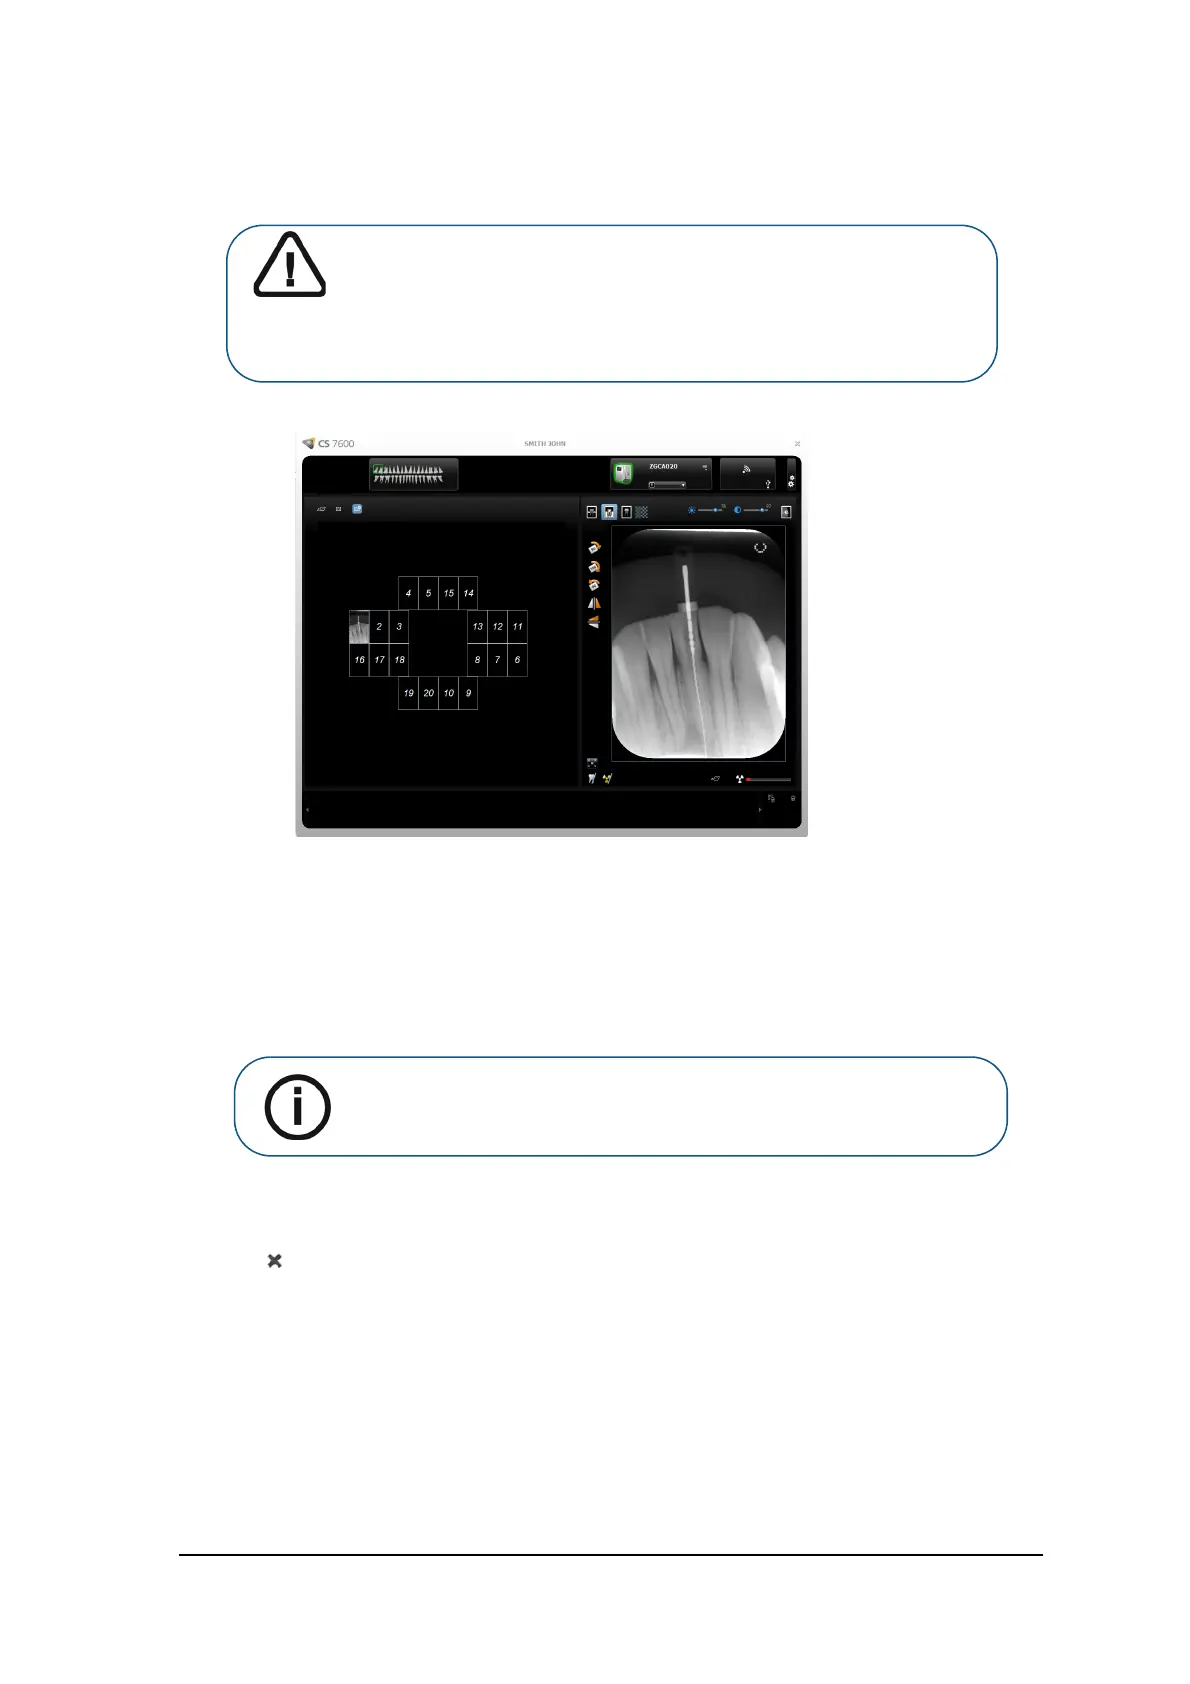
Figure 2 Image Acquisition Interface
To process the scanned images, from your workstation follow these steps:
1 The scanned image populates the first available frame. If there is no such frame (all frames are
occupied, applicable only when working with FMS mode), the image is routed to the Images Gallery. In
image acquisition mode, a new frame is added to the images layout.
For manual reordering of the frames, drag and drop the image to the desired frame. If the frame is
populated with an image, the former image in the frame will be moved automatically to the Images
Gallery when the new image is dropped within it.
2 Use the image Acquisition interface processing options to optimize the image. See “CS 7600 Image
Acquisition Interface Overview” on page 13.
3 Click Close (top-right corner) to exit the image Acquisition interface and return to the Imaging
Software. Images are transferred from the CS 7600 image Acquisition interface to the Imaging Software
automatically.
Important: The imaging plate has a marker attached to its inactive side.
It will indicate if the imaging plate has been exposed from the wrong side
contrary to its intended use. If the shadow of the marker is visible in the
X-ray image, the imaging plate was exposed from the inactive side
contrary to its intended use. The image orientation can be corrected
using the mirroring tool in the acquisition software. If a diagnosis is not
possible in the area of the marker, the X-ray should be repeated.
Note: When exiting the image Acquisition interface, images stored in the
Images Gallery are sent to the Imaging Software database.