CS 7600_User Guide (8J4071)_Ed04 41
Scan
resolution
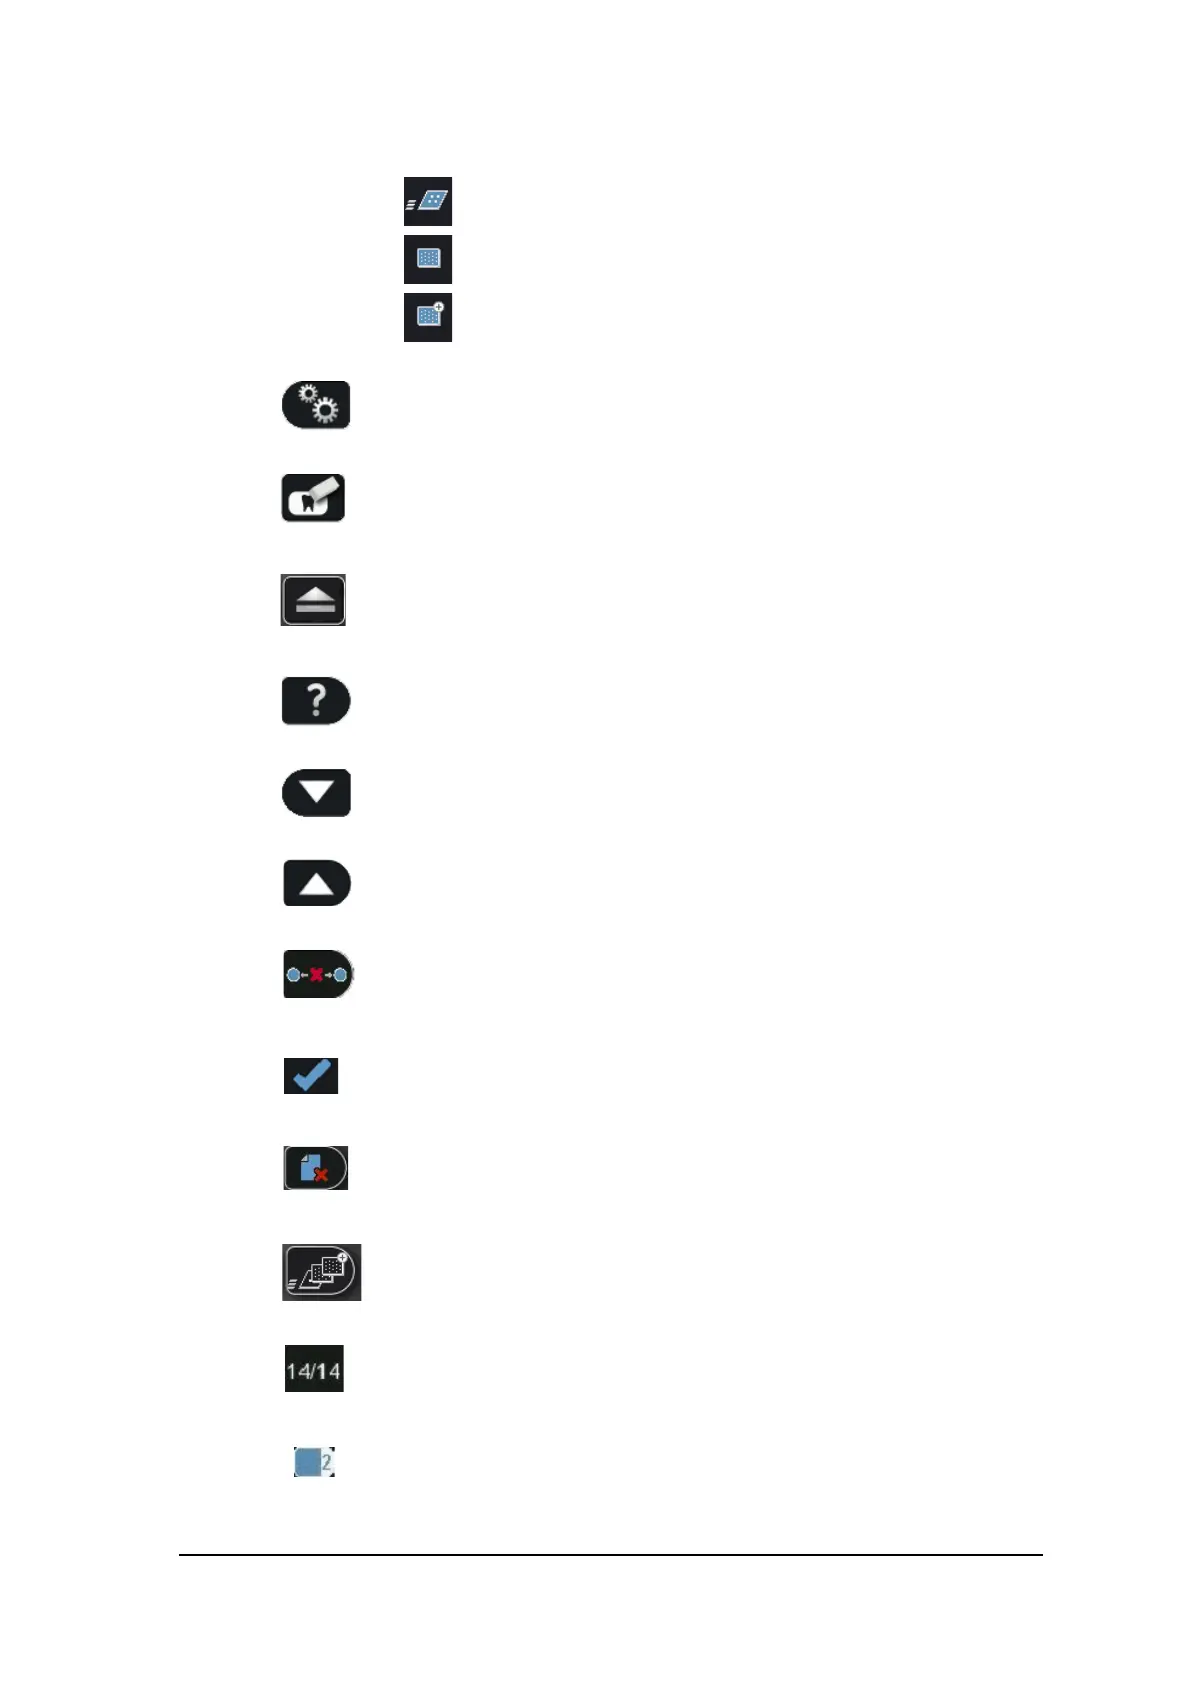
The image scan resolution
High speed (HS)
High resolution (HR)
Super high resolution (SHR)
Press the scanner’s left function button to access the Settings menu. For information
about Settings, See “Scanner Settings” on page 45
Press the scanner’s middle function button to manually erase the imaging plate, See
“Erasing the Imaging Plates” on page 44.
Press the scanner’s middle function button to return to the Insert Plate screen.
Press the scanner’s right function button to access scanner information such as scanner
name, IP address and total scans performed by the system, and the system’s set date and
time.
Press the scanner’s left function button to scroll down/forwards.
Press the scanner’s right function button to scroll up/backwards.
Press the scanner’s right function button to Unpair the scanner from the workstation.
Press the scanner’s right function button to confirm your selection.
From SP4 you can delete images from the scanner using the Viewer, Press the scanner’s
right function button to delete the image being viewed.
To change the scan resolution for the current exam acquisition (when acquiring images
without Scan & Go device), press the right scanner function button and toggle to the
required scan resolution after inserting the imaging plate. (If another exam acquisition is
selected, the scanner reverts to its default resolution.)
Image number in the Plate Viewer
Plate size (in the Plate Viewer)