Installation of the ACU
3-24 Chapter 3: Installation 99-145912-A
3.4 Installation of the ACU
The following sections describe the installation and grounding of the
ACU.
3.4.1 To install the ACU
A cable relief bracket is already mounted when receiving the ACU. The
cable relief is a simple system to secure cables with cable strips. It offers
a number of holders to which you can secure the cables from the ACU.
To install the ACU, do as follows:
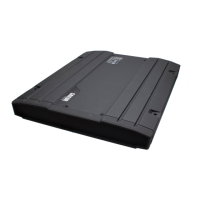
1. Slide the ACU into a 1U space in a 19” rack.
2. Mount the screws in each side through the holes in the front and
fasten the screws to the rack. Make sure that the unit is mounted
securely according to the requirements for your 19” rack.
3. Connect all cables. See Interfaces of the ACU on page 4-1 for a
description of the ACU connectors.
For information about wiring 24 VDC power see DC Input connector
on page 4-2.
For information about power source and power cable requirements see
Power and startup on page 5-1.
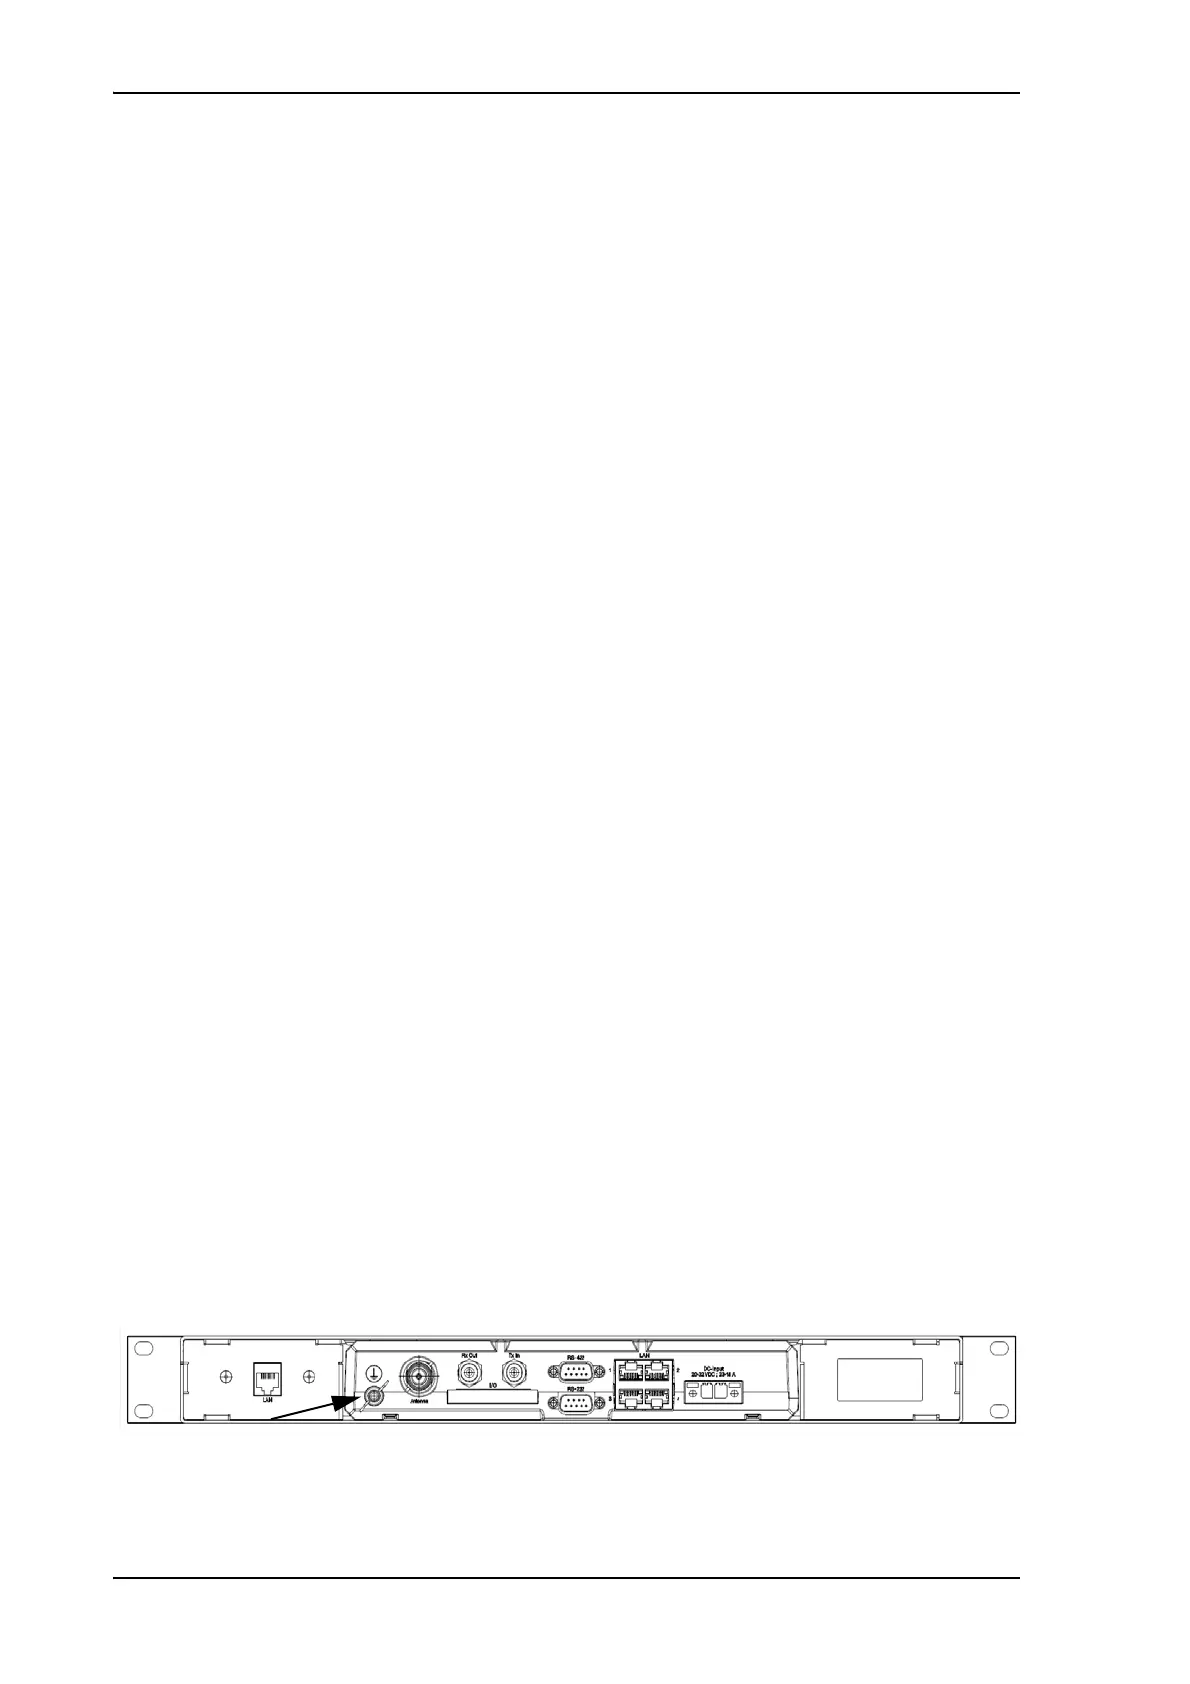
3.4.2 To ground the ACU
To ground the ACU do as follows:
1. Make sure that the grounding requirements are met. See the
appendix Ground and RF protection on page B-1 for details about
grounding.
2. You must ground the ADU cable (coax cable, with an N connector at
both ends) at the ACU end. Use a short cable from the ACU to a
grounding point in the rack and connect the short cable to the ADU
cable at this grounding point.
3. Make sure that the shield of the connector is properly connected to
the rack.
4. To ensure that the ACU is grounded – also if the ADU cable is
disconnected from the ACU, connect an extra ground wire from the
rack to the ground stud on the ACU. This ground wire must be a
heavy wire or braid cable with a larger diameter than the coax cable.
Figure 3-22: Ground stud, ACU
 Loading...