97
SHAVER
HANDPIECES
D
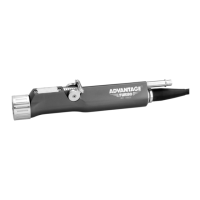
3.8.2 Small Shaver Handpieces
(MC9840, C9840)
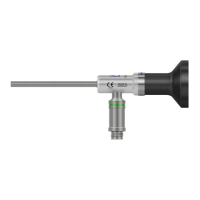
NOTE: If irrigation is being utilized, the
E9416 (4.2 mm) or E9417 (3.7) Tubing Set
must be used.
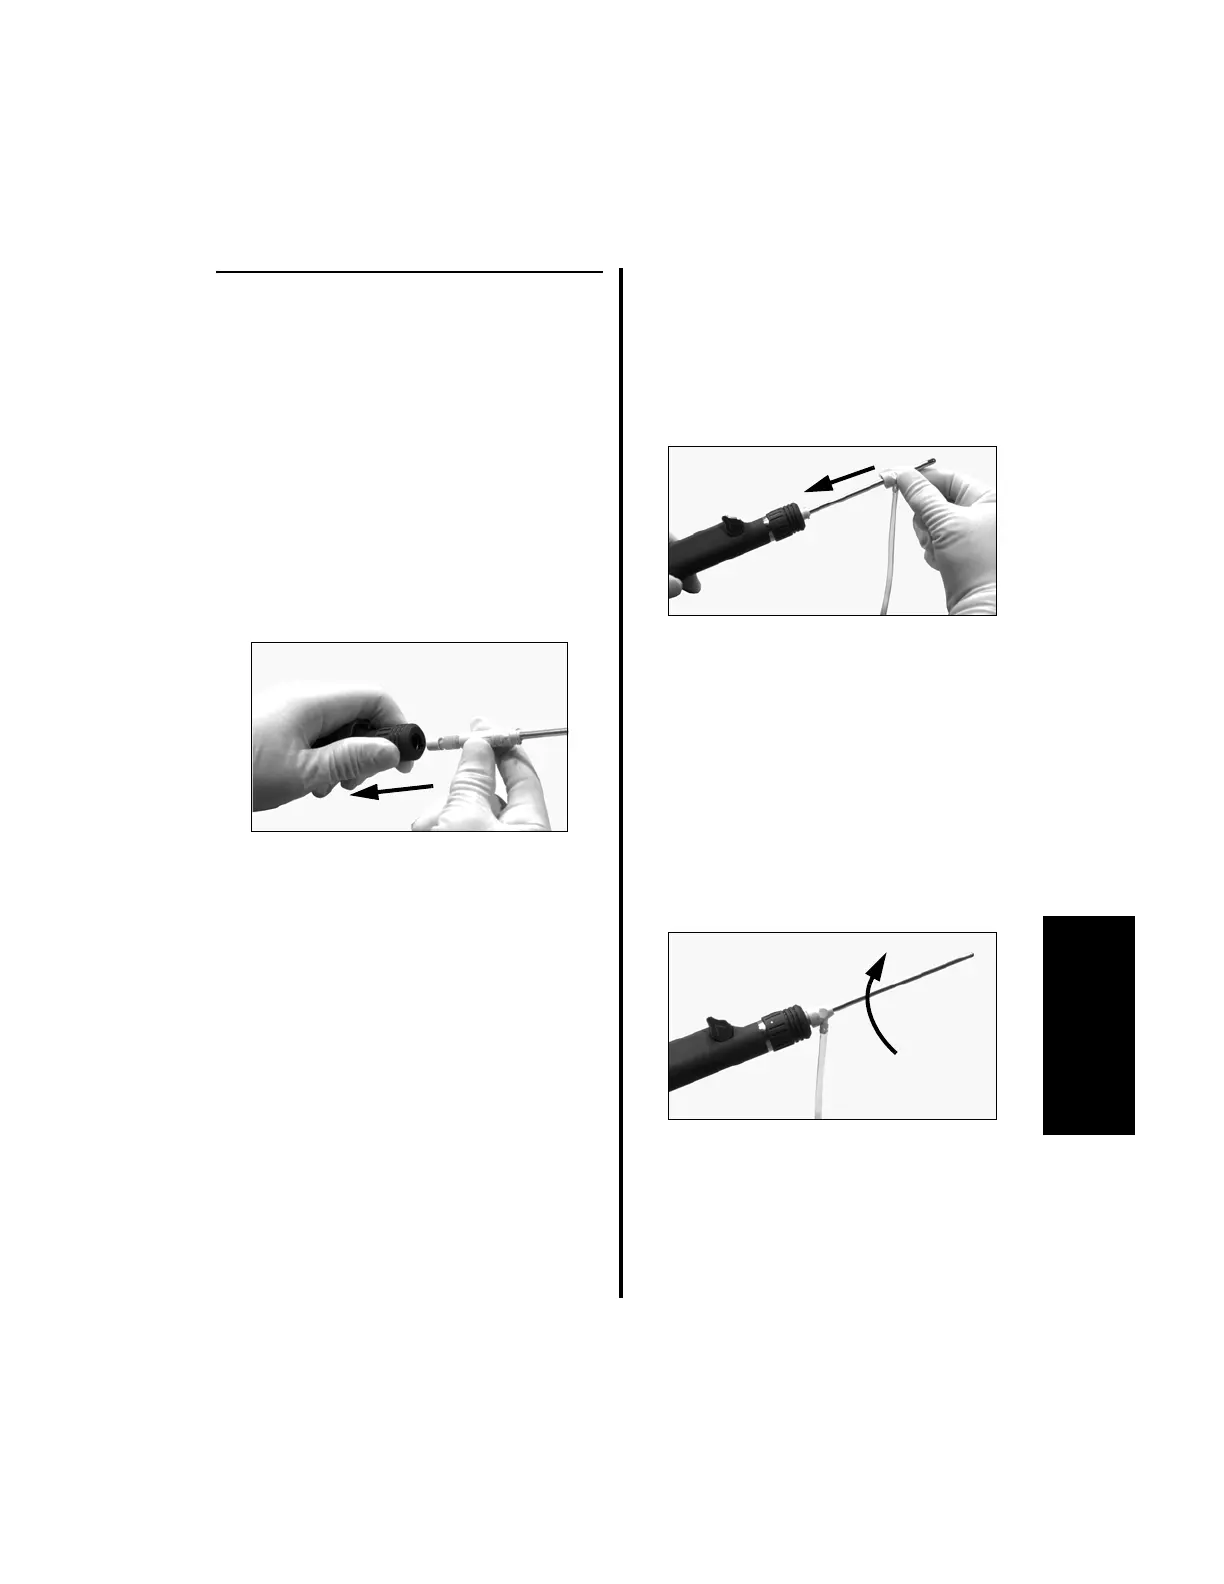
Accessory insertion and removal:
1. To install a shaver blade into the handpiece:
(a) While pulling the quick-connect
locking collet back towards the body of
the handpiece, completely insert the
shaver blade hub into the collet.
(b) Release the locking collet. The shaver
blade is now locked into place.
(c) The shaver blade cutting window may
be placed in any position by simply
rotating the collet, which allows 360°
positioning of the blade cutting window.
2. To remove the blade, repeat the above steps
and pull the blade out.
3. If irrigation is being utilized, and the
E9416 or E9417 Tubing Set is being used,
perform the following;
(a) Slide the tubing set irrigation collar
over the distal end of the shaver blade
toward the shaver blade hub.
NOTE: The irrigator collar must be
installed prior to bending the blade. See
blade insert sheet for blade bending
information.
(b) Slide the inner recesses of the collar
completely over the two hub-ears on the
shaver blade hub.
(c) Turn the irrigation collar clockwise
(approximately 90°) and securely lock it
into place.
(d) Snap the handpiece cord clips onto the
handpiece cable to secure the tubing.