31
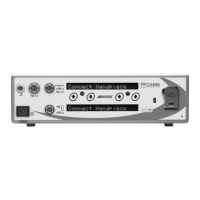
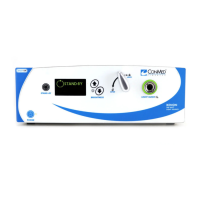
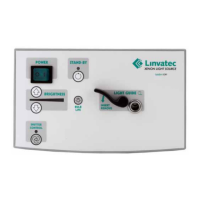
CONTROLLER
OPERATION
A
2.0 SYSTEM INSTALLATION
and OPERATION
2.1 Installation and Setup
1. Plug the power cord into the controller
receptacle and a properly earthed mains
supply outlet (i.e., receptacle marked
“Hospital Grade” or “Hospital Only”).
2. If using irrigation, a fluid bag hanger rod
(5040-180) is available to mount directly to
the top of the controller (not on Power
Pro
controller). This hanger rod will hold a one
liter fluid bag. To attach the hanger rod:
(a) Remove the ConMed Linvatec sticker
from the top of the controller.
(b) Insert the threaded portion of the hanger
rod into the hole. Turn clockwise until
approximately 1/2” (12 mm) of the rod
is threaded into the hole.
(c) Secure the hanger rod in place by
tightening the knurled lock nut.
3. Hang the fluid bag on the arm of the hanger
rod.
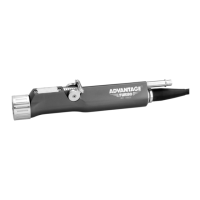
2.1.1 Handpiece Cord Installation
NOTE: Steps 1 and 2 apply to all
handpieces with a detachable cord EXCEPT
the K500 Mini-Driver Handpiece.
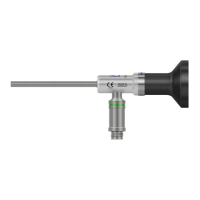
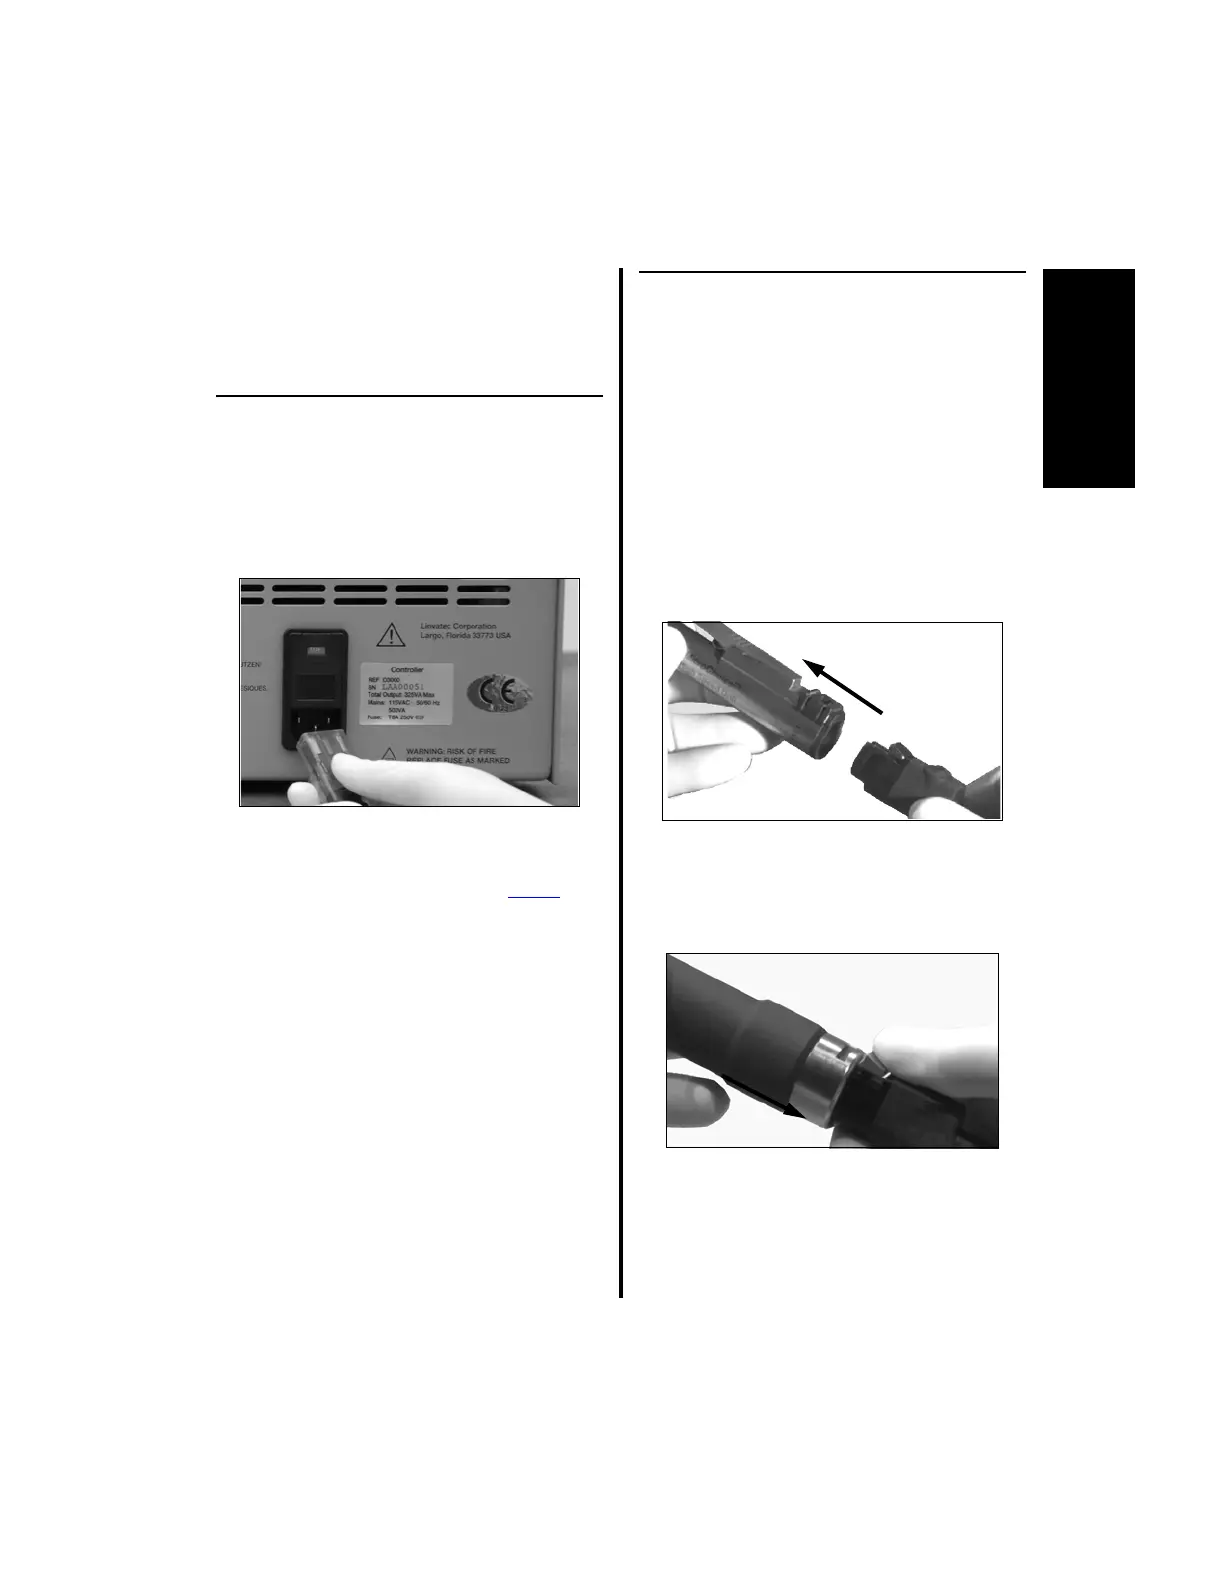
1. To attach the handpiece cord:
(a) Ensure the handpiece is in the safe
position, if applicable, prior to
attaching the handpiece cord. Insert the
handpiece cord into the cord receptacle
of the handpiece. Push together until
fully seated.
2. To remove the handpiece cord:
(a) Press the latch and remove the cord
from the handpiece.
NOTE: Step 3 applies ONLY to the K500
Mini-Driver Handpiece.