12
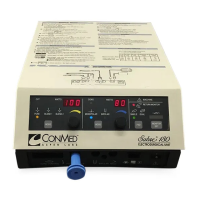
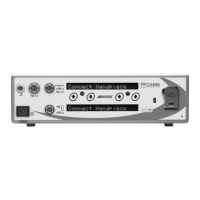
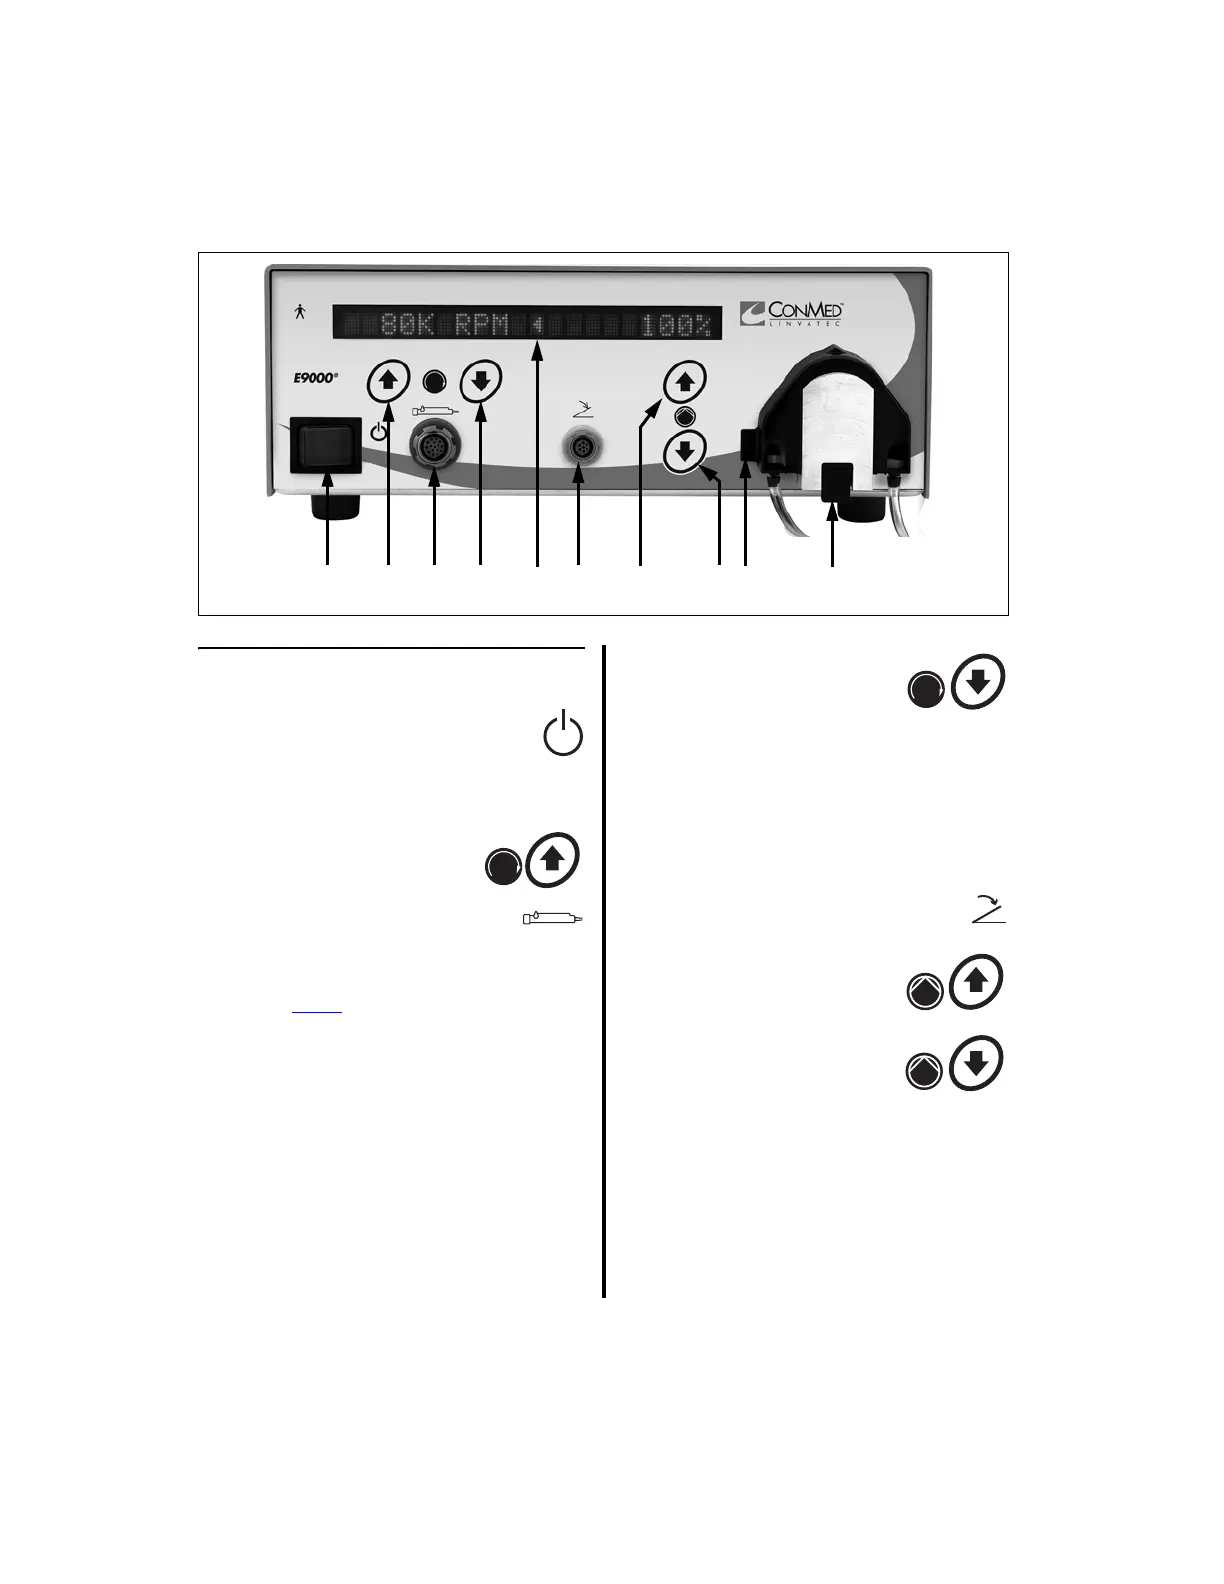
1.6.4 E9000 Controller Front Panel
1. Standby Power Switch — To
activate the controller, place this
switch to the on position. To set the
controller to stand-by mode, place this switch
to the off position.
2.
Speed Increase Button —
Press to increase the handpiece
speed.
3.
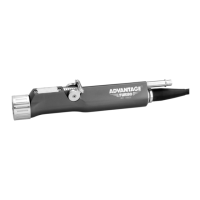
Handpiece Receptacle —
Accepts the handpiece cord
connector of all Group 1, Group 2, and Group
3 handpieces, and
several Power
Pro handpieces (PRO2300E,
PRO6100, PRO6125, PRO6135). Also, using
one of two handpiece adapters - Mini-Driver
Adapter (K501) or APEX Adapter (E9320) -
the Mini-Driver Handpiece or any of four
APEX handpieces can also be connected.
NOTE: All cord receptacles and connectors
are keyed to prevent incorrect insertion.
Likewise, receptacles and connectors are
color-coded to easily recognize where to connect
each cord.
4.
Speed Decrease Button —
Press to decrease the handpiece
speed.
5.
Display — Displays handpiece speeds,
irrigation flow rates, instructions, operating
modes and error messages. Displays actual
speed while the handpiece is operating and the
set speed when the handpiece is inactive.
Flow rate, as a percentage, displays when the
pump is enabled.
6.
Footswitch Receptacle — Accepts
the footswitch cord connector.
7.
Flow Increase Button —
Press to increase the pump
flow rate.
8.
Flow Decrease Button —
Press to decrease the pump
flow rate.
9.
Optical Sensor — Senses whether or not a
tubing set is connected.
10.
Tubing Cassette Receptacle — Accepts the
various tubing sets. See
“6.1 Handpieces,
Attachments and Accessories” on page
149
for a list of associated tubing sets.