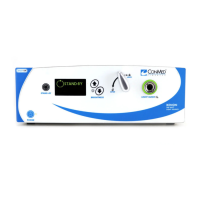
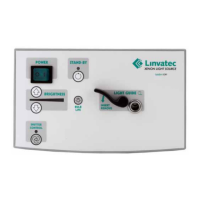
CONTROLLER
OPERATION
48
A
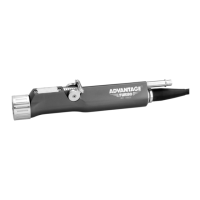
2.1.5 Controller Operation
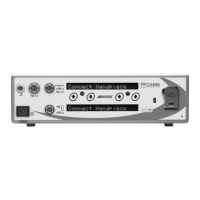
After all the desired settings have been made to
the “CONTROLLER OPTIONS/FUNCTION”
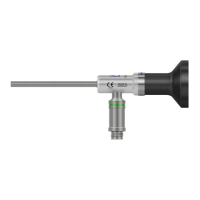
switches, and the tubing set is attached, if using
irrigation, turn on the controller.
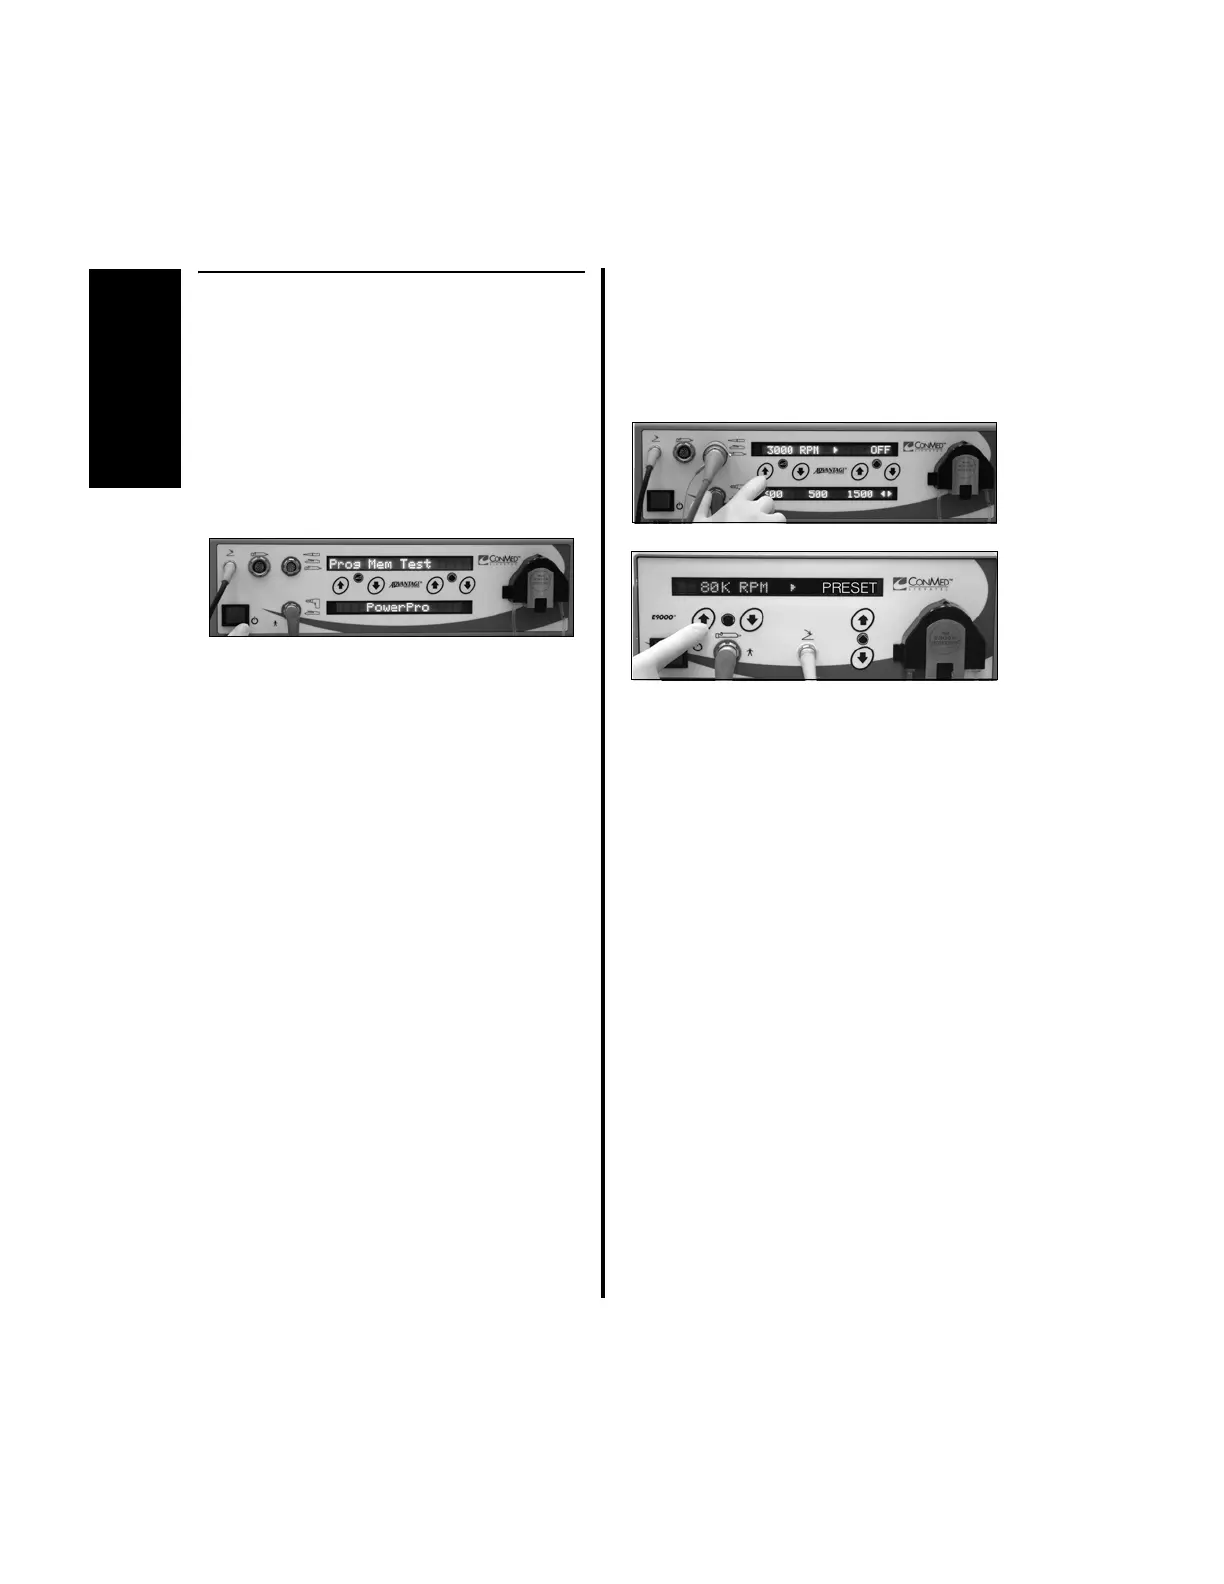
1. Depress the standby power switch on the
front of the controller to the ON position to
activate the controller.
• A self-diagnostic test will be
performed and the display will indicate
“Prog Mem Test”.
• When the test is concluded, the
controller will sense the attached
handpiece and display, either in text
form or graphical form, the operating
mode, operating speed and/or direction
setting, depending upon the handpiece
that is attached and which portion of
the controller the handpiece is attached to.
Without any user input selections,
handpieces will initially operate at their
default setting. Desired speed and irrigation
settings can be stored in memory by
following the instructions in “2.1.3.2
Switch 1 - “Day-to-Day” Memory
Storage Operation” on page 39.
2. To adjust the handpiece speed using the
controller buttons (Advantage Top Portion
Only and E9000):
(a) Press the speed increase or decrease
button on the front panel.
3. To adjust speed settings with the handpiece
cord button, where applicable, reference
“3.6.5 Group 2 Handpiece Cord Button
Operation” on page 93 or “3.9.2.4 Using
the Handpiece Cord Button to Change
Speed” on page 100.