51
3
3
Printing with Useful Functions
Adjusting Print Position
Print Position Adjustment
After master making has fi nished, you can fi ne-tune the position of the printed image 15mm
in the vertical direction and 10mm in the horizontal direction.
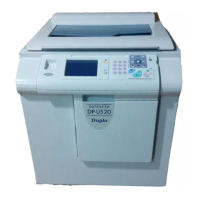
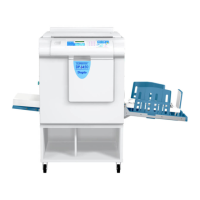
DP-U850/U650/U620: Adjusts print position using PRINT POSITION keys.
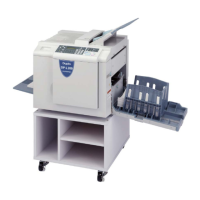
DP-U550/U520/U510: Adjusts only vertical print position using PRINT POSITION keys.
(“Adjusting horizontal print position on the DP-U550/U520/U510” → see p.52)
● You cannot adjust print position while printing.
Stop the operation with the
STOP key to adjust the position.
● You can adjust print position when “PRINT POSI ADJ (p)” (Print Position Adjustment While
Printing) is “ON”. In this case, adjustment range is
30 steps in vertical and 20 steps in
horizontal. (“Print Position Adjustment (While Printing)” → See page 153.)
● When “NARROW PAPER” is “ON”, print position should be “ 0.0”.
(“Narrow Paper” → see p.110)
Proceed with steps 1 to 5 of the sequence
described in “Basic Printing”.
“Basic Printing” → see p.27
Press the PRINT POSITION keys to adjust.
The print position adjustment screen is displayed on
the touch panel LCD. Each press of “CURSOR” keys
changes the print position by 0.5mm.
● To reset to standard:
* Press the center key of the PRINT POSITION key.
* Press the
RESET key. In this case, all
settings are reset to Standard Mode.
Adjustment keys (cursors) are also displayed on the
touch panel LCD. Touching the CURSOR keys
adjusts print position as well as PRINT POSITION keys.
If you do not touch any PRINT POSITION key for about
5 seconds, the display returns to the main screen.
Continue Page....
IMPORTANT
REFERENCE
V3M0316

 Loading...

