Set-up instructions
Operating manual 867 Version 01.0 - 12/2012 91
Fitting the sewing lamp
1. Unscrew the valve cover and upper machine cover ( Section
7.11 Fitting the control panel, Page 89).
The upper machine cover has pre-drilled holes for attaching the
sewing lamp.
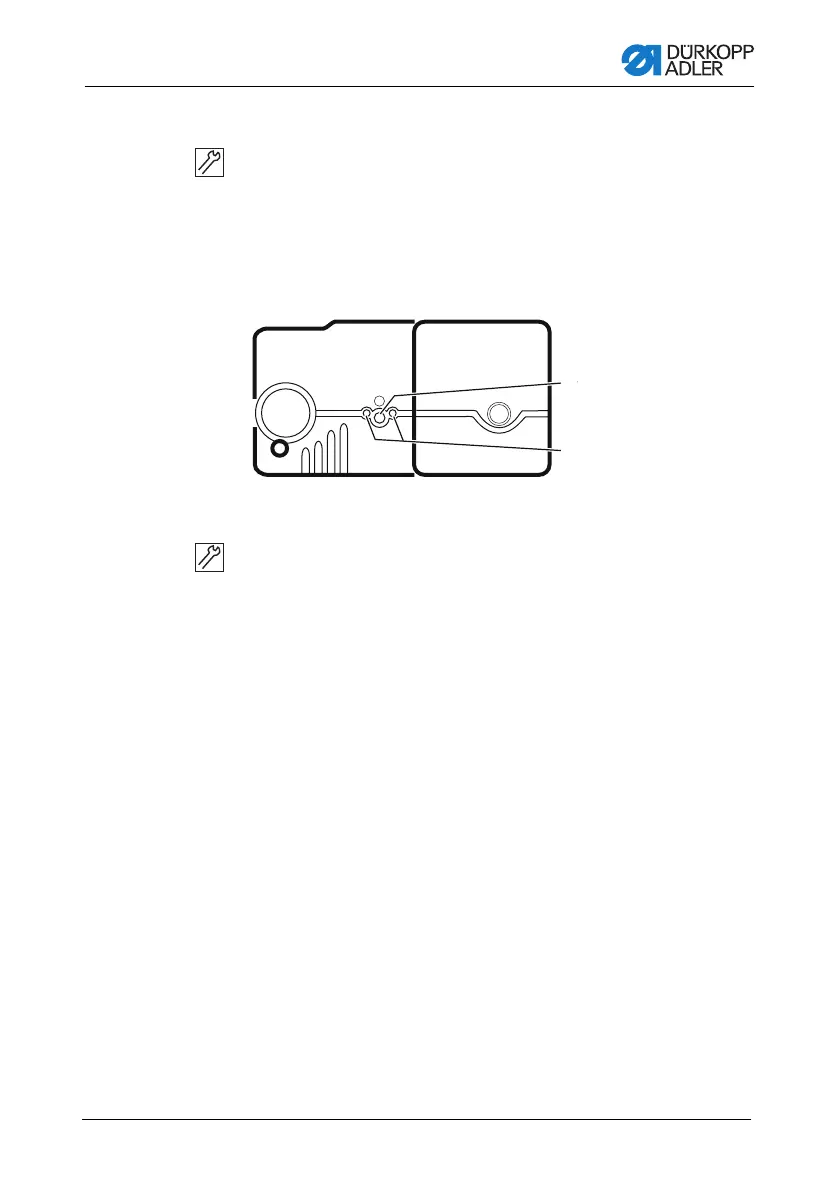
Figure 61: Fitting the sewing lamp
2. Either drill through the hole for 1 large hole (1) or through the
holes for 2 small holes (2).
3. Screw the sewing lamp holder through the hole on the arm
cover.
4. Fit the sewing lamp on the bracket.
5. Lay the connecting cable in the machine arm and feed the
cable through the hole in the table plate ( Section 7.11 Fitting
the control panel, Page 89).
6. Stick the sticker with safety instructions onto the front of the
control.
1
2
(1) - Large hole (2) - 2 small holes
 Loading...